Cutting and Epoxying the Bracing
Adding reinforcement rods to the panel is what allows the piece to remain so straight and rigid, despite it’s refined 1 inch thickness. Stu wanted a ‘light’ panel to appear as though it were floating above the wall surface where it would be mounted, so he developed this system of reinforcement. This process alone takes many days to complete … calculating the displacement of the rods, lining up each cut, cutting and preparing the braces, wetting out the wood with layering coats of epoxy, and placing the bracing within the cuts while coating.
Once this sets up (cures), Stu will sand the piece, coat some more, then flip the piece over to the front to start the creative process of carving.
Click thumbnail to enlarge each image
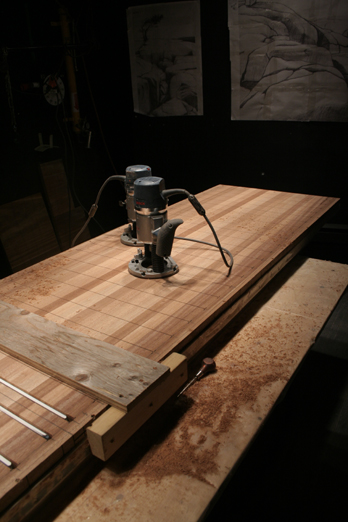
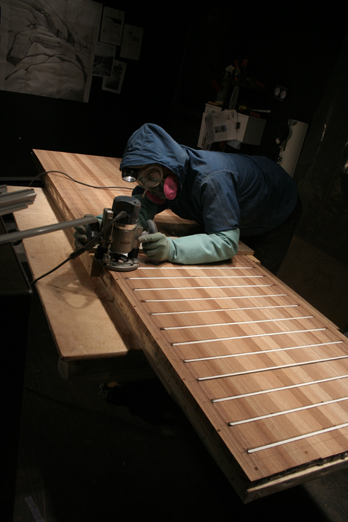
 Setting up for cutting the channels for bracing.
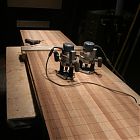 Setup for cutting channels ... each line represents a cut ... 39 all together.
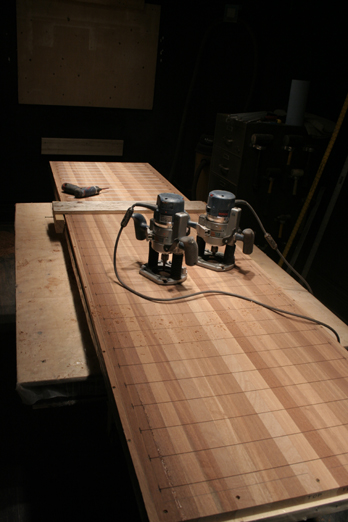
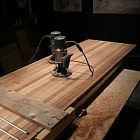
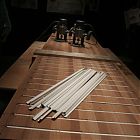 Cutting the Channels for reinforcement braces
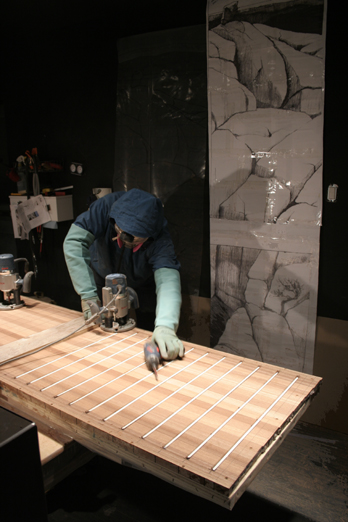
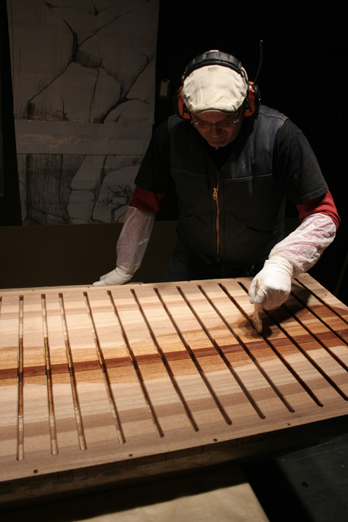
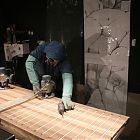 Stu cutting more channels. Note sketch in background corresponding to this piece.
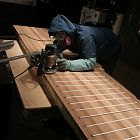 Stu cutting the channels.
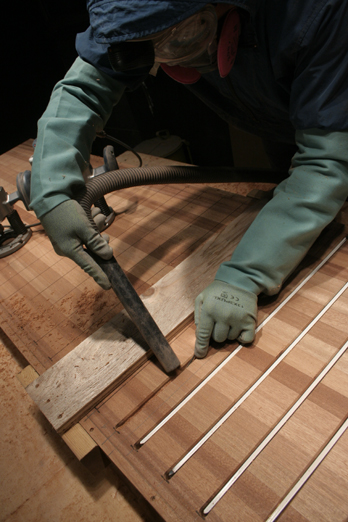
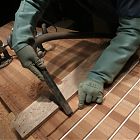 As each cut is made, Stu vacuums the channel before setting the brace in.
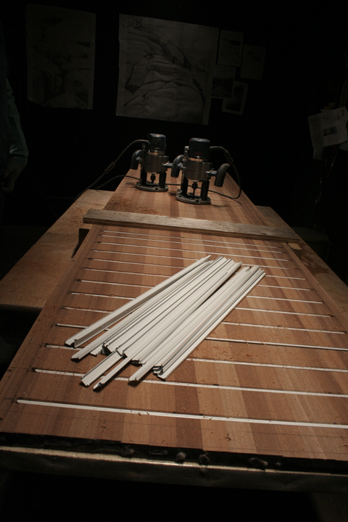
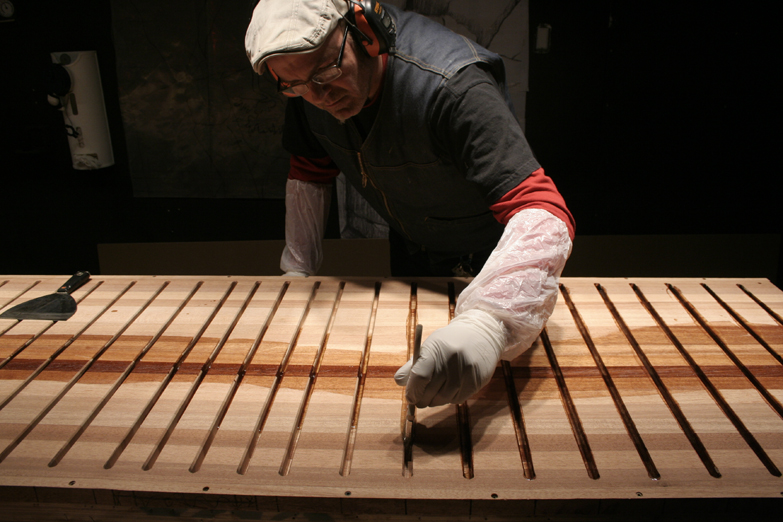
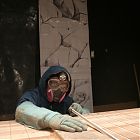 As the Channels are cut, Stu ensures that the braces fit each cut.
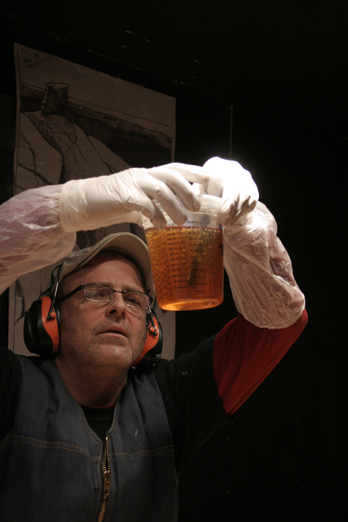
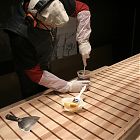 Stu mixing the Epoxy. It takes several minutes.
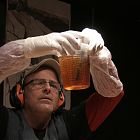 Stu carefully mixing the golden coloured epoxy. Holding it up to the light allows him to see if it is indeed mixing properly. A fine science.
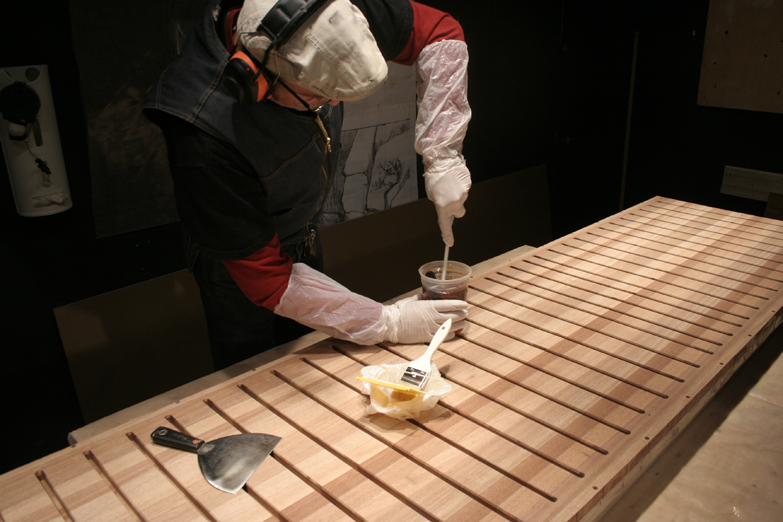
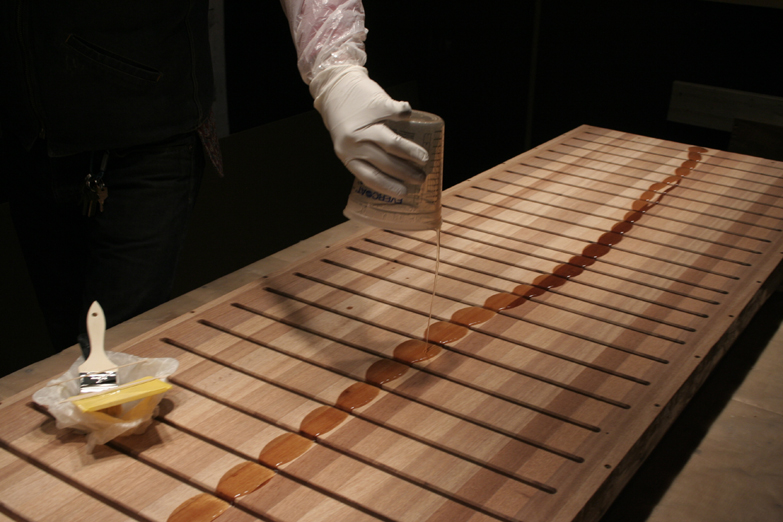
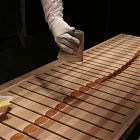 Pouring the epoxy over the panel to wet out the wood.
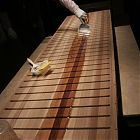 Pouring the first coat of epoxy into the channels for support braces
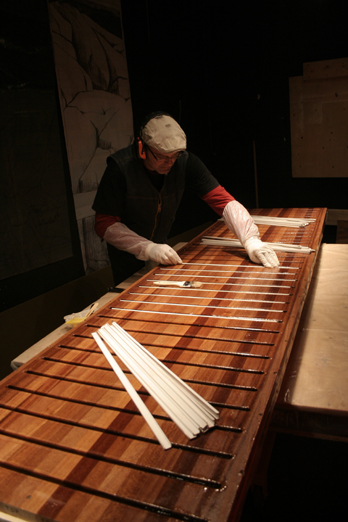
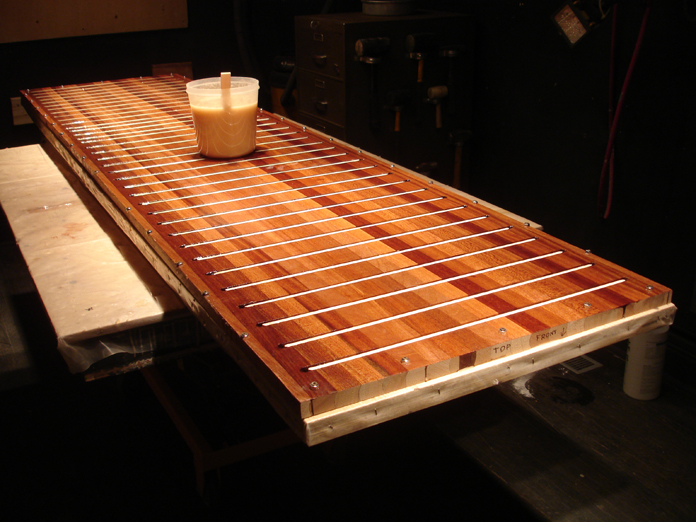
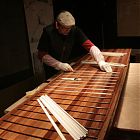 Once the panel is wetted out with epoxy, Stu fits in the braces.
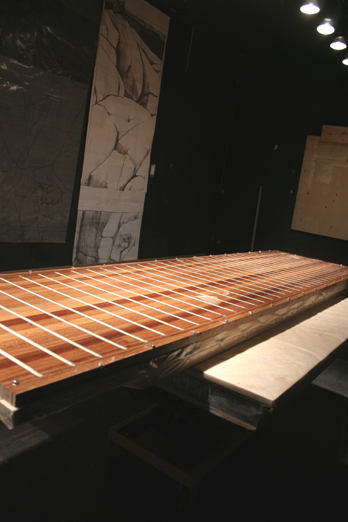
 First Coat of Epoxy filled channels for bracing ... note that the sketch on the wall in the background is for this piece.
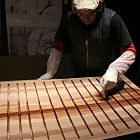 Patiently and methodically wetting out the wood with the first coat of epoxy, in every channel, over every surface.
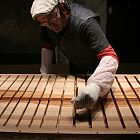 Stu calls out to me that one of his favourite guitarists, Jimi Hendrix, is keeping him inspired, so he grooves on.
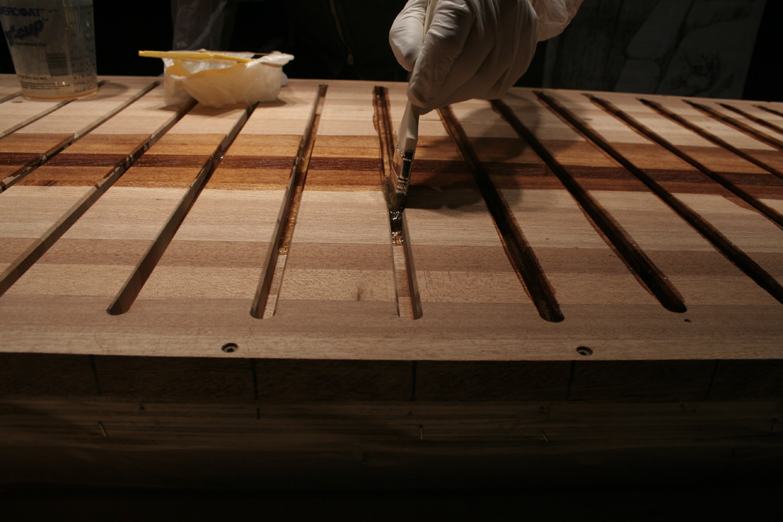
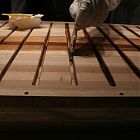 A closeup of Stu wetting out the first coat of epoxy with a brush.
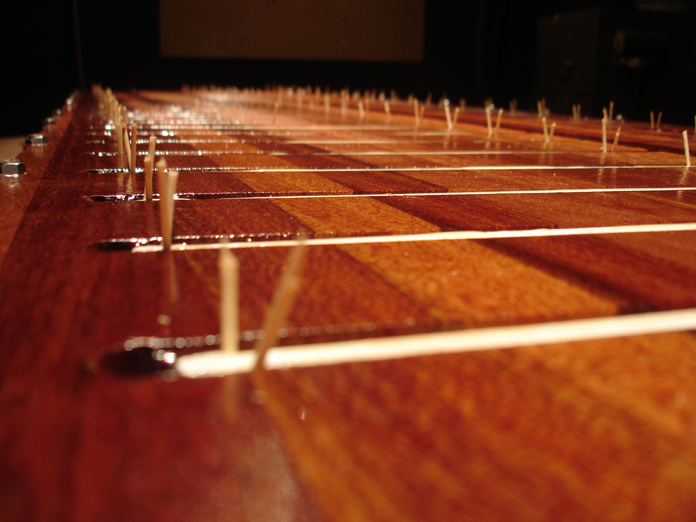
 Toothpicks are used to carefully set each brace properly within the channel just prior to the epoxy kicking.
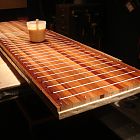 Getting ready for second coat of epoxy. This time, Stu uses a thicker consistency.
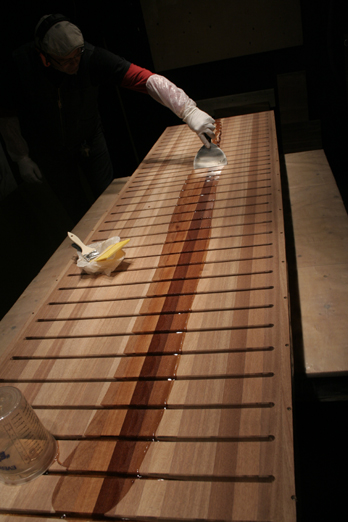
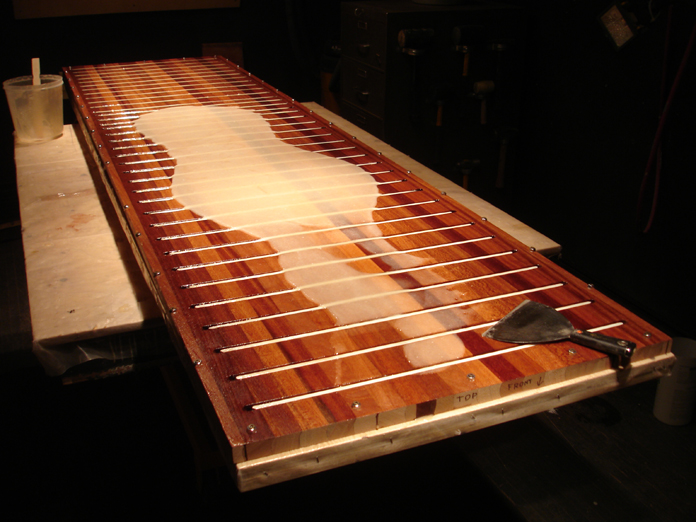
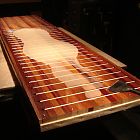 Once the thicker epoxy is poured onto the surface, Stu carefully brushes it in to every crevice.