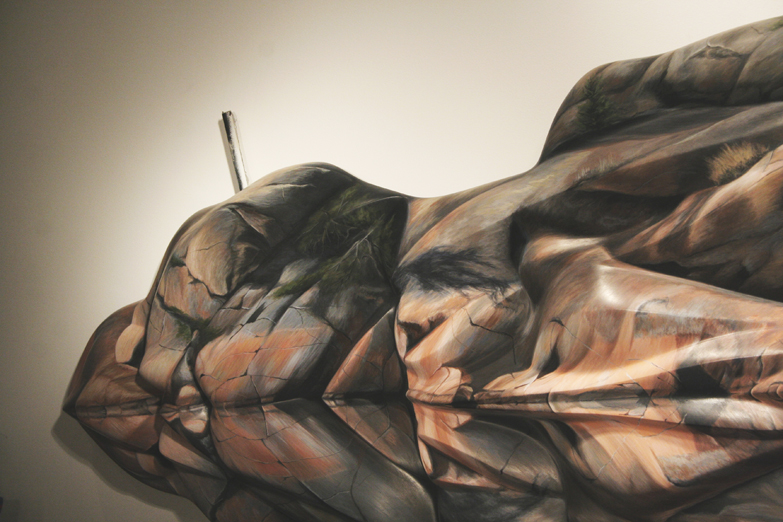
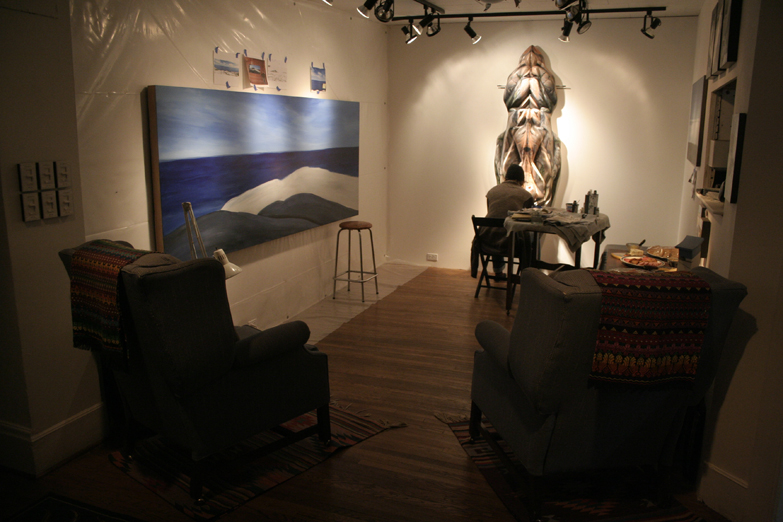
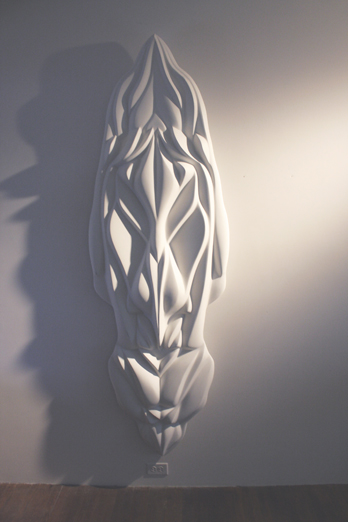
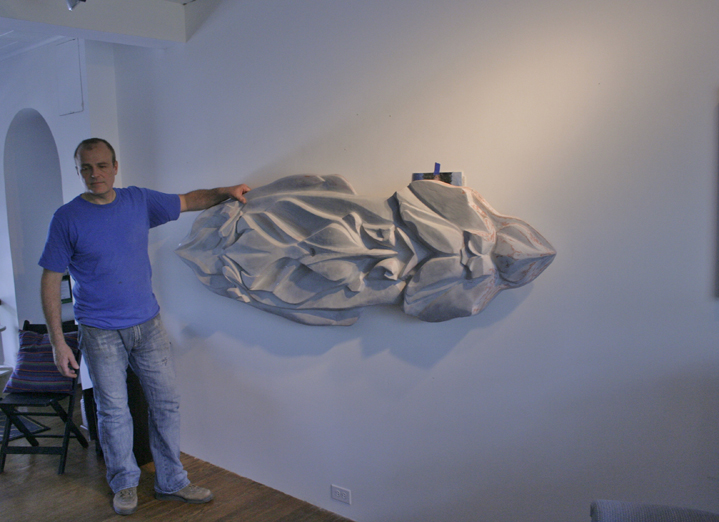
Piece #075 - SCULPTED PAINTING - Spirit of Georgian Bay
Private commission. 26” x 85”.
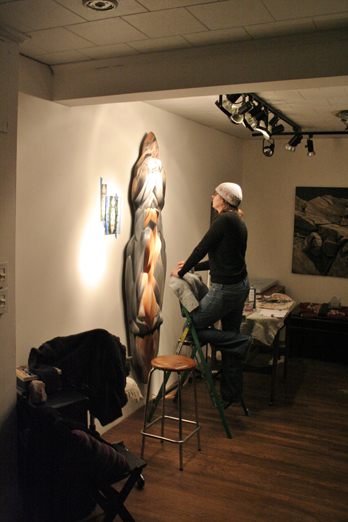
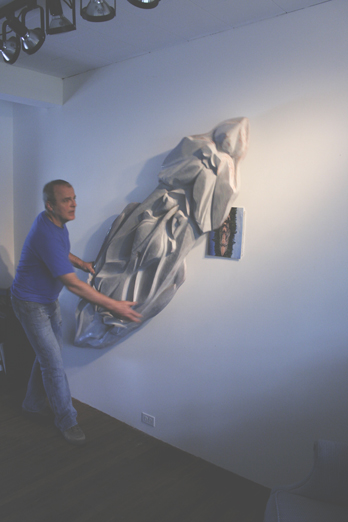
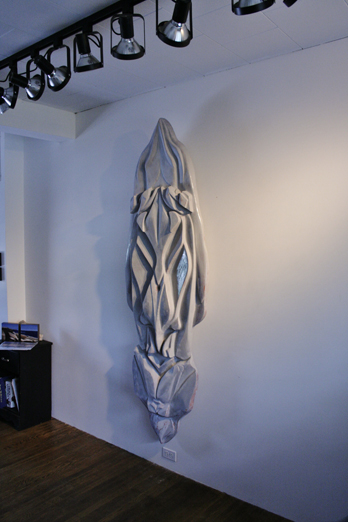
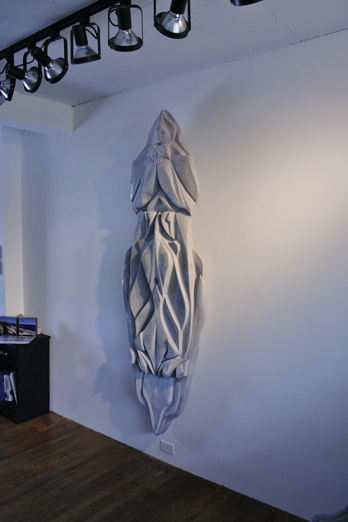
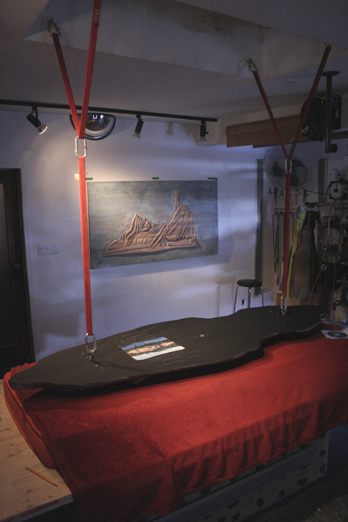
Part of the interesting element to this piece, because it will be a more abstraction from nature, is that it will be mounted on a pivotal base so the piece can rotated so it can be enjoyed in different positions. The piece will change dramatically as it is rotated.
Click thumbnail to enlarge each image
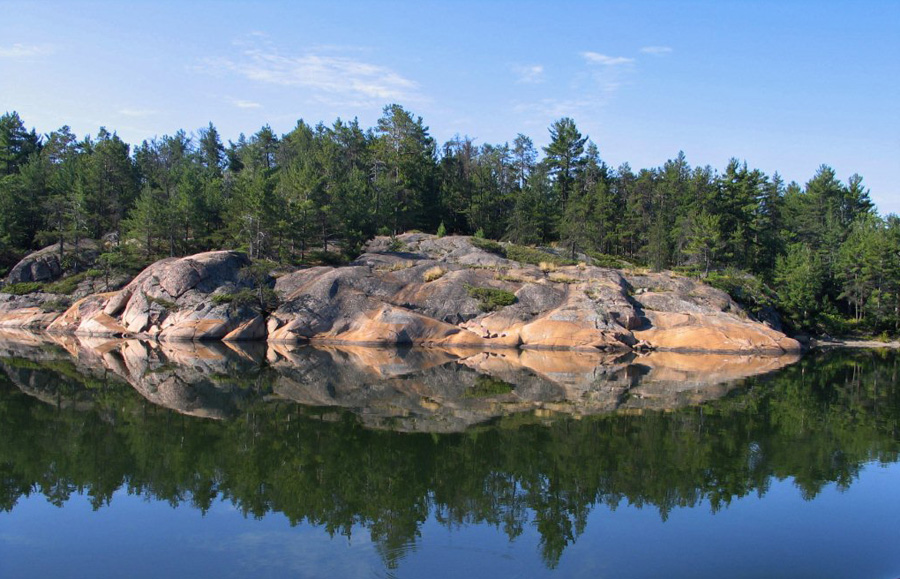
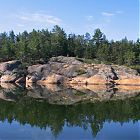 Original Reference photograph.
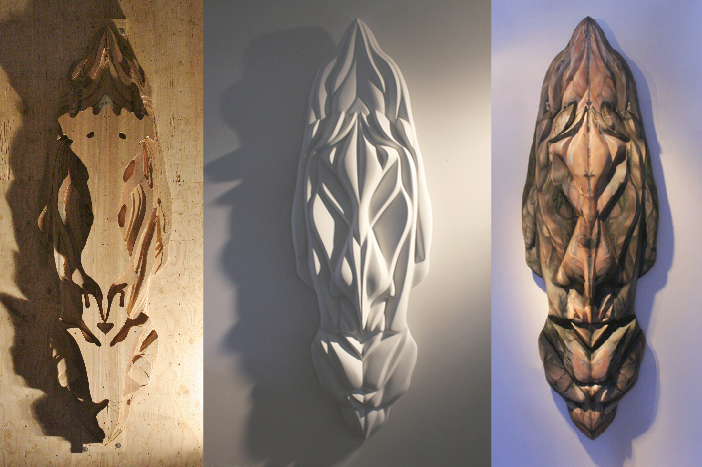
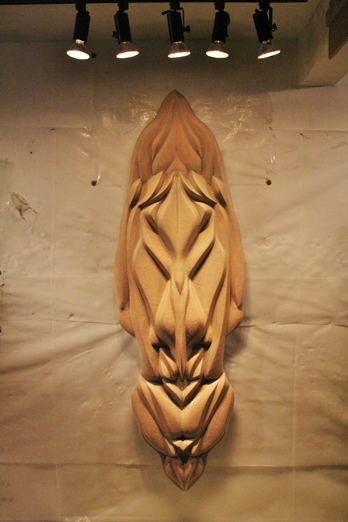
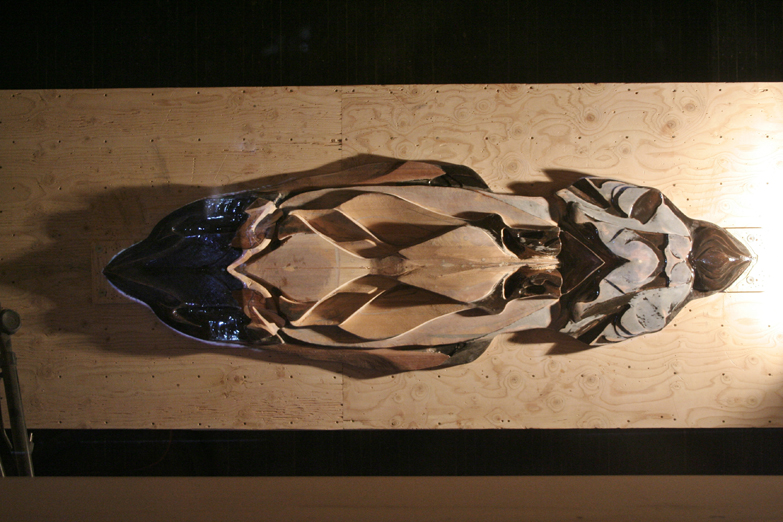
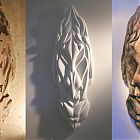 3 STAGES - During carving, final carving primed, final painting.
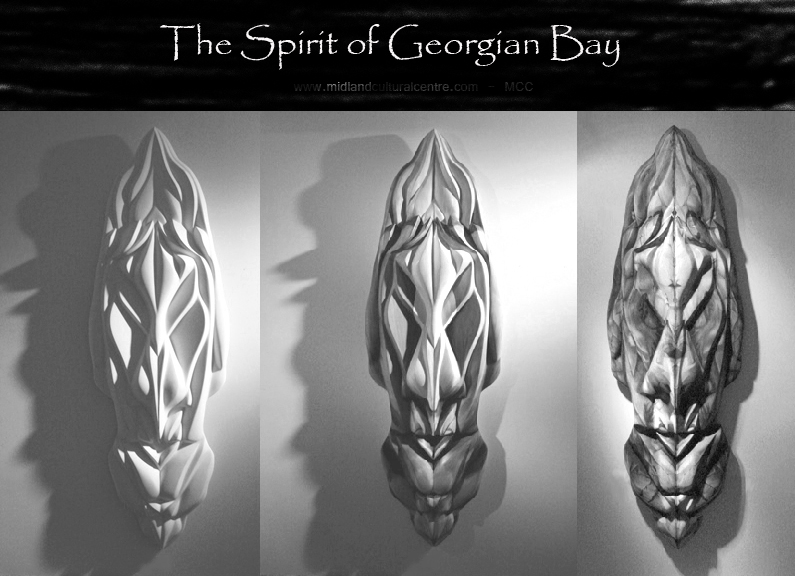
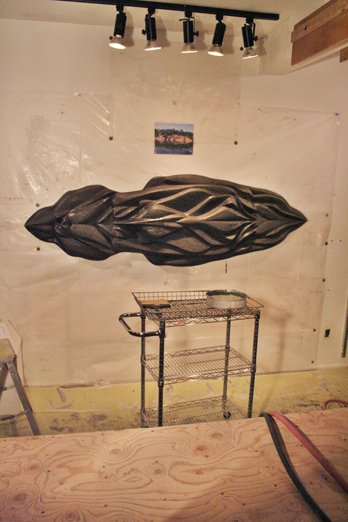
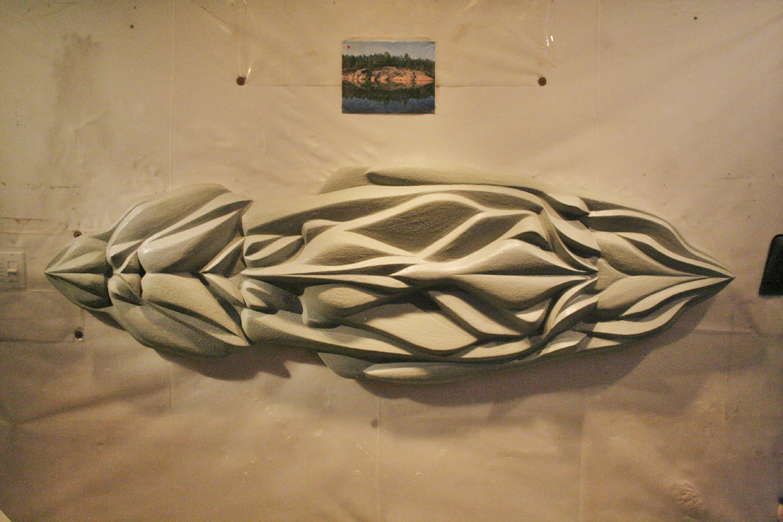
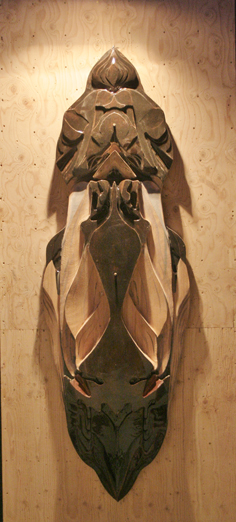
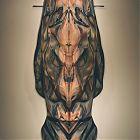 Spirit of Georgian Bay
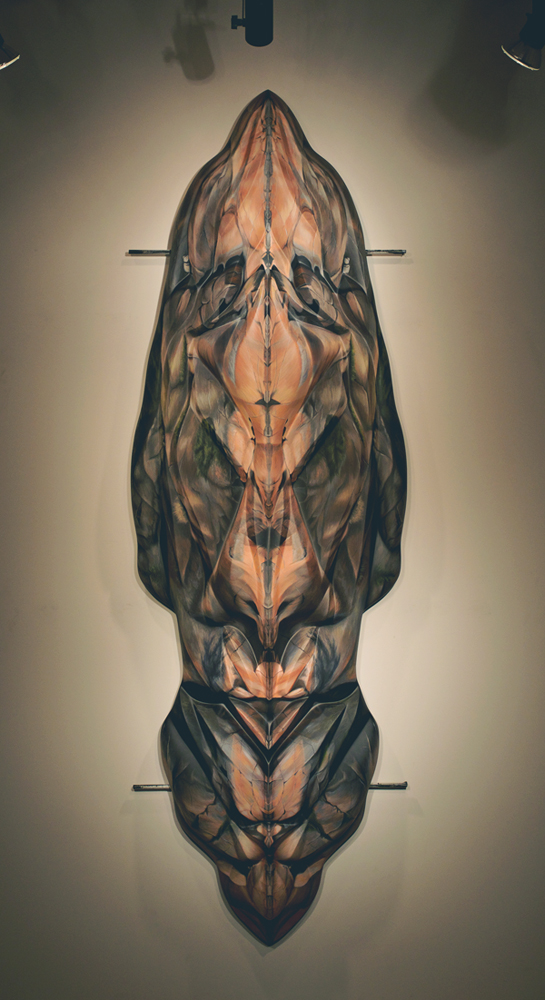
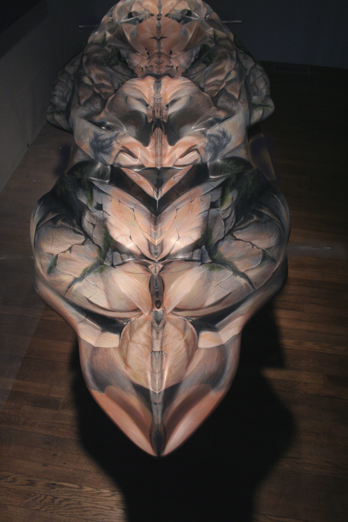
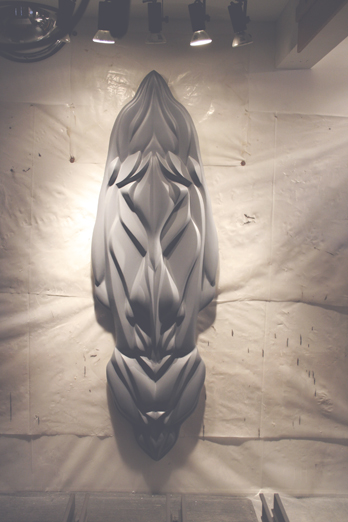
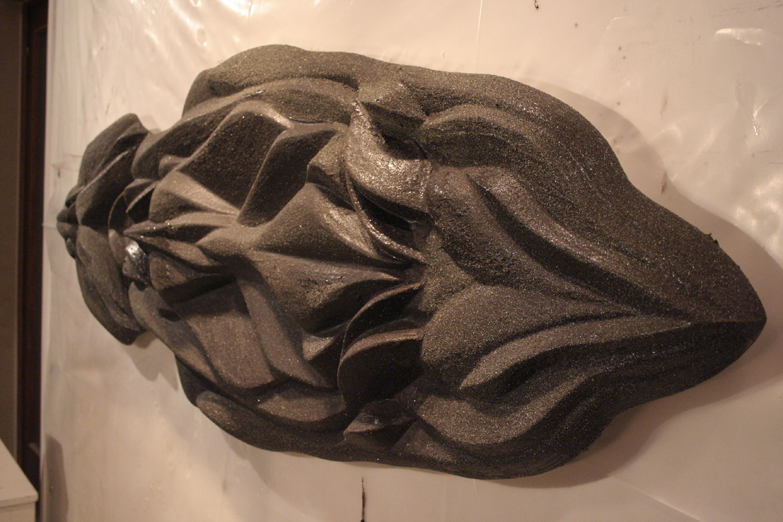
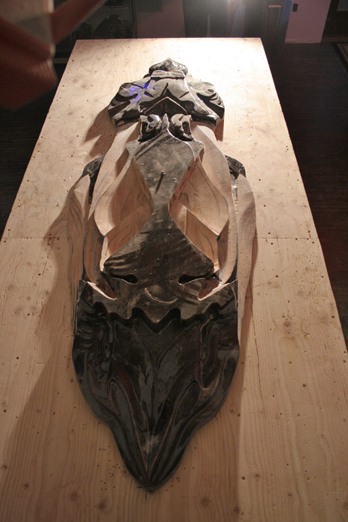
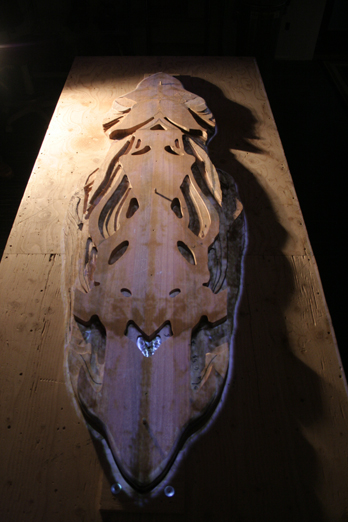
Acrylics on Sculpted Mahogany
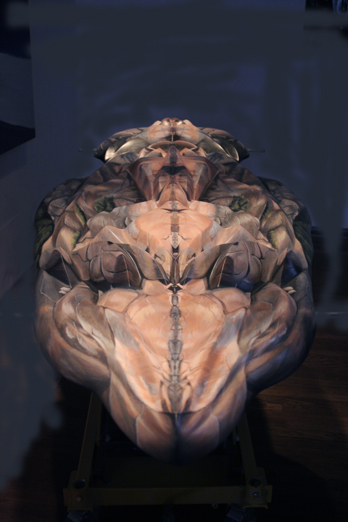
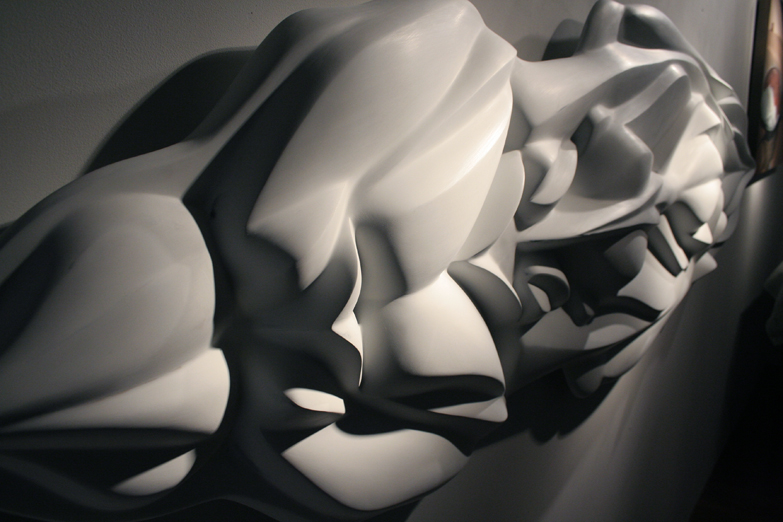
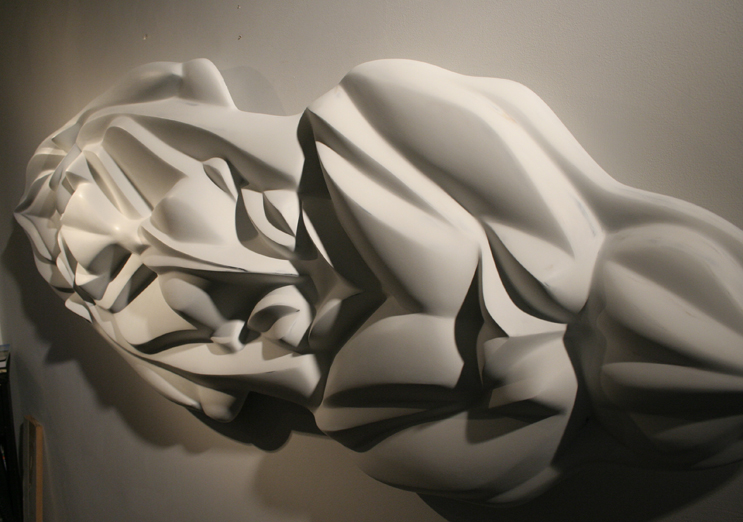
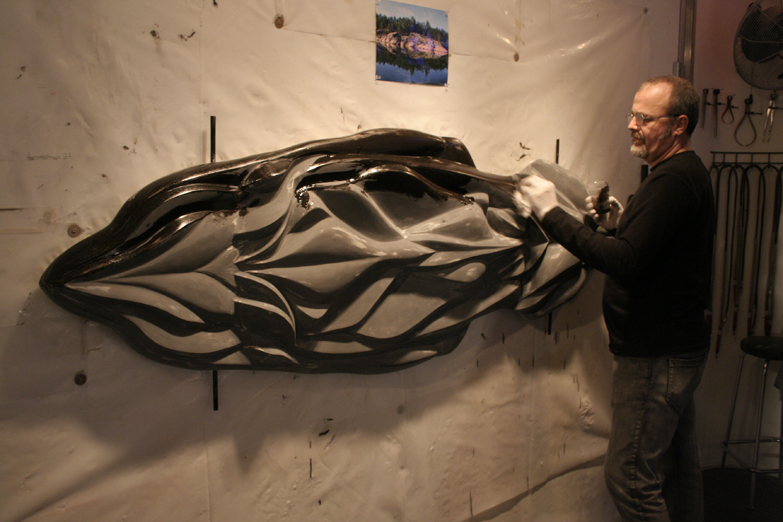
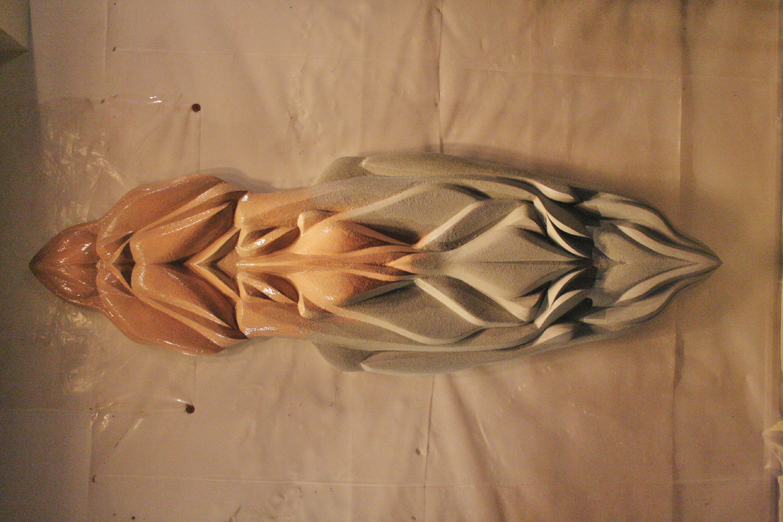
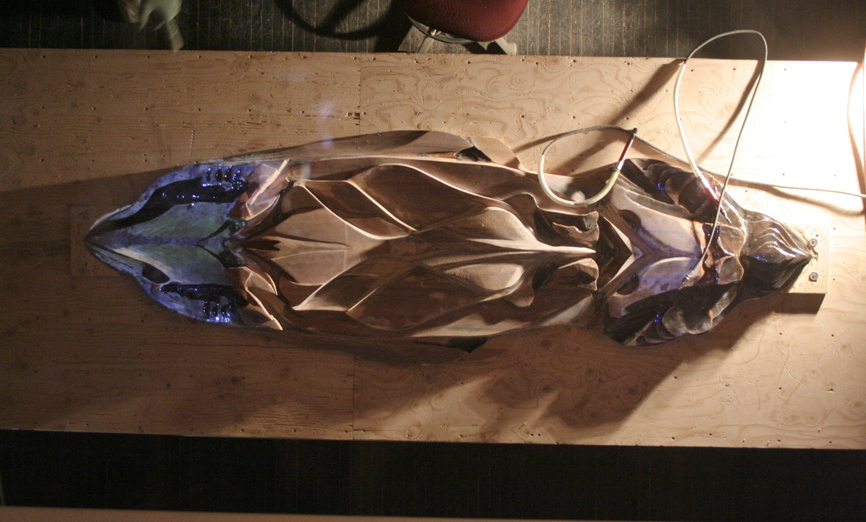
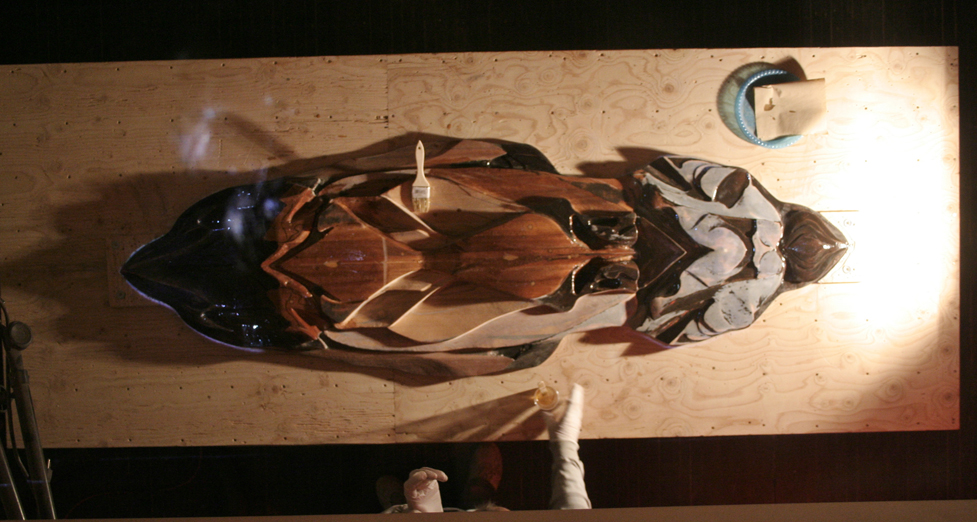
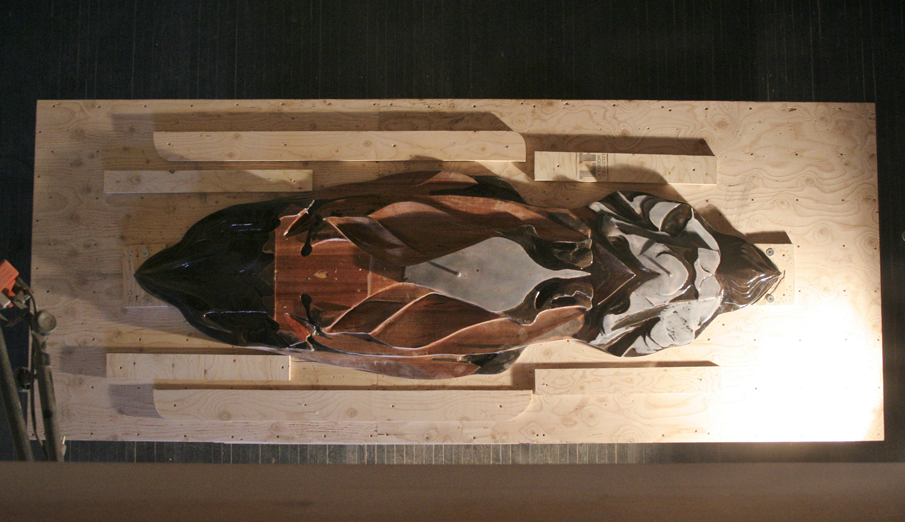
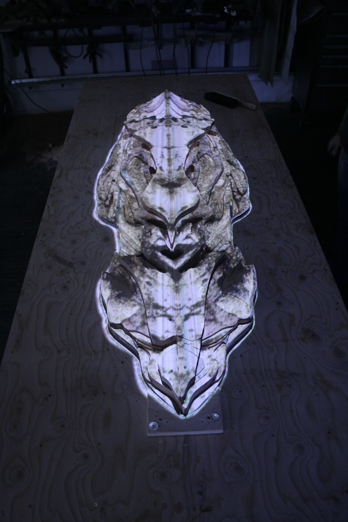
26 x 85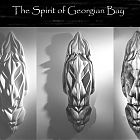 The Spirit of Georgian Bay: Primed, one coat of paint, final painting.
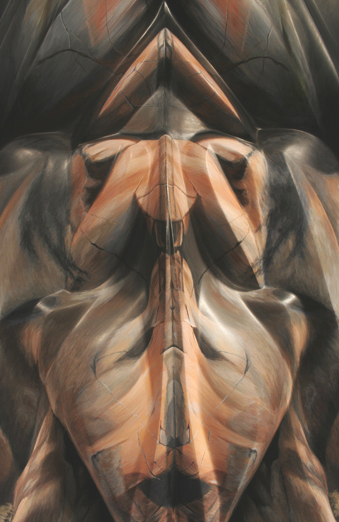
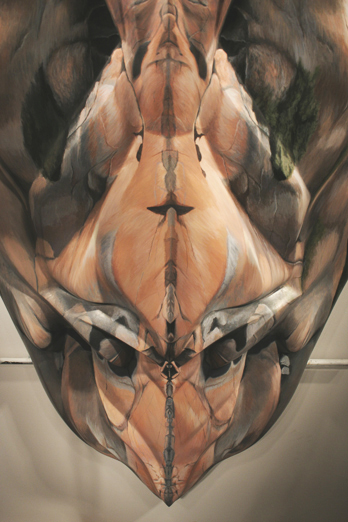
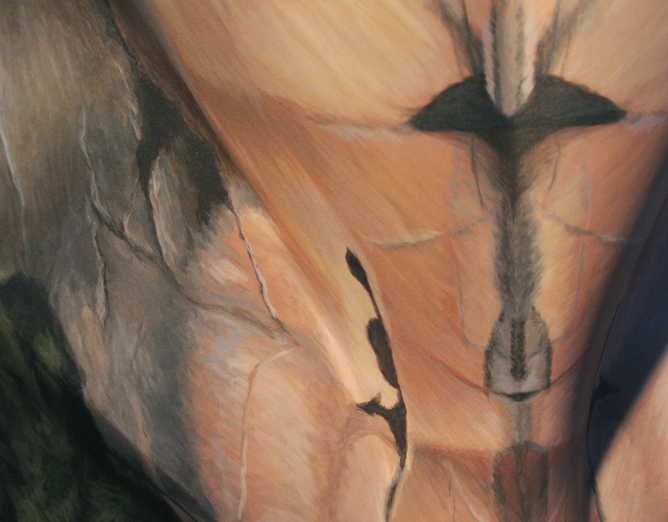
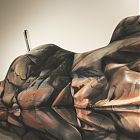 CLOSEUP of painting
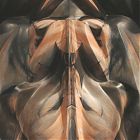 CLOSEUP of painting
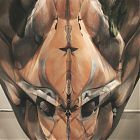 CLOSEUP of painting.
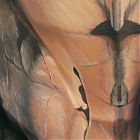 CLOSEUP of painting.
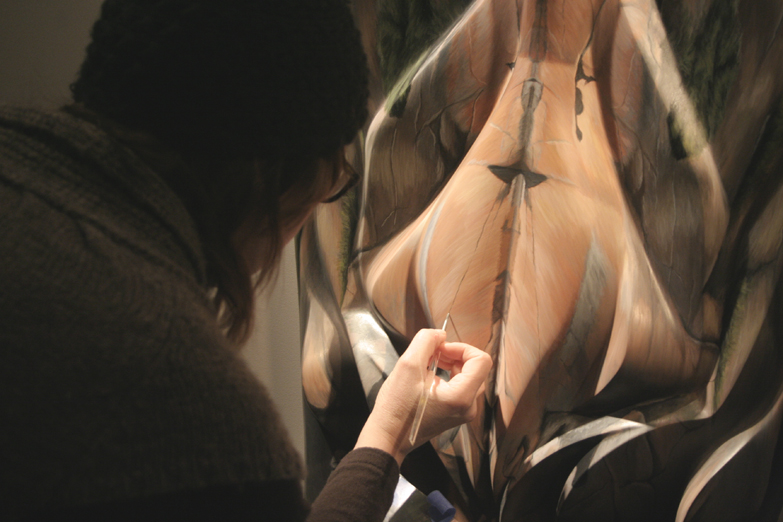
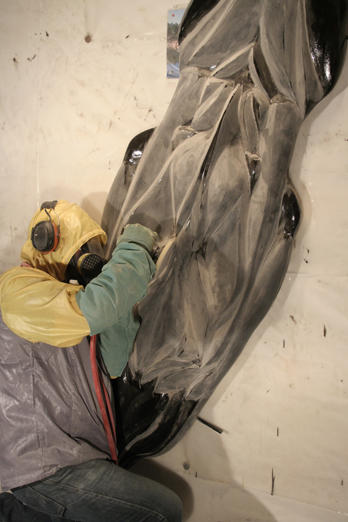
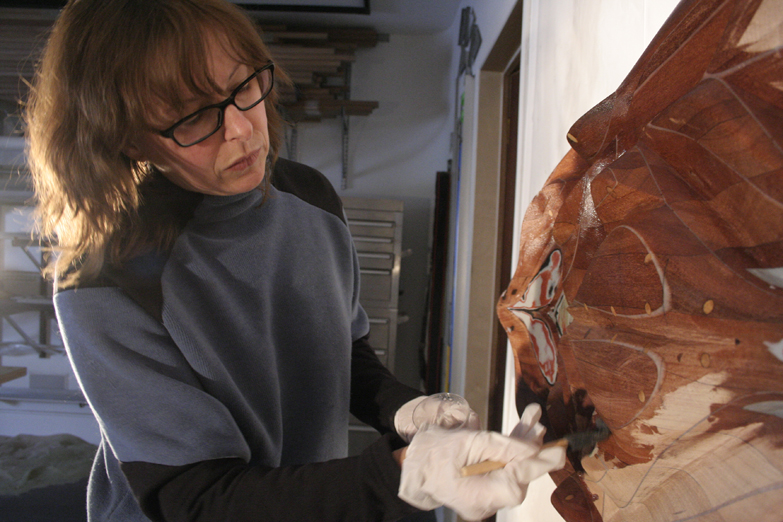
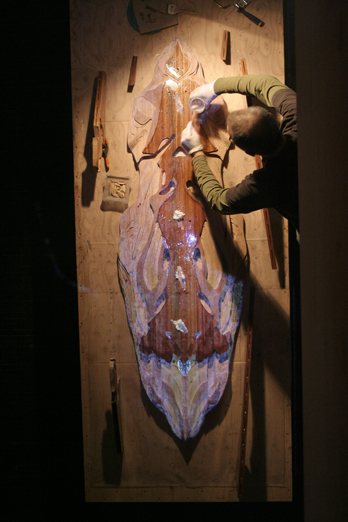
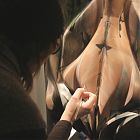 Getting up close and personal for the last strokes.
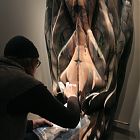 Can't believe it's so close to the end.
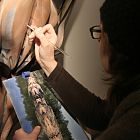 A teeny brush for final details.
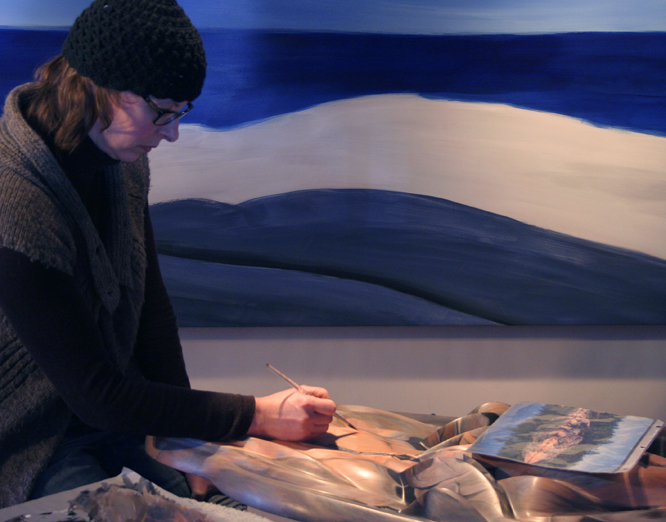
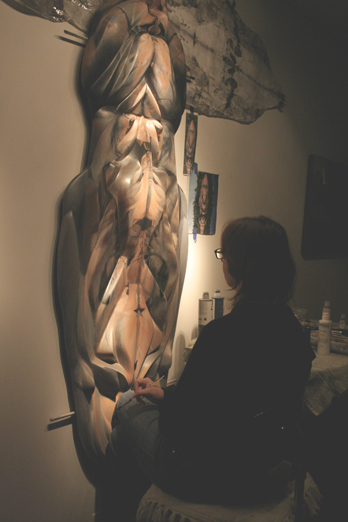
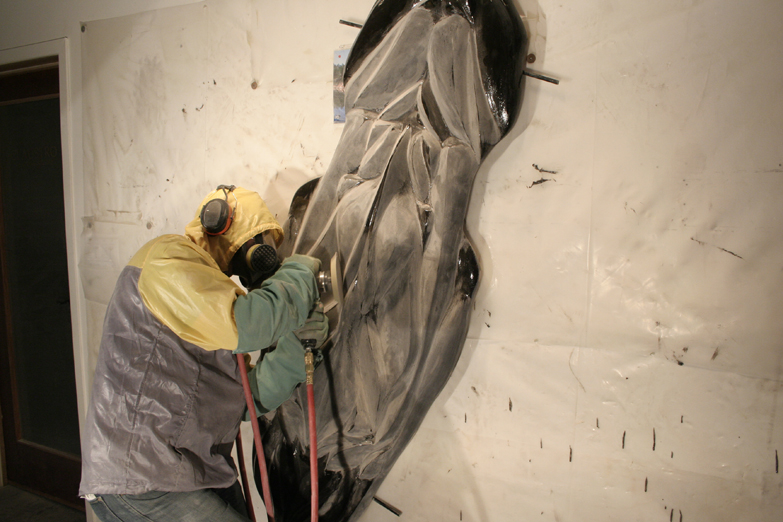
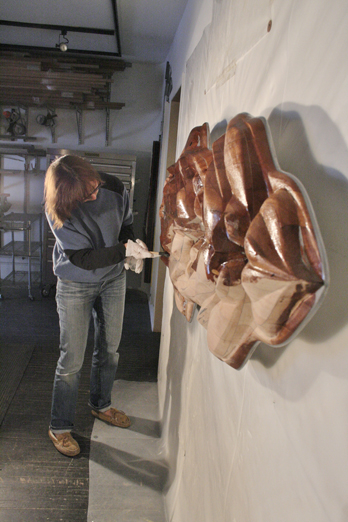
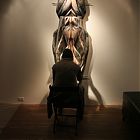 Carol painting the last section of detail.
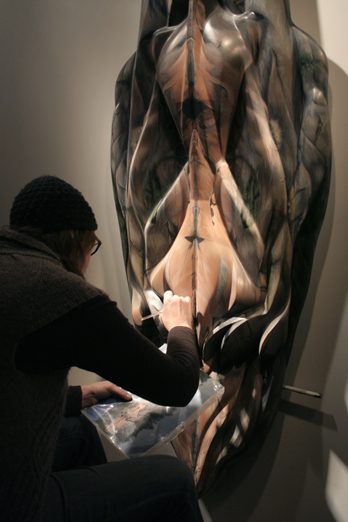
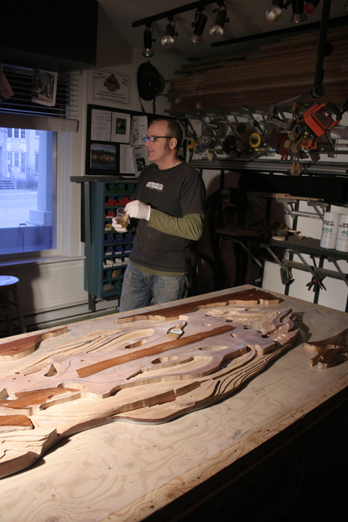
 Pretty nice studio to paint in! Carol in her glory!
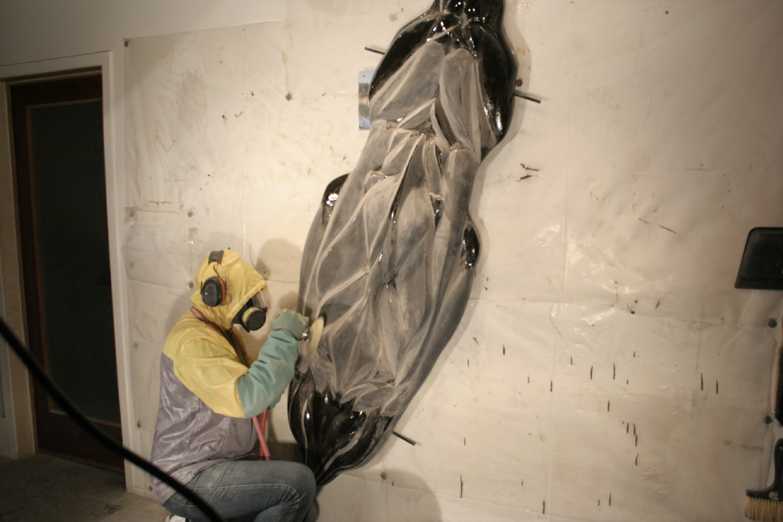
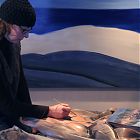 Painting in the horizontal position for the last time.
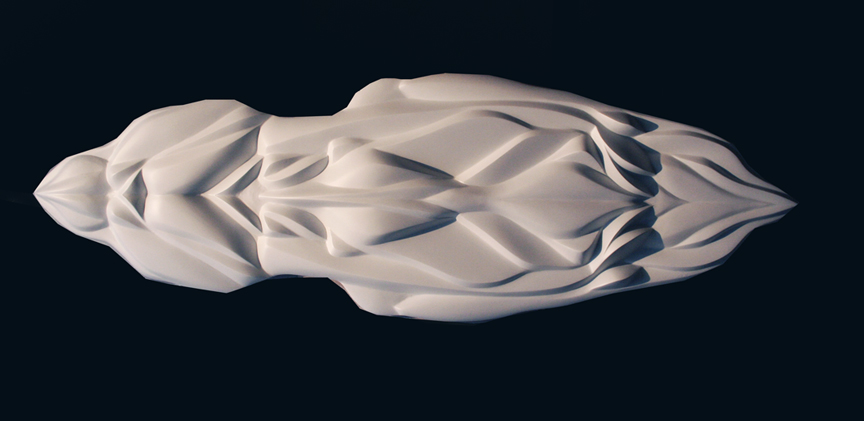
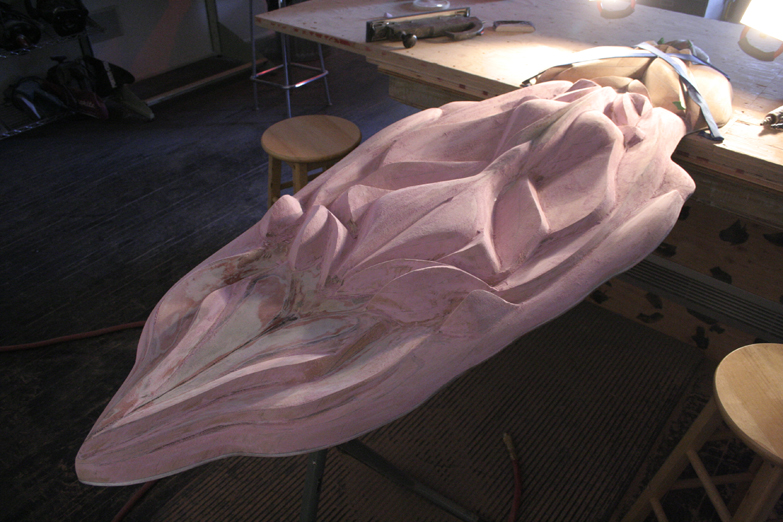
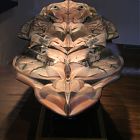 Flat position from the tip.
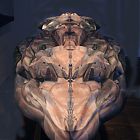 Flat position from the tail.
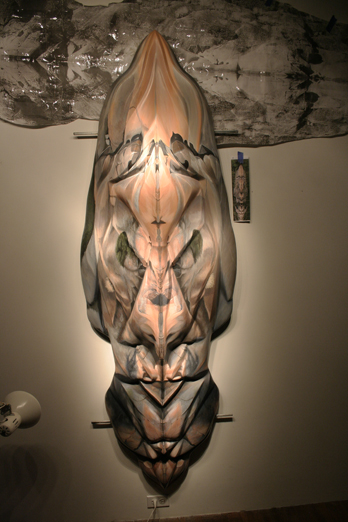
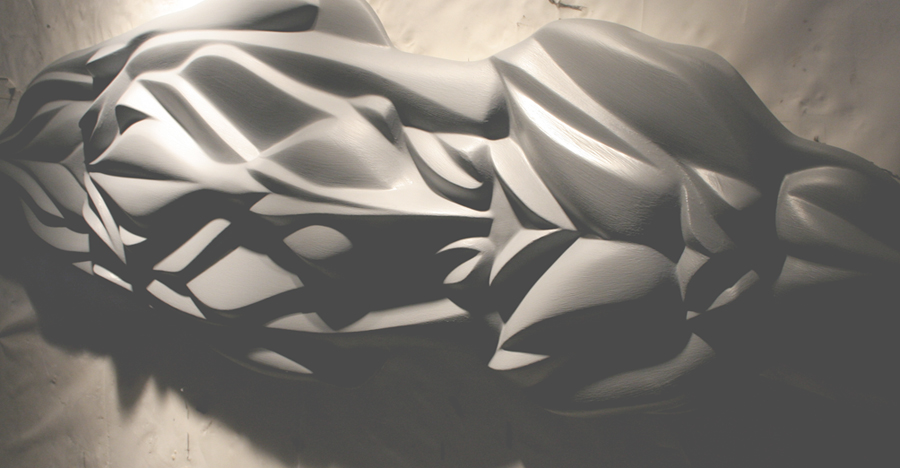
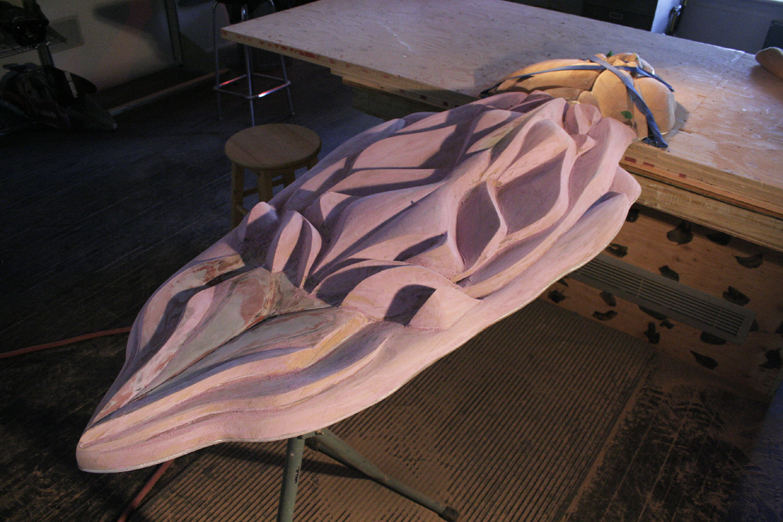
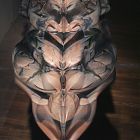 Every position creates new faces.
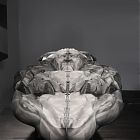 Interesting perspective without colour.
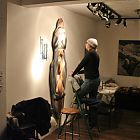 Yep, bigger than me.
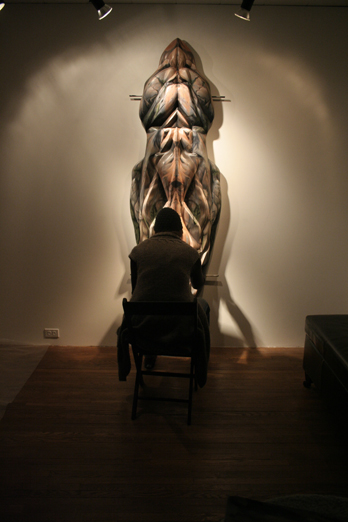
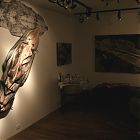 Showing the spin.
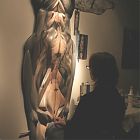 Quite a challenging piece.
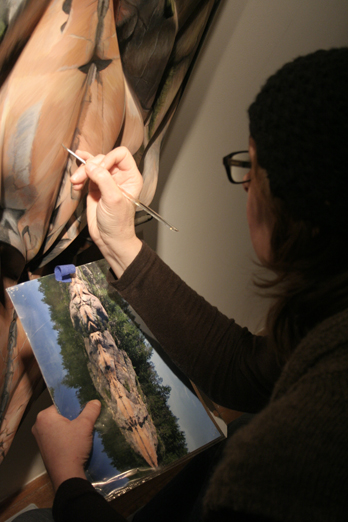
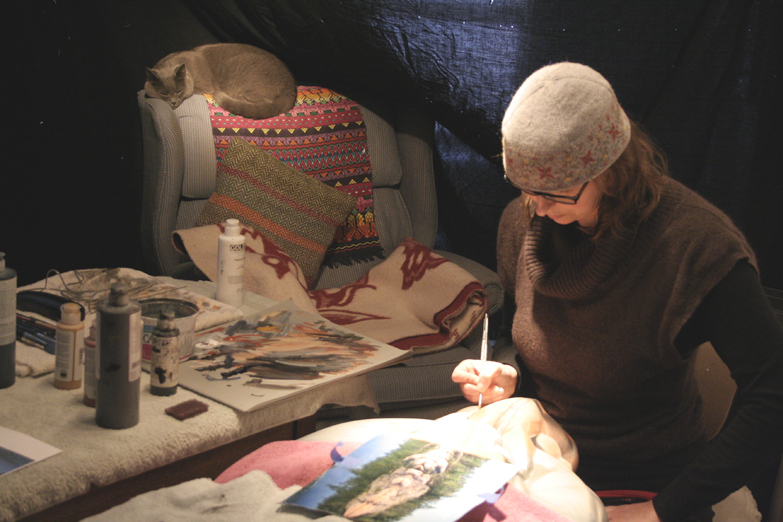
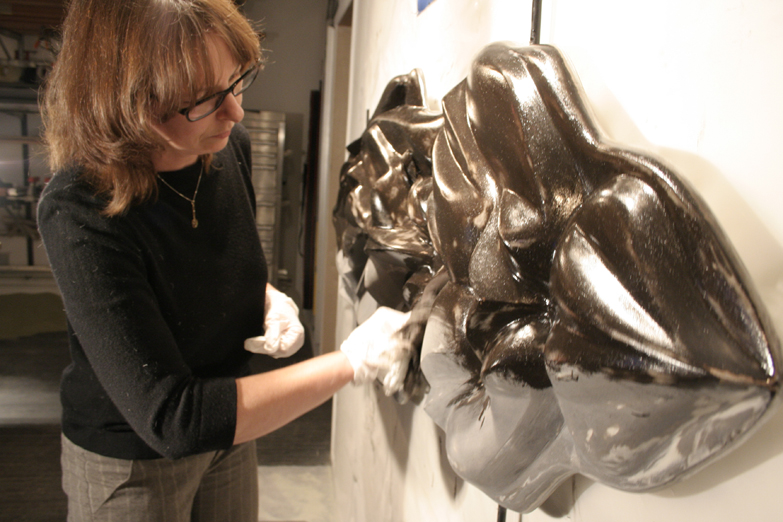
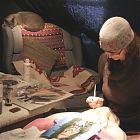 Sneak peak of Carol painting a small portion, while Ollie supervises.
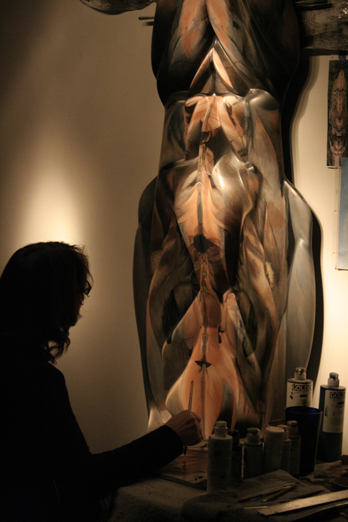
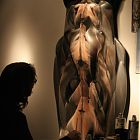 Carol Currie contemplating while painting.
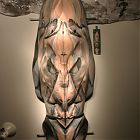 Finishing the top .
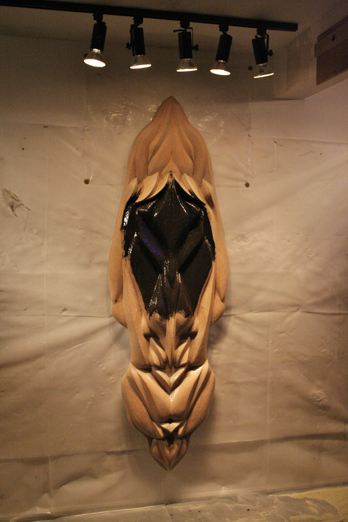
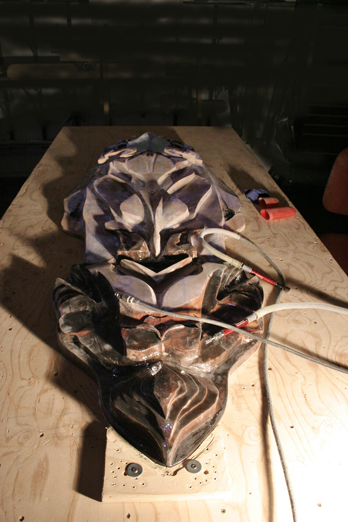
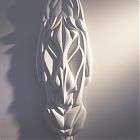 Primed in Carol's studio before painting.
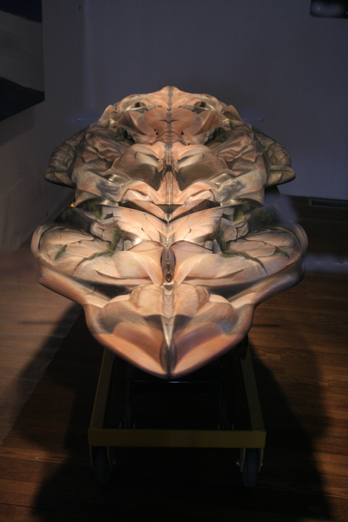
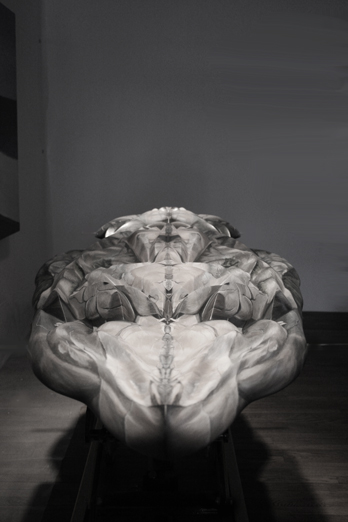
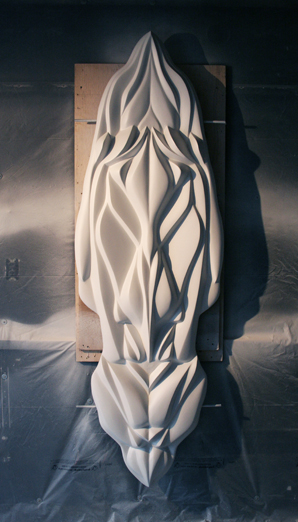
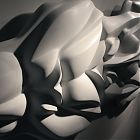 Stu Leggett "The Spirit of Georgian Bay" primed and ready for paint! (#075 - 3" x 26" x 96")
 Another closeup of sculpture primed before paint.
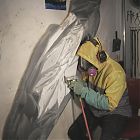 Last tool sanding of coating before the final primer coat is applied.
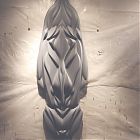 Second last coating to be sanded.
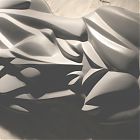 Closeup of second last coating!
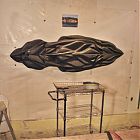
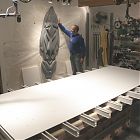 "The Spirit of Georgian Bay' Sculpted Mahogany (3" x 26" x 86"). "The Western Islands" is on the table! (1" x 42" x 109")
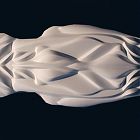 Primed and ready for fine sanding.
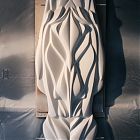 With a few coats of primer on the piece .. which means, CLOSE to completion!
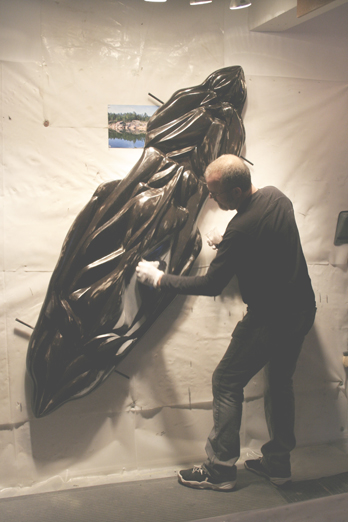
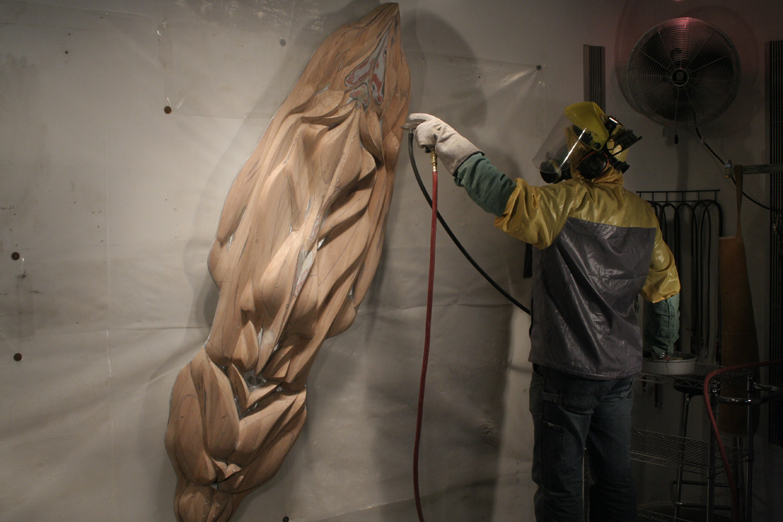
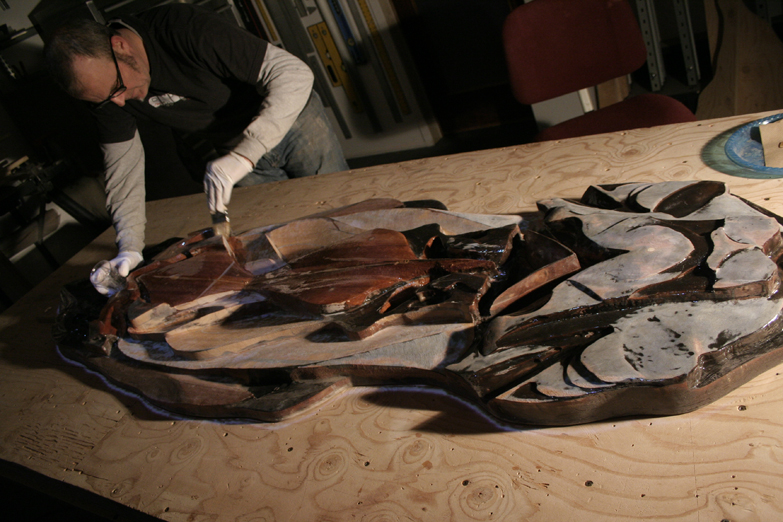
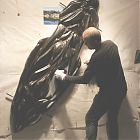 Stu completing epoxy coat.
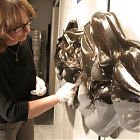 Carol assisting with light epoxy coating.
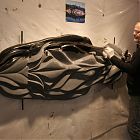 Stu rubbing on light epoxy coating.
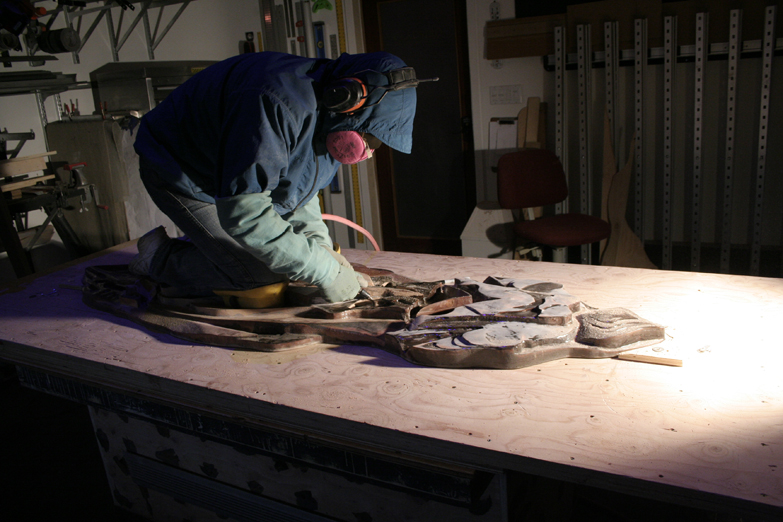
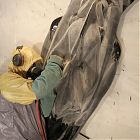 Several hours of more buffing.
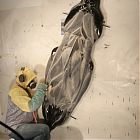 Stu buffing epoxy.
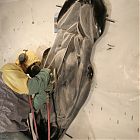
 Piece after 6 coatings. Tomorrow will be more sanding.
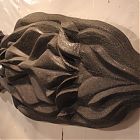 Last heavy coating before the final thin coat is applied.
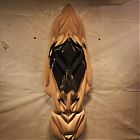 4th to 5th coating.
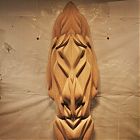 4th coating.
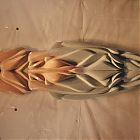 This shows the colour changes between the 3rd and 4th coatings, making it easier to ensure the entire piece is coated.
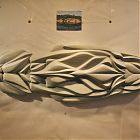 This is the second coating applied.
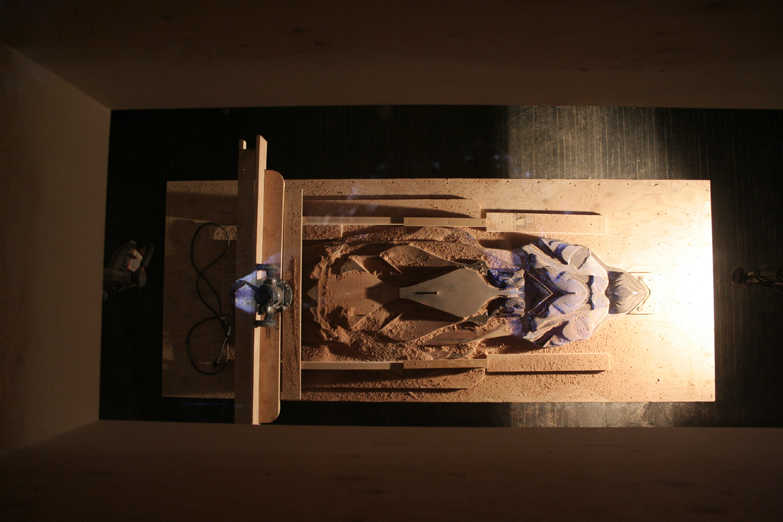
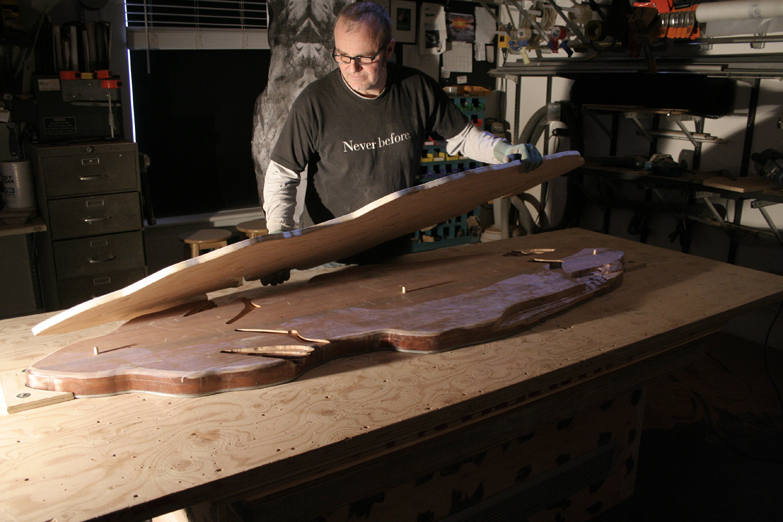
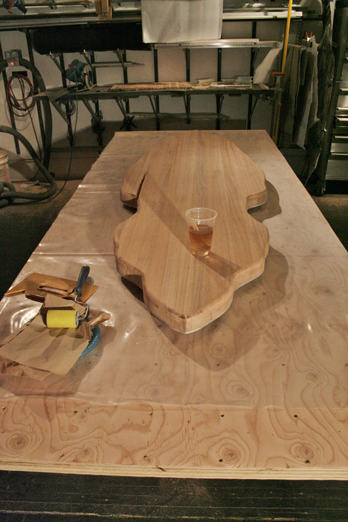
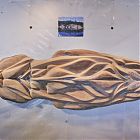 After sandblasting, the piece is ready for the coatings.
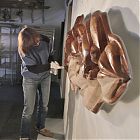 Showing the magnitude of the piece, each coating takes upwards of an hour to apply, with both Carol and Stu.
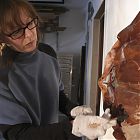 Carol applying the first light epoxy coating. Each coat will have to sit for an hour before the next is applied.
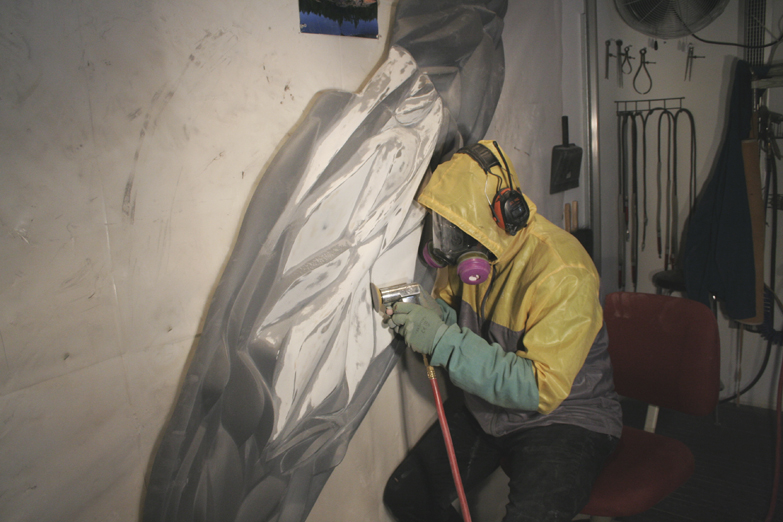
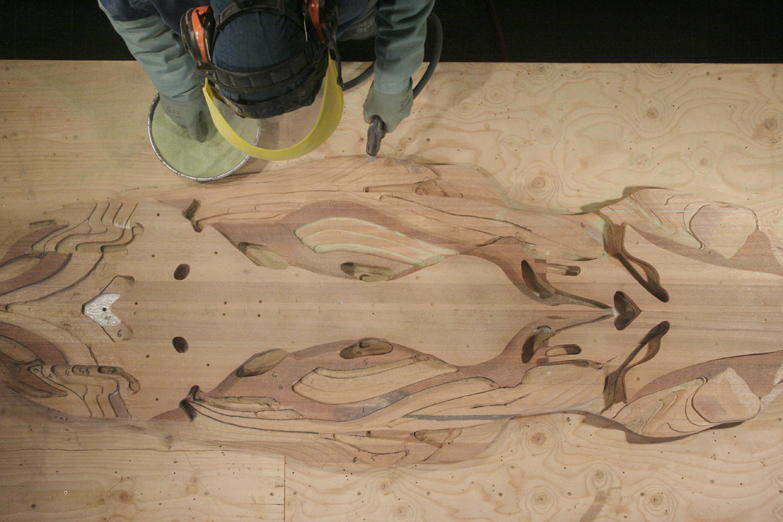
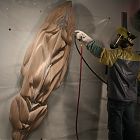 Stu sandblasting the piece before the 5 coatings are applied.
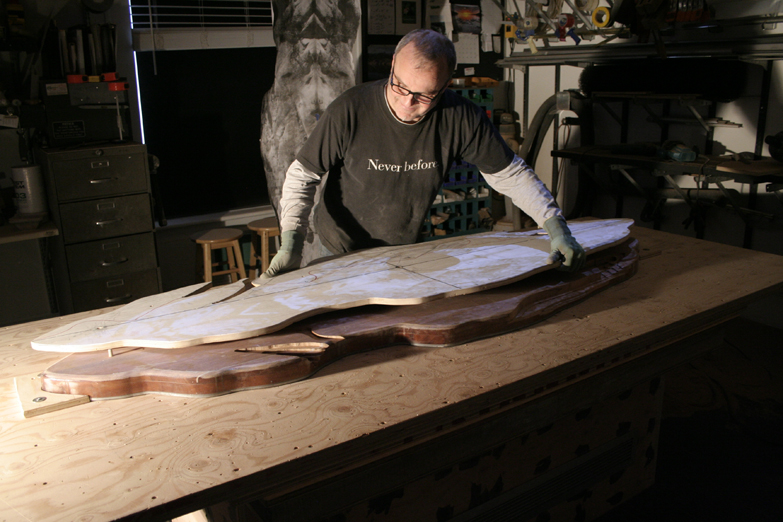
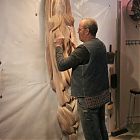 Stu Leggett doing final sanding on "The Spirit of Georgian Bay" Acrylics on Sculpted Mahogany (#075 - 3" x 26" x 86").
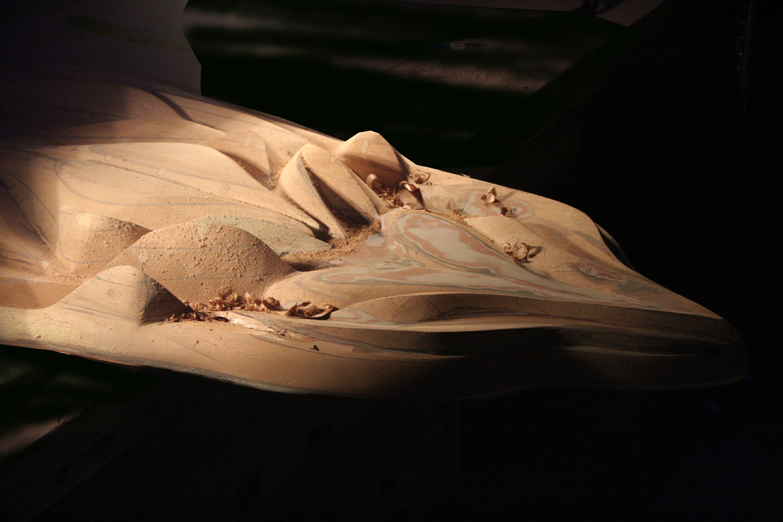
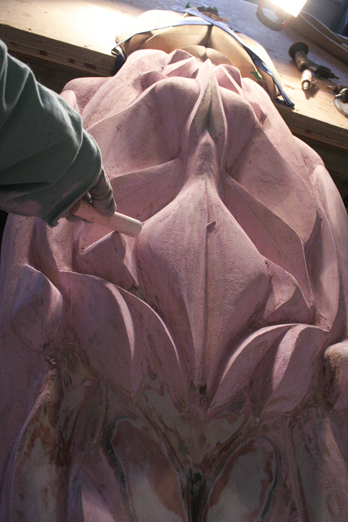
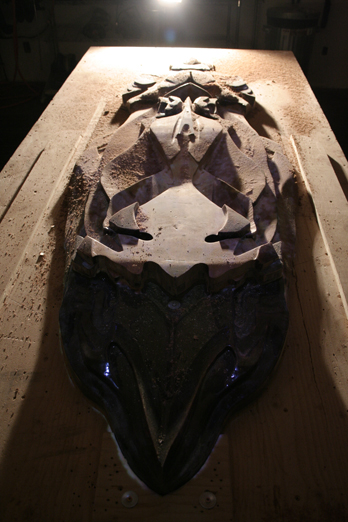
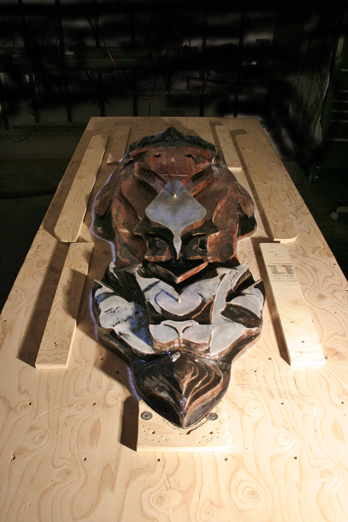
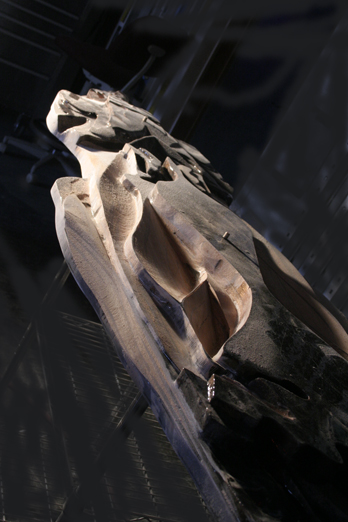
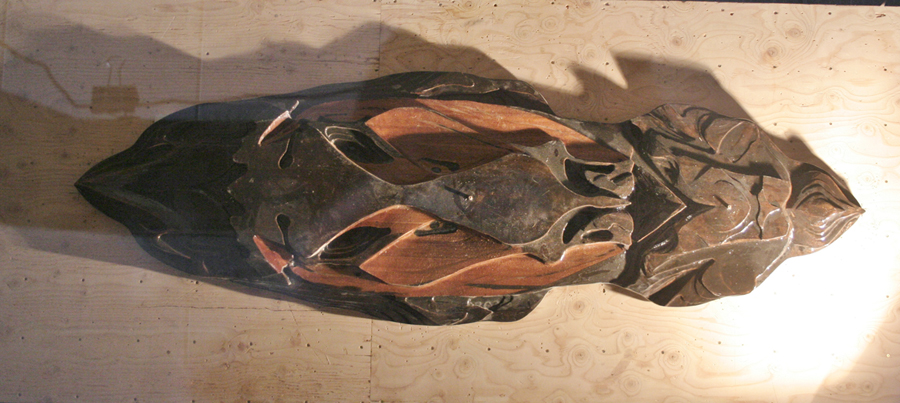
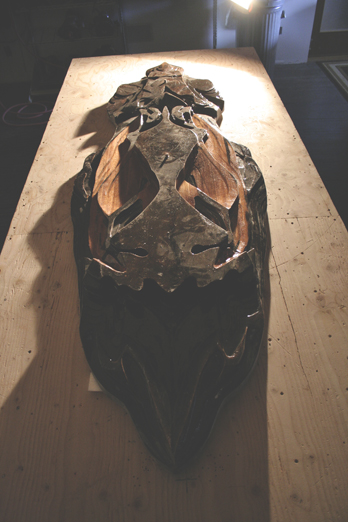
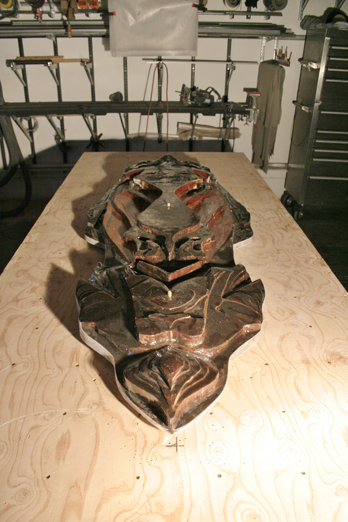
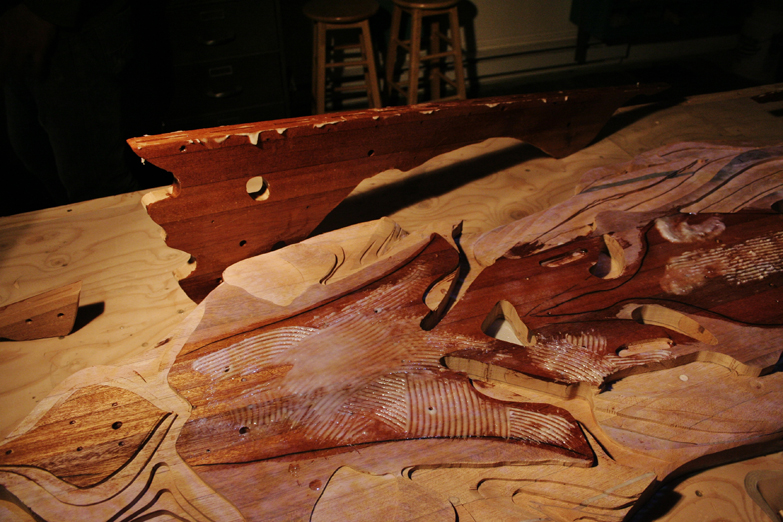
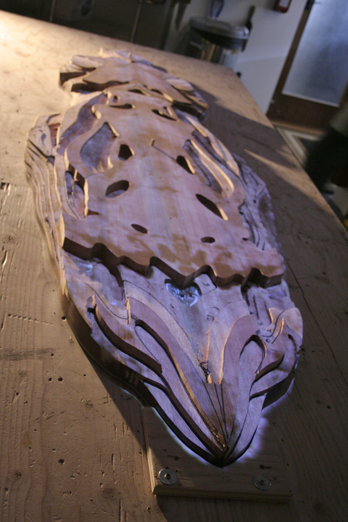
 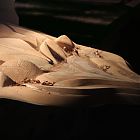 Detail of 'tail' of carving.
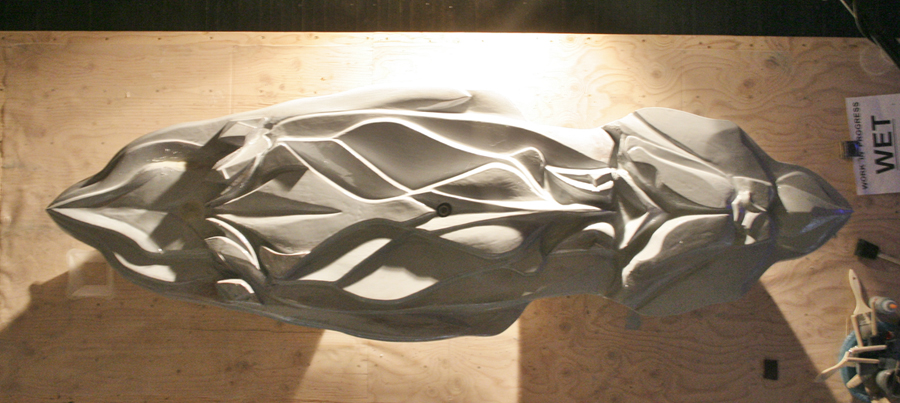
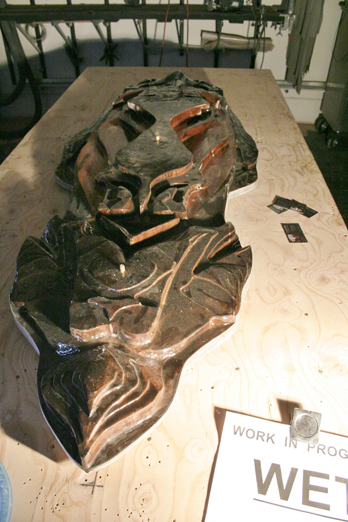
 Detail of carving of tail end of sculpture. Work in Progress.
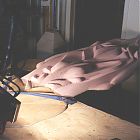 Pink cast is chalk...smoothening out!
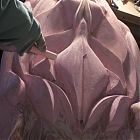 Nice Pink shapes.
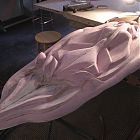 Beautiful work Stu!
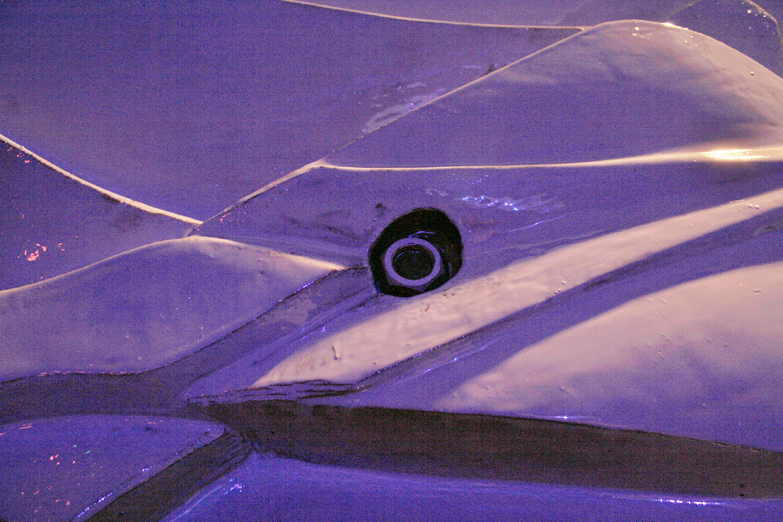
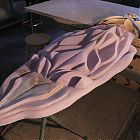 The shadows!
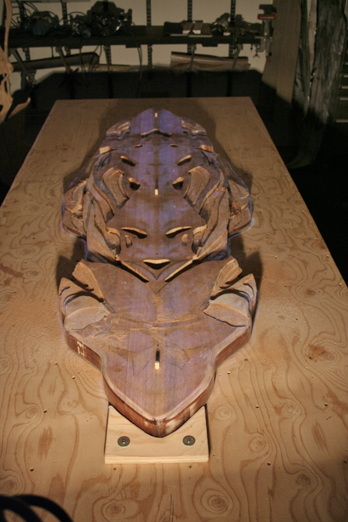
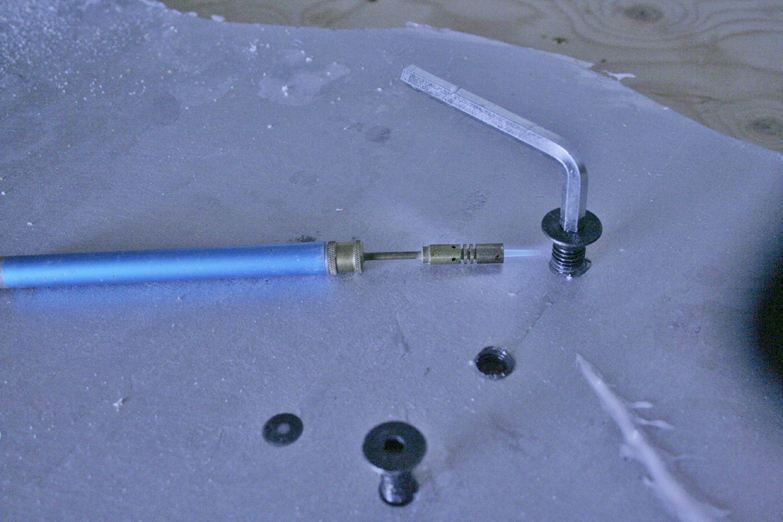
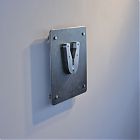 This is the anchor bolt that will be fastened to the client's wall, which will allow the art to rotate.
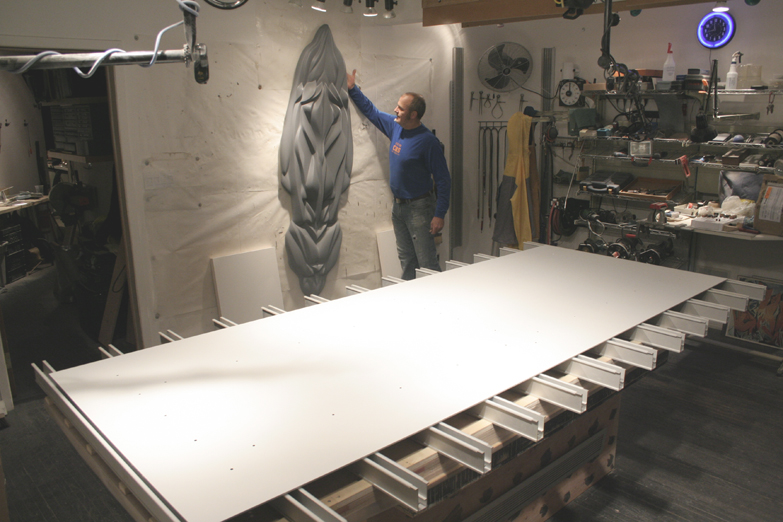
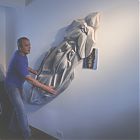 Stu is demonstrating how the art will rotate to be shown in all directions.
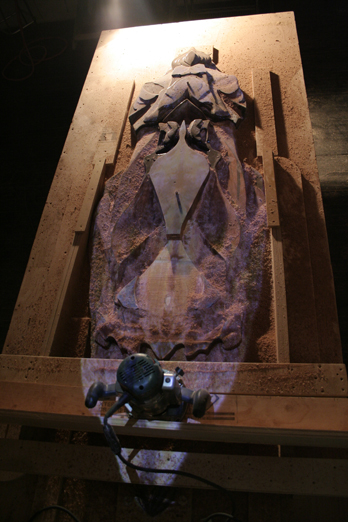
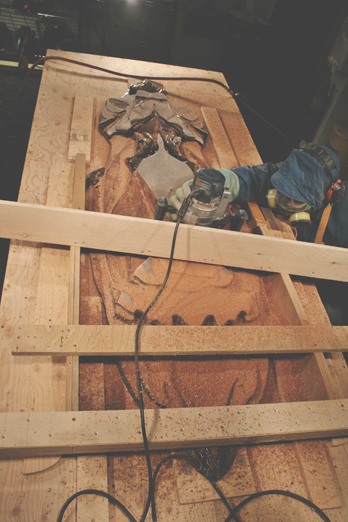
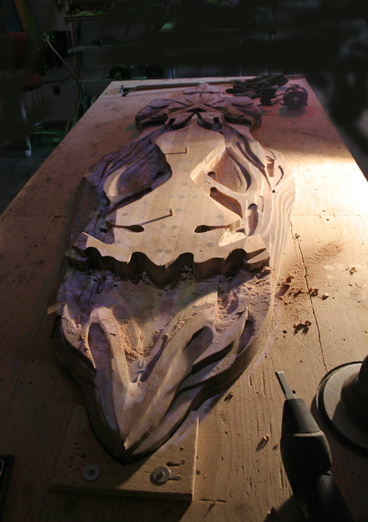
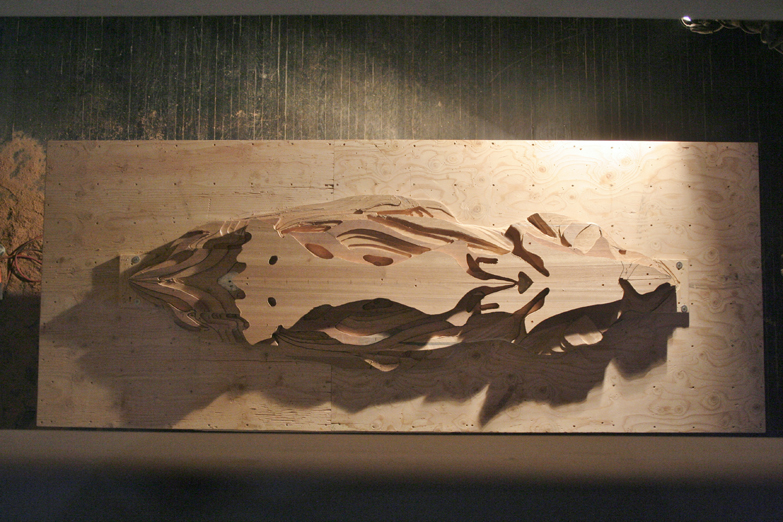
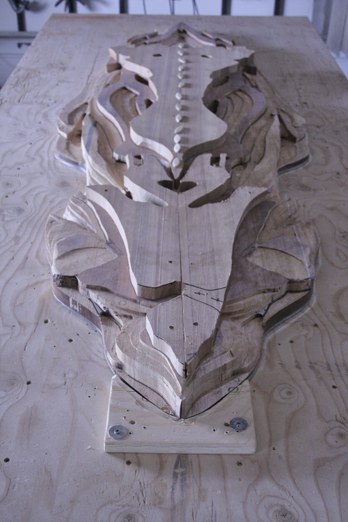
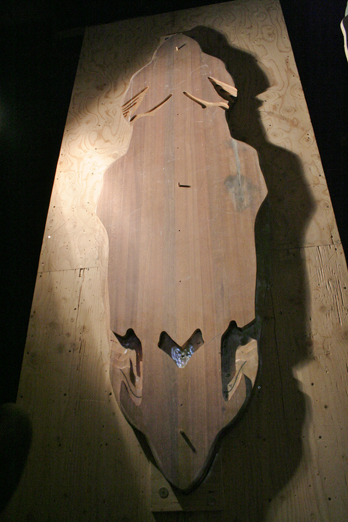
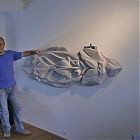 Sculpting almost complete ...
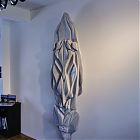 And one of two vertical directional positions.
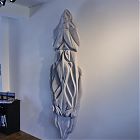 And the second vertical position.
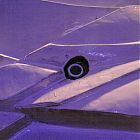 Closeup of the anchor bolt used for installation.
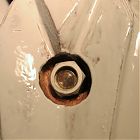 Another closeup of the anchor bolt for hanging.
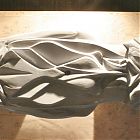 Epoxy coatings used to protect and smoothen the carving in preparation for the final surface.
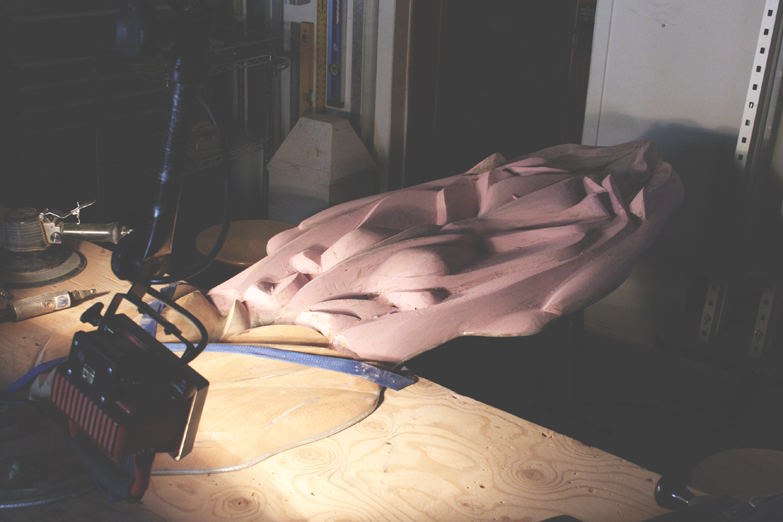
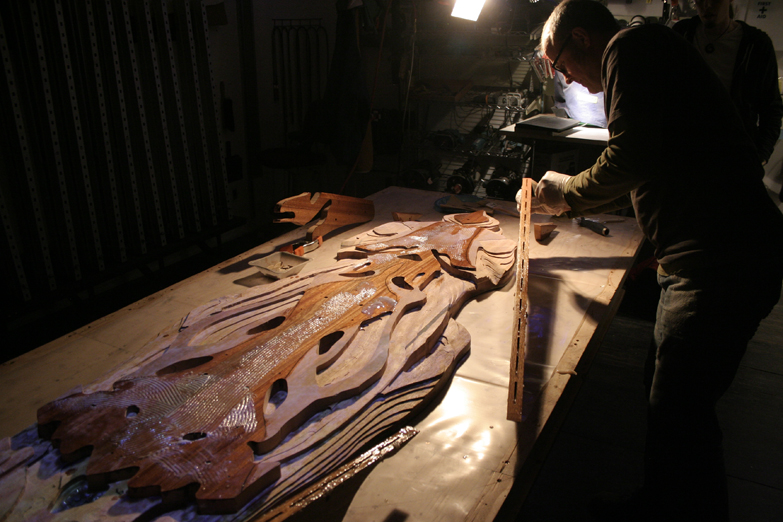
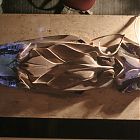 Some amazing smooth lines are coming together now!
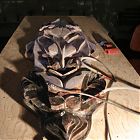 The carving is really finishing up beautifully...getting so close.
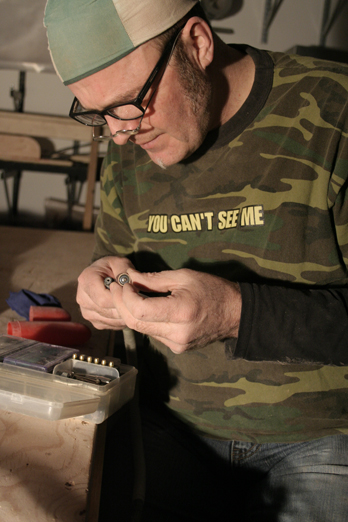
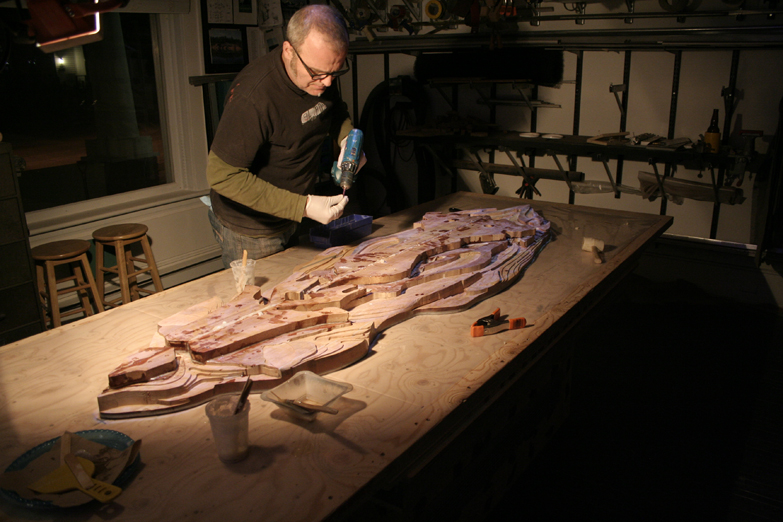
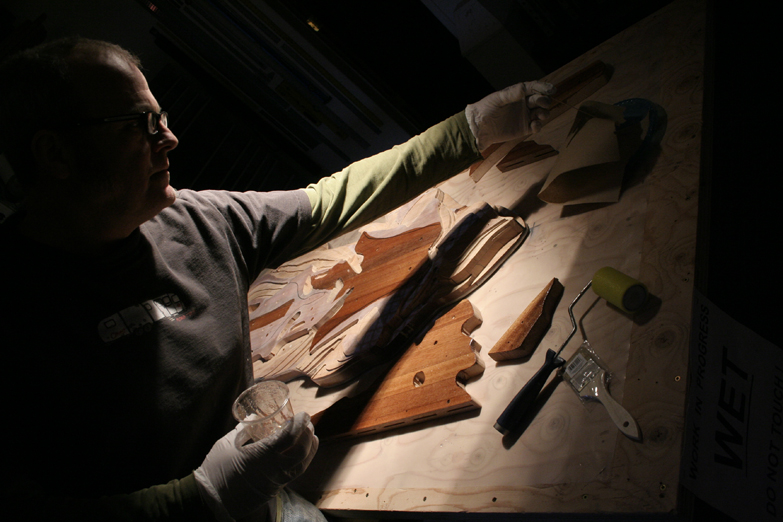
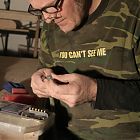 Fixing and cleaning the tools. Making art is not just fun and games. haha.
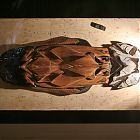 An excellent day's work completed with the epoxy coat.
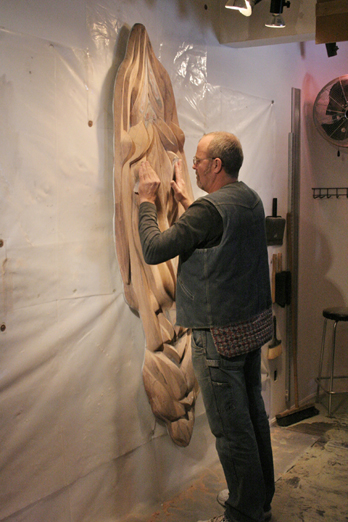
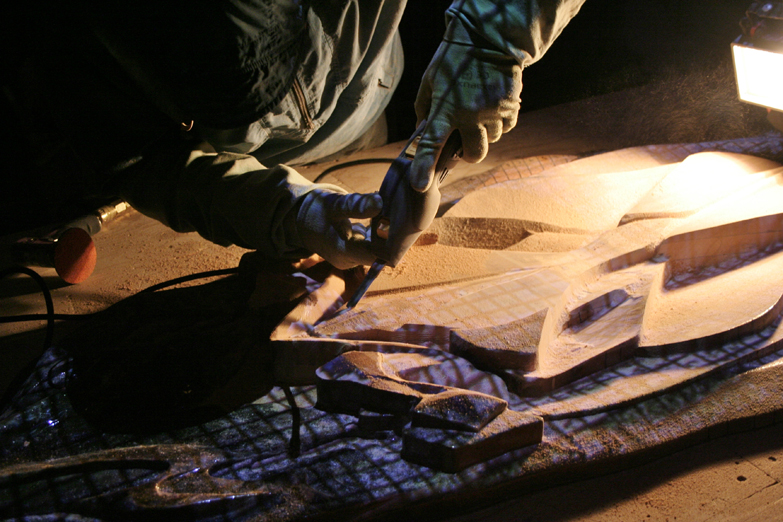
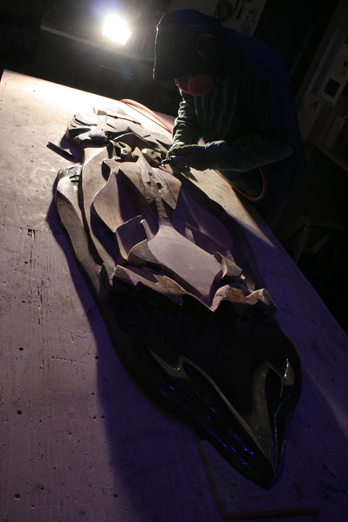
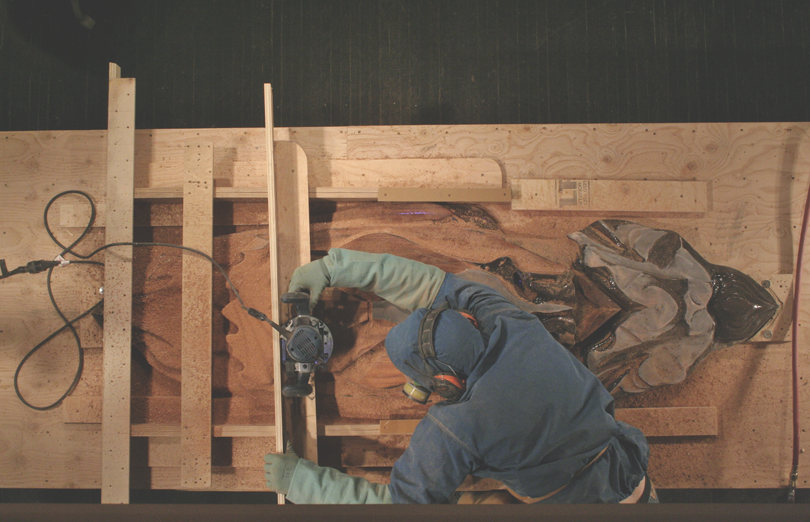
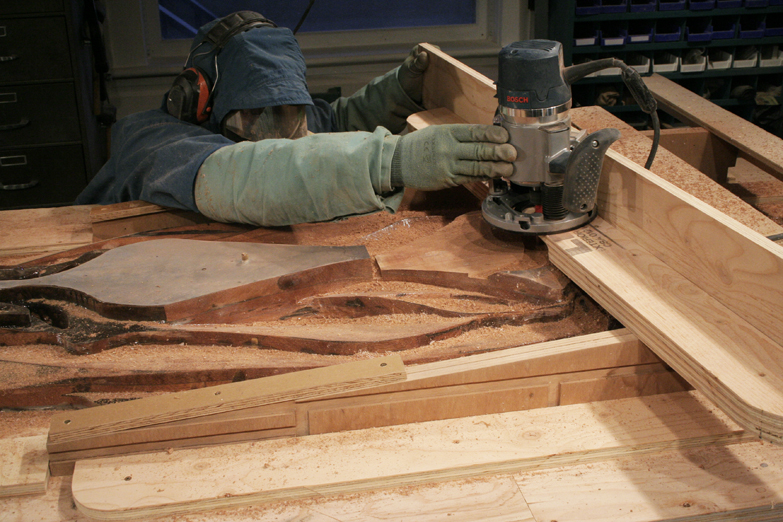
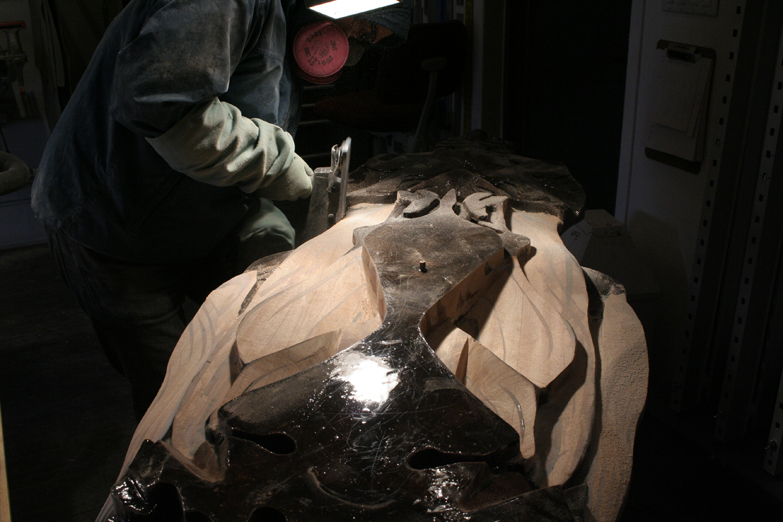
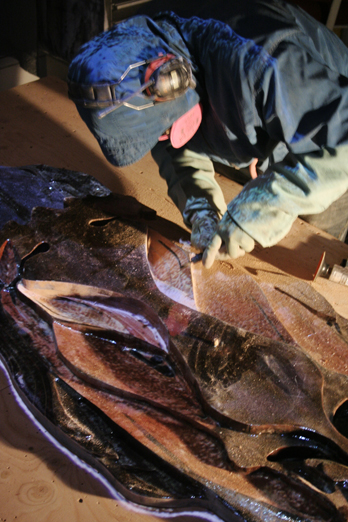
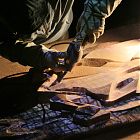 Stu chiselling some finer details.
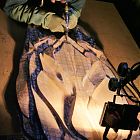 Stu fine carving.
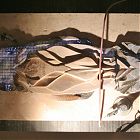 Looking good!
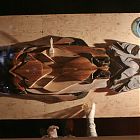 Epoxy coating.
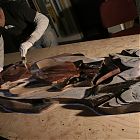 Stu epoxying after a day's work.
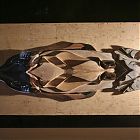 Gorgeous progression!
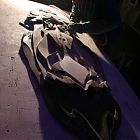 Stu carving the upper layers.
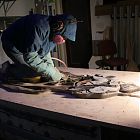 Stu has to get on the carving to make sure he is carving the same on both sides.
 Very neat shapes are forming.
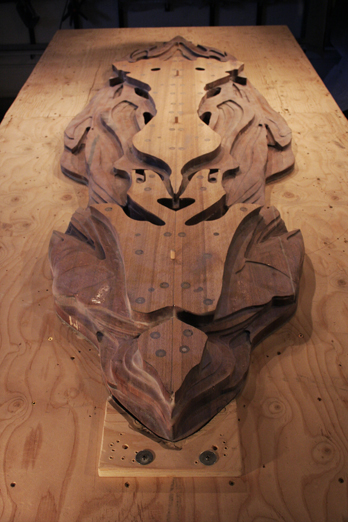
 The top (third) layer is starting to form.
 Shapes are really starting to form. Still much more to do, but it's coming!
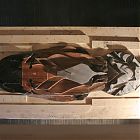 And after cleanup and epoxy coating.
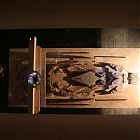 After a day's work, before cleanup and epoxy coating.
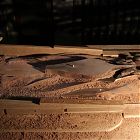 Another before and after of the angled carving and the flat component not yet completed.
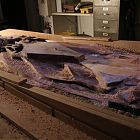 Difference between the right side and the left side before and after carving.
 After completion of the angle, and projecting the image to the carving.
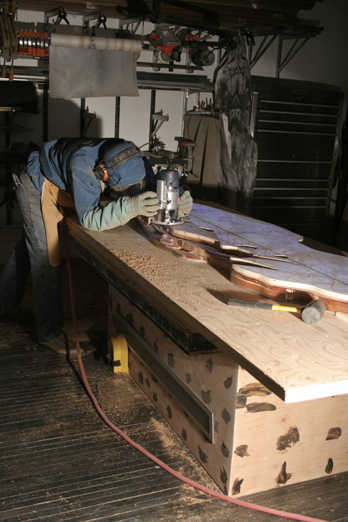
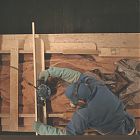 View of Stu carving with the sled from the projection room.
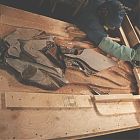 The use of the sled is ingenious.
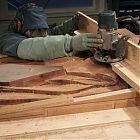 Closeup of the angled shape Stu is creating.
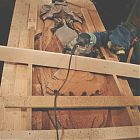 Half way through the process with the sled, the mahogany shavings are flying!
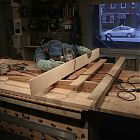 In the heart of downtown Midland, Stu working with a sled to carve a challenging angle.
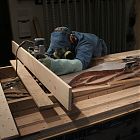 Stu set up a sled to carve a large angular part of the piece.
 After carving the 'hills', Stu epoxies his day's work.
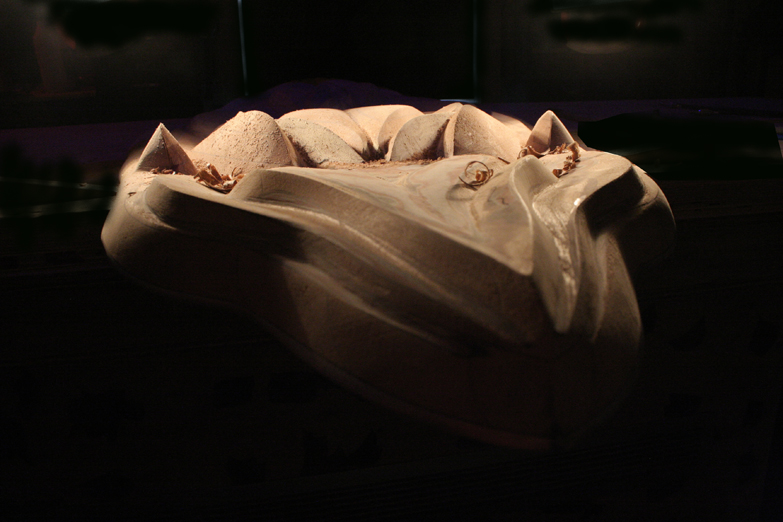
 The 'hills' are coming into focus.
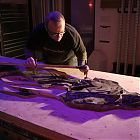 After carving, Stu ensures symmetry of the piece.
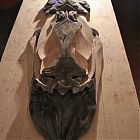 The lighter colour of wood is what Stu is carving. The other areas remain epoxied.
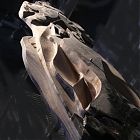 Carving is really coming along!! WOW!
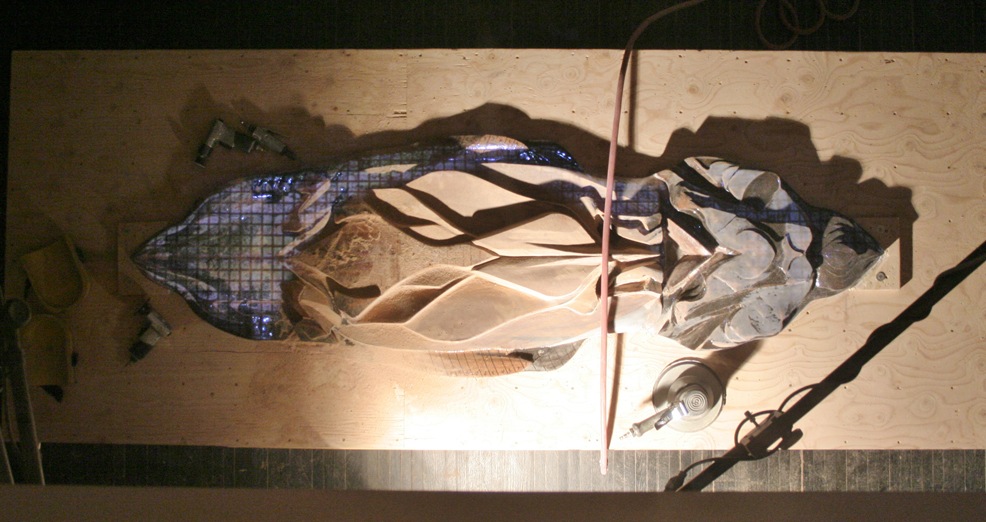
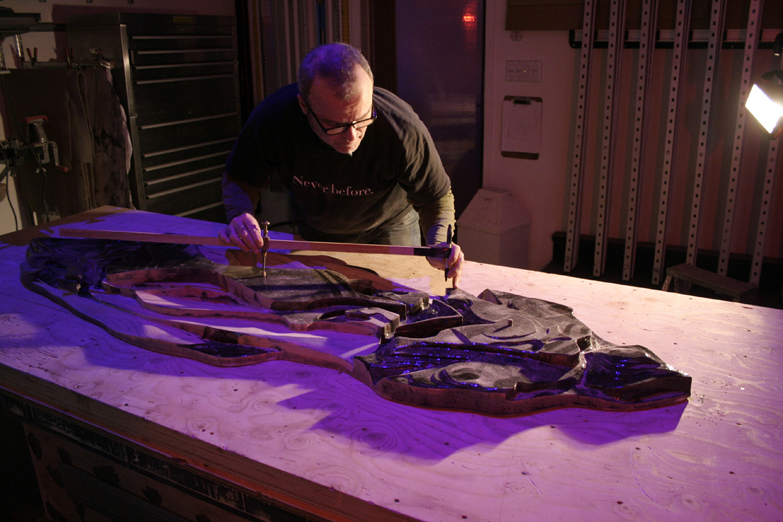
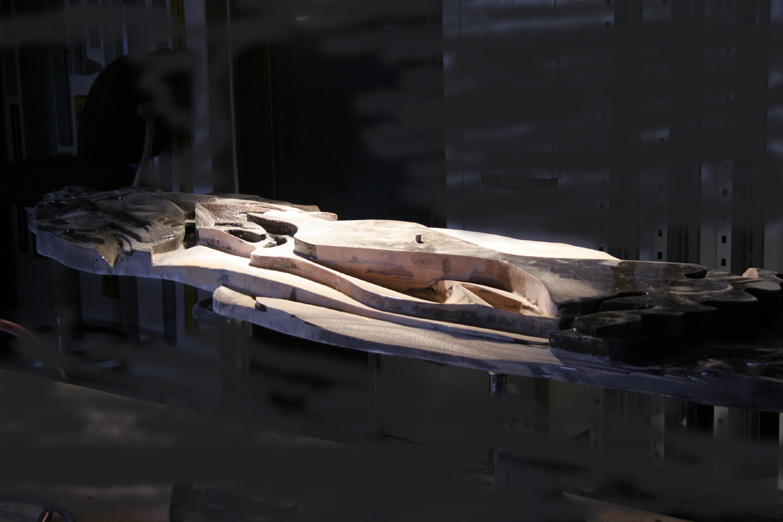
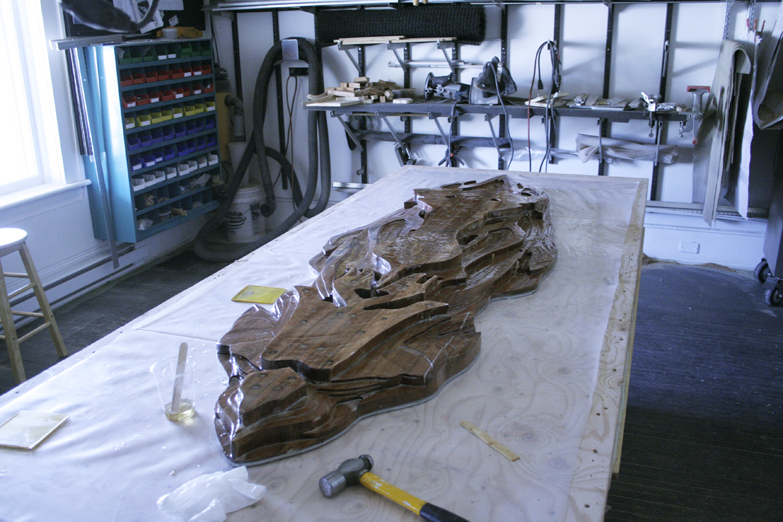
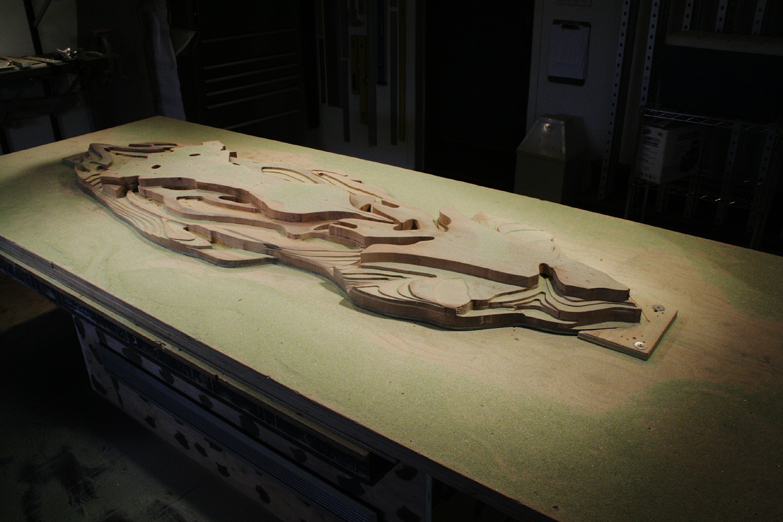
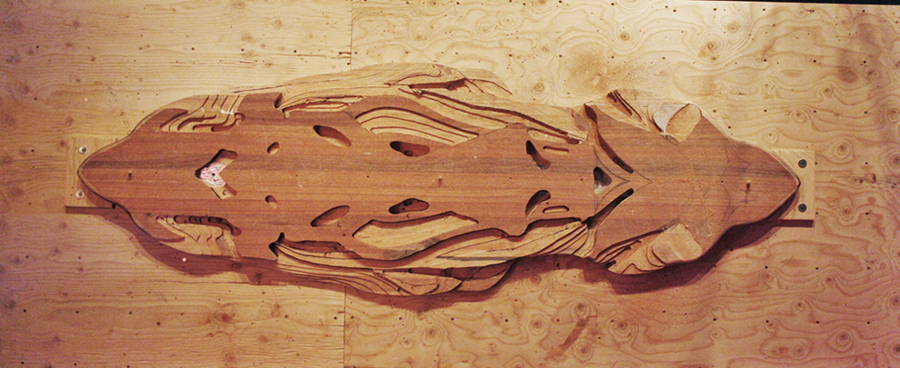
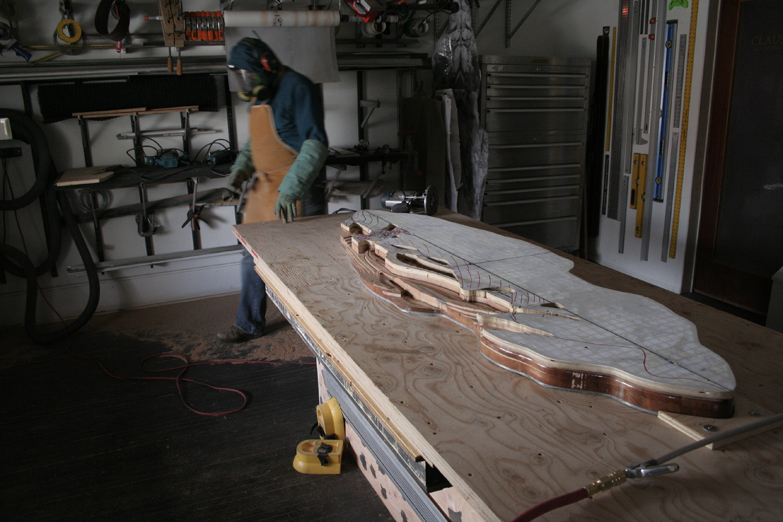
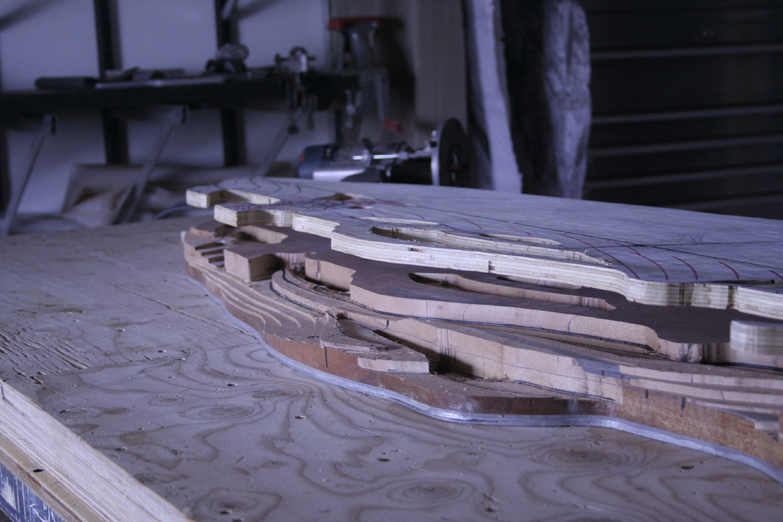
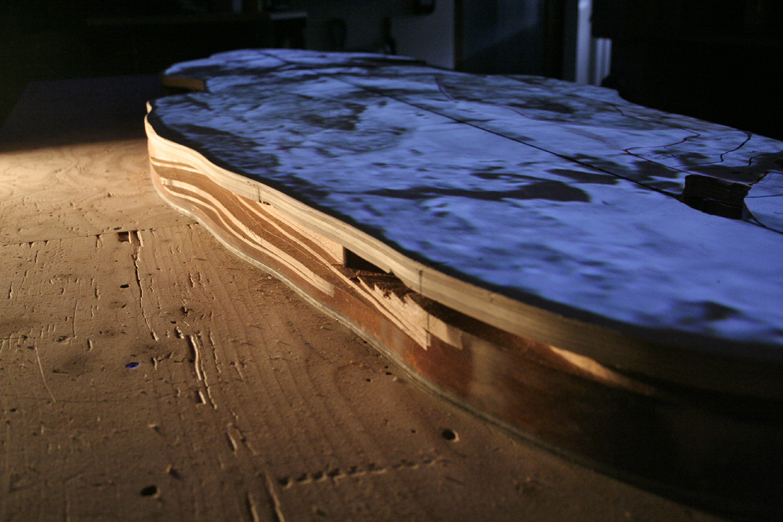
 Image showing all the levels of the carving from the side. Stunning!
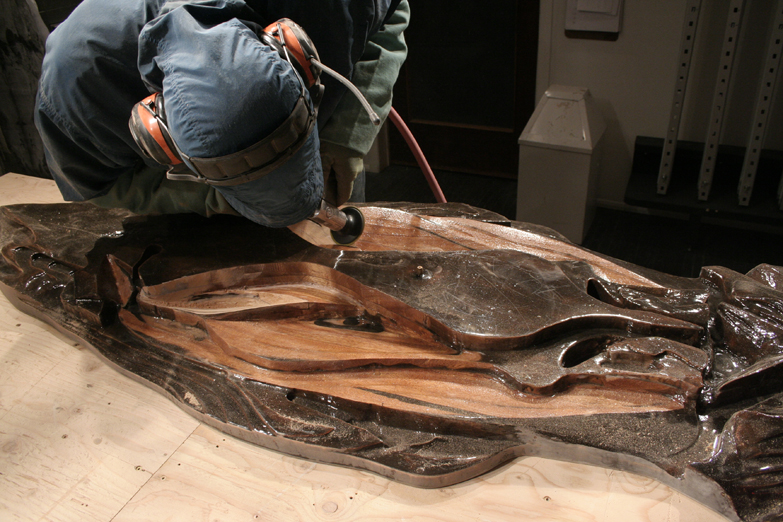
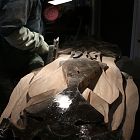 Stu sanding the side of the piece.
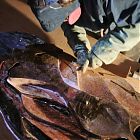 Stu tuning in the carving.
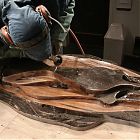 Stu carving and sanding the centre core of the piece.
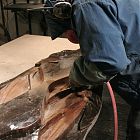 Stu sanding out carved edges.
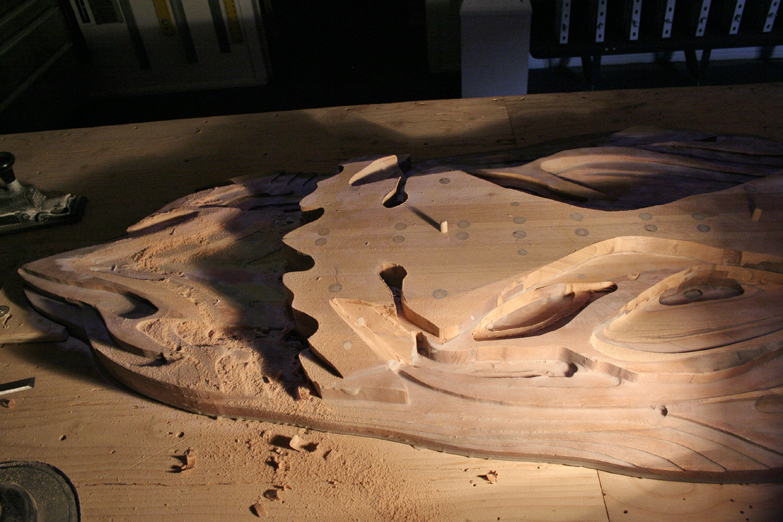
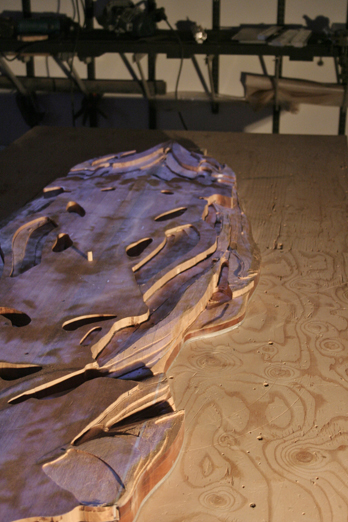
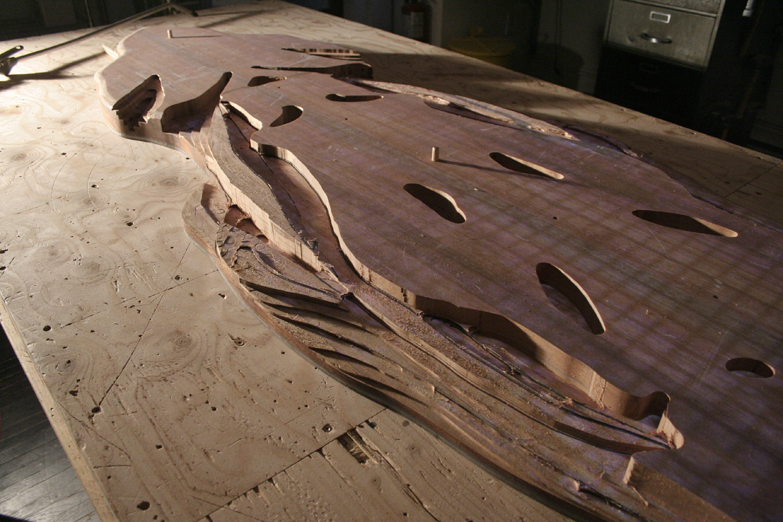
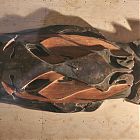 The carving starting to form.
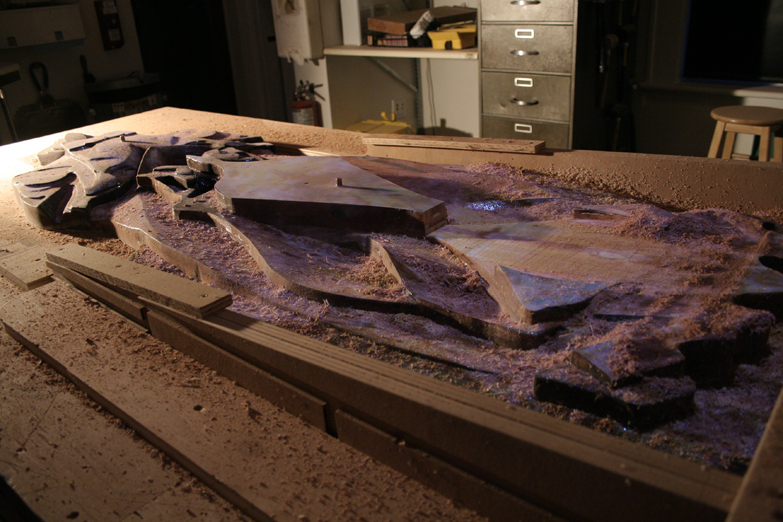
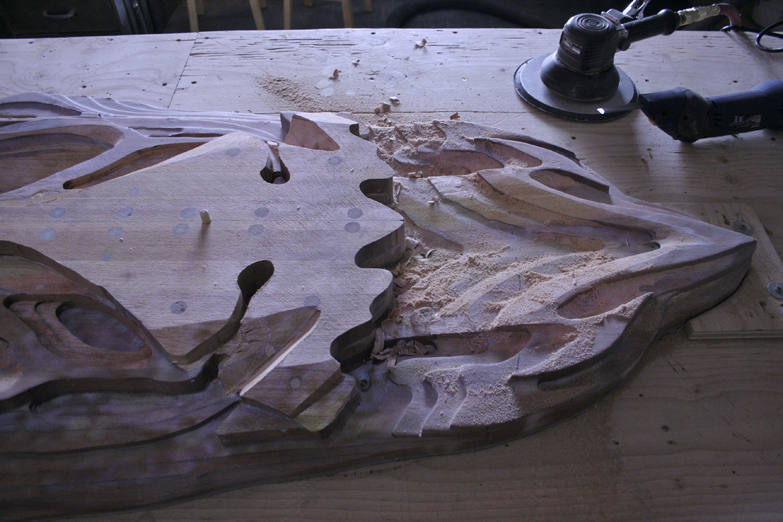
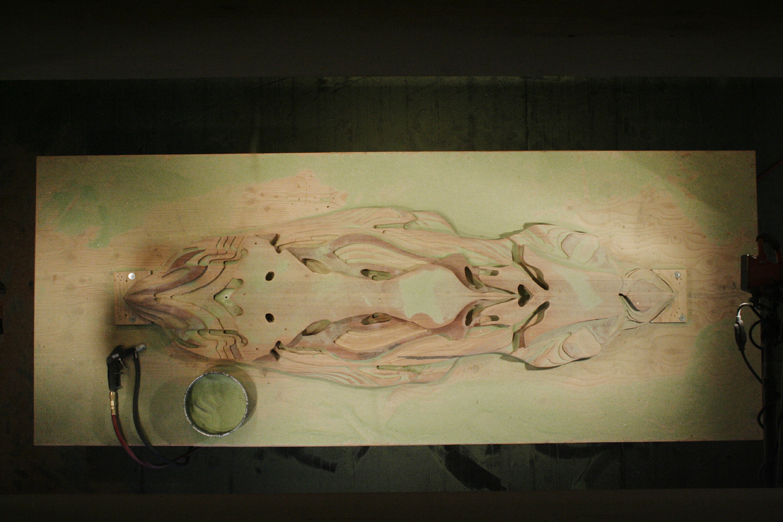
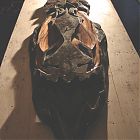 More carving and sealing. The different colours denote different stages of carving.
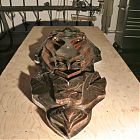 Carving with epoxy seal.
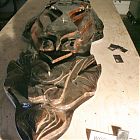 After exposing the wood while carving, Stu seals the piece with epoxy.
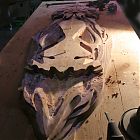 Carving and shaping.
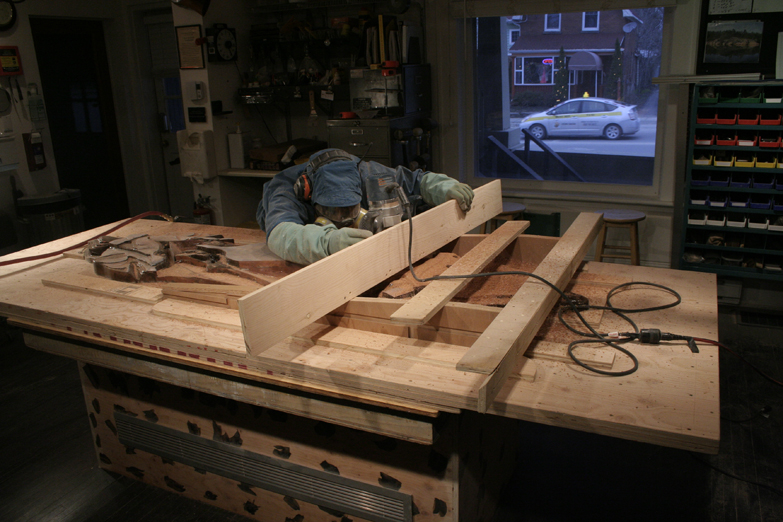
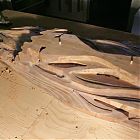 Some shaping along the side of the piece.
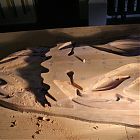 Shaping at the bottom of the piece.
 Carving and shaping starting.
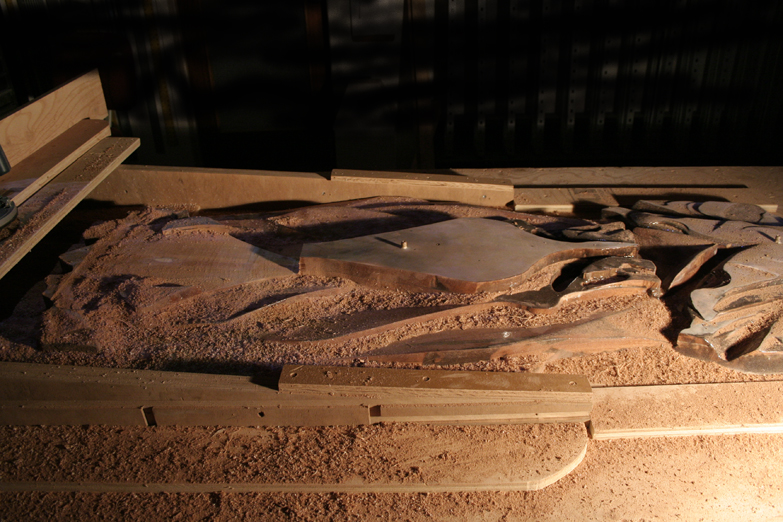
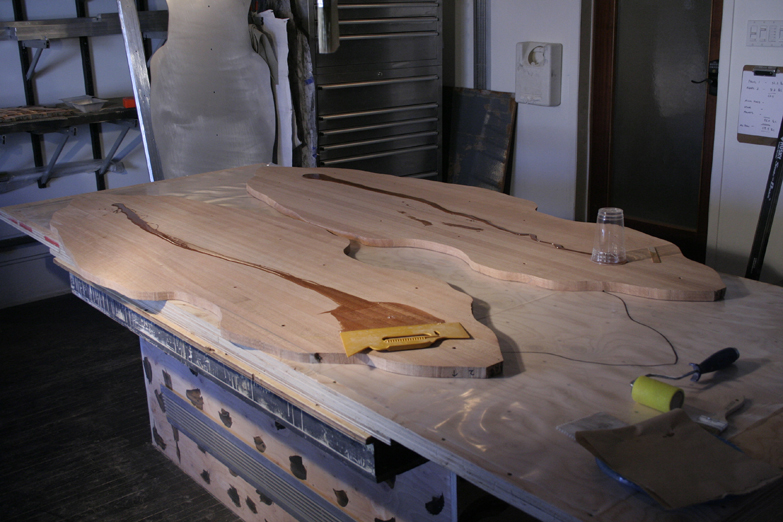
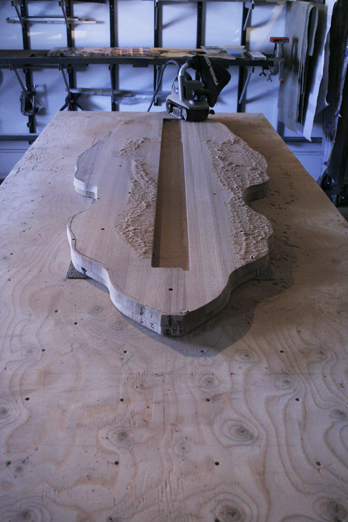
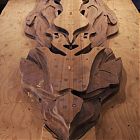 Piece with all three layers of wood shaped and ready for more blocking out.
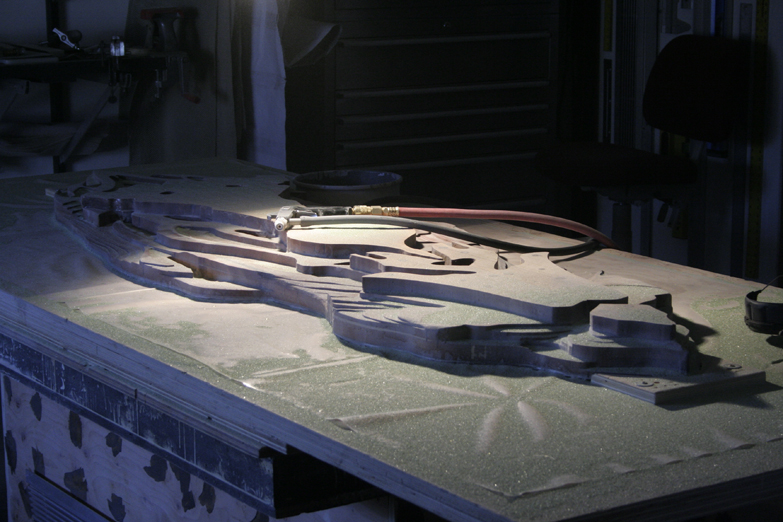
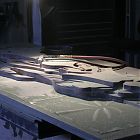 The piece after sandblasting completed. Now for the big clean up job.
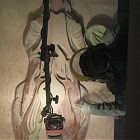 Closeup of sandblasting from projection room.
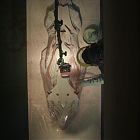 Stu sandblasting the epoxy coat.
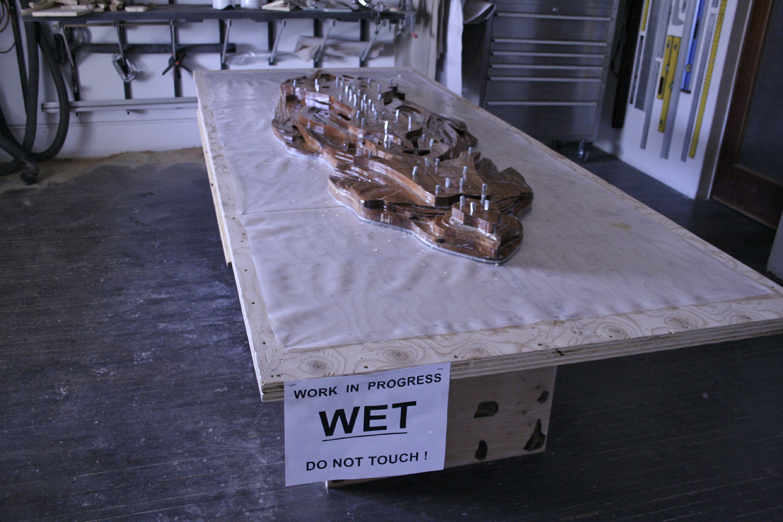
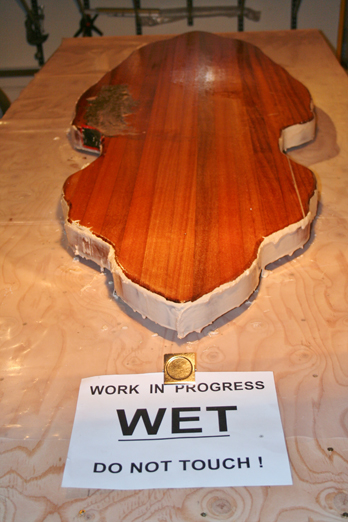
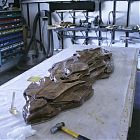 The piece is wetted out again.
 After removing the screws, Stu sands the top surface of the third layer, and cleans out each hole.
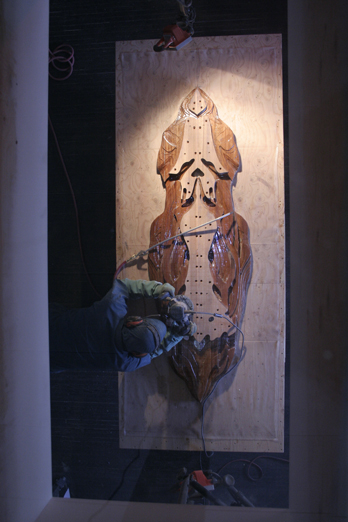
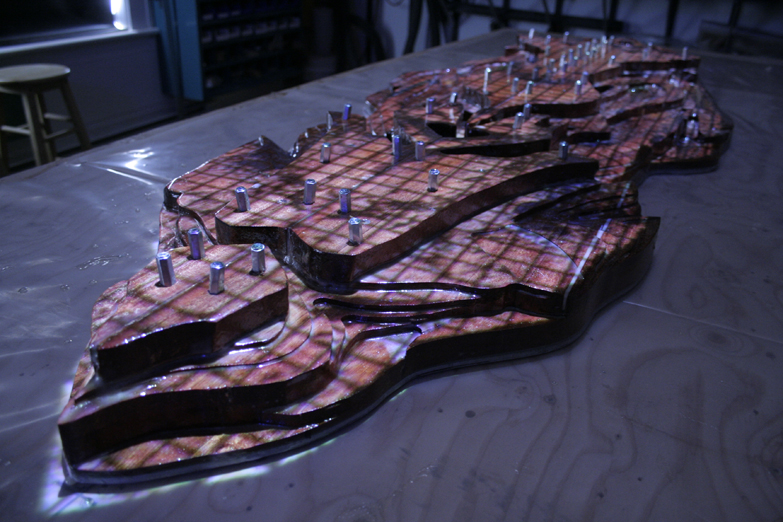
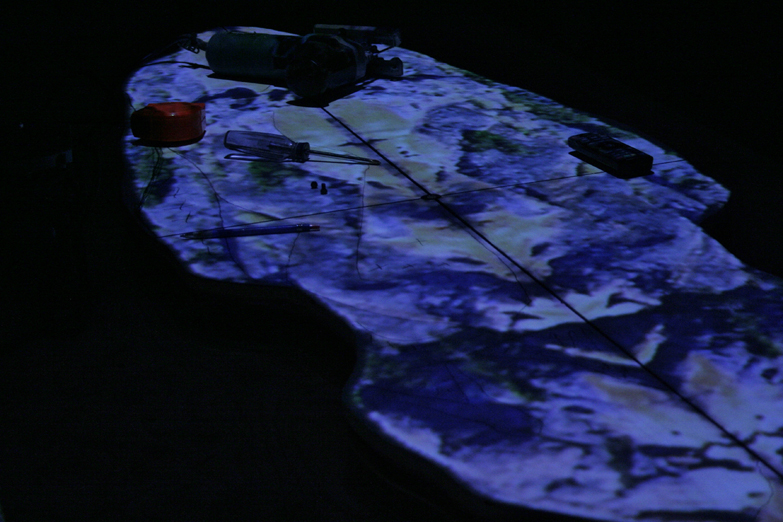
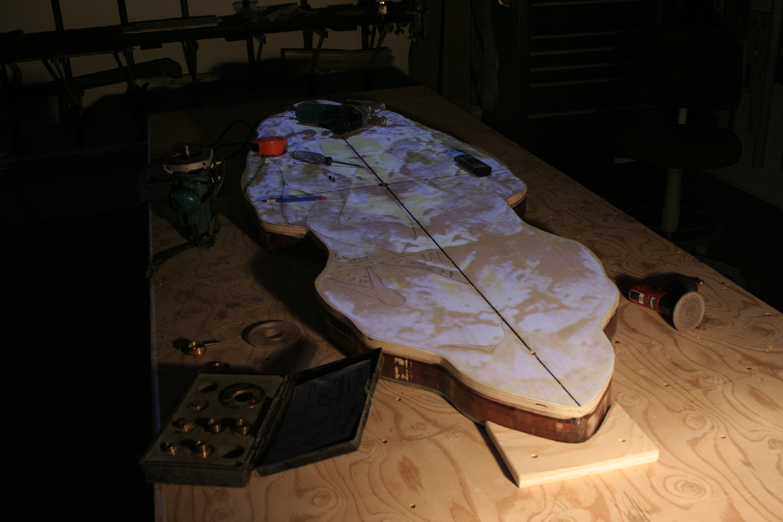
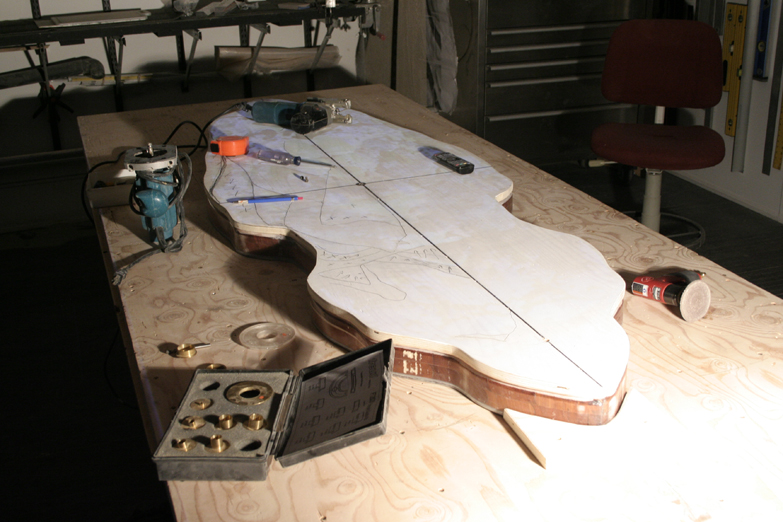
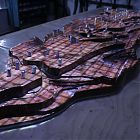 All three layers, with screws in place and image projected on the surface.
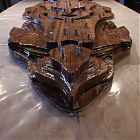 The entire piece coated.
 After 24 hours, the screws are ready to be taken out.
 With the third layer on, Stu screws it to the second layer to ensure a tight fit while epoxy sets up.
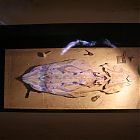 View from the projection room.
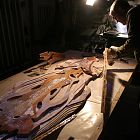 Wetting out every crevice.
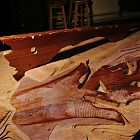 Wetting out every inch of surface with epoxy.
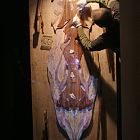 Stu applying the epoxy to secure the third layer.
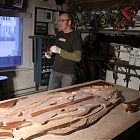 Just starting to wet out with epoxy to laminate the third layer.
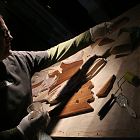 Starting to wet out with epoxy to glue the third layer on.
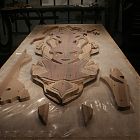 view of the piece with two layers, and the third layer pieces are all around the piece.
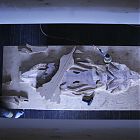 View of piece from projection level.
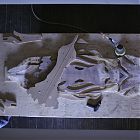 Pieces are shaped and ready to glue as third layer.
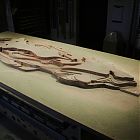 Sandblasting complete.
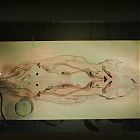 After more sandblasting (sand is green).
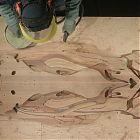 Stu sandblasting/cleaning the piece.
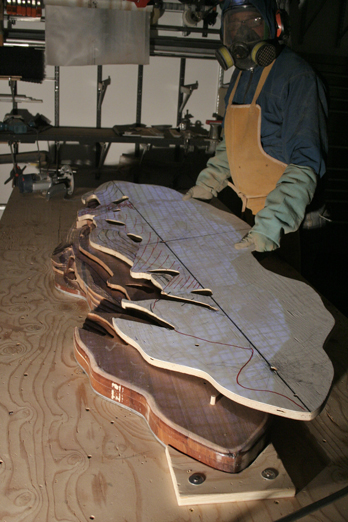
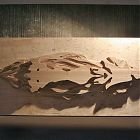 Carving with third layer taken from upper floor. Still work in progress.
 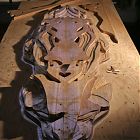 Carving without projection, and with the third layer added on.
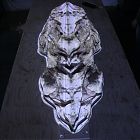 Carving with overhead image projected onto it.
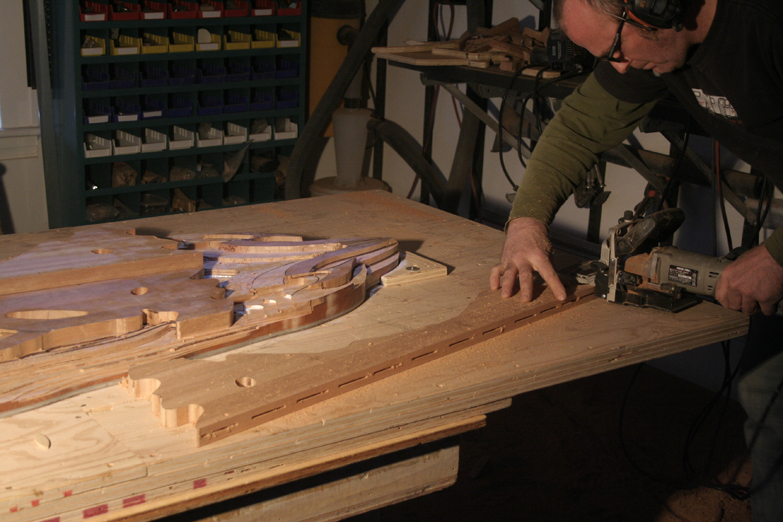
 Closeup of Stu cutting where the biscuits will go.
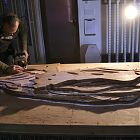 Stu cutting the biscuits joins.
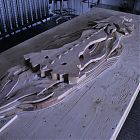 Another perspective showing where the biscuits will be going (although inside).
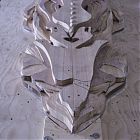 Biscuits laying on third layer .. preparing to join.
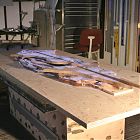 Contemplation of a third layer.
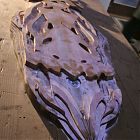 Hogging at opposite end.
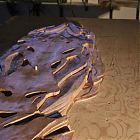 More hogging, and a little shaping.
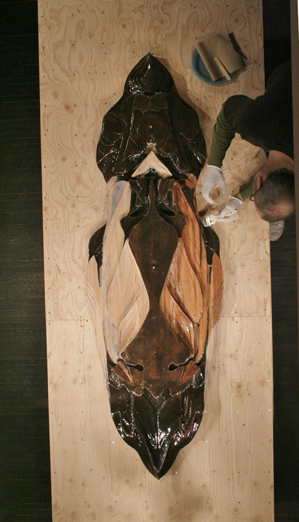
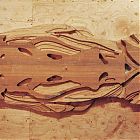 Top view from the projection room.
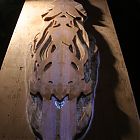 And check out the shadow the piece is starting to cast.
 Every day, changing its shape. Looking good!
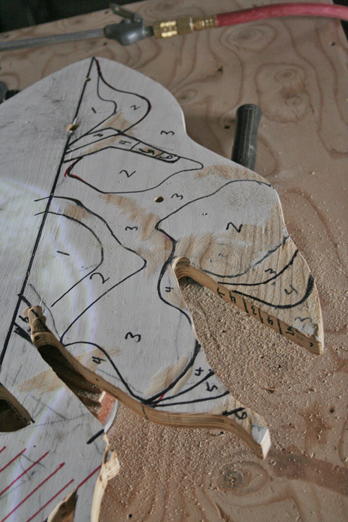
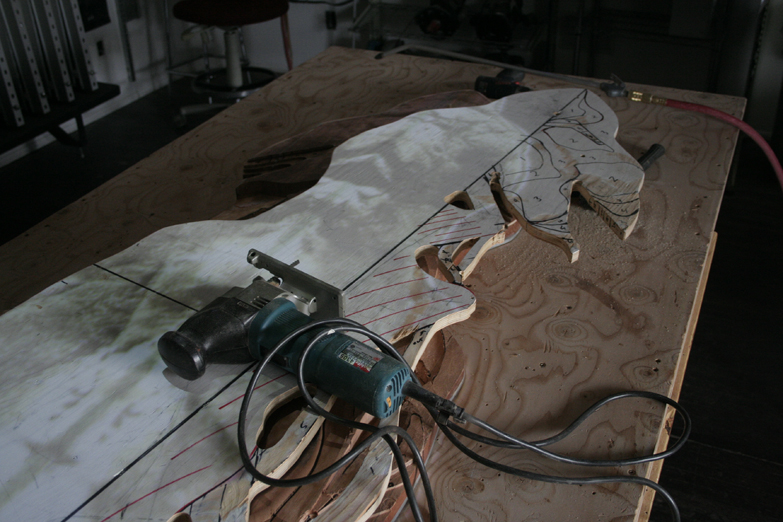
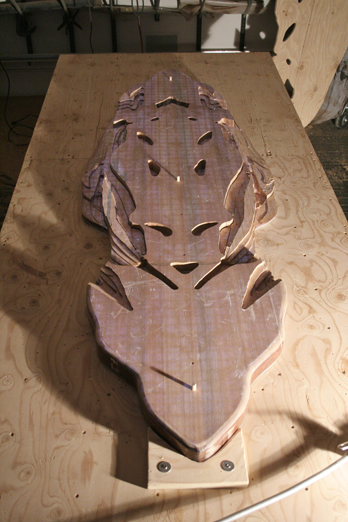
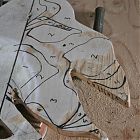 Closeup of Stu's layout/topographical map of the head of the piece.
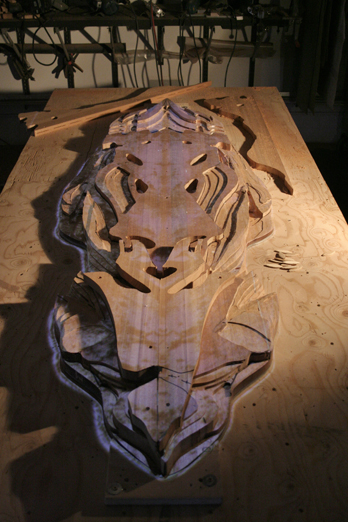
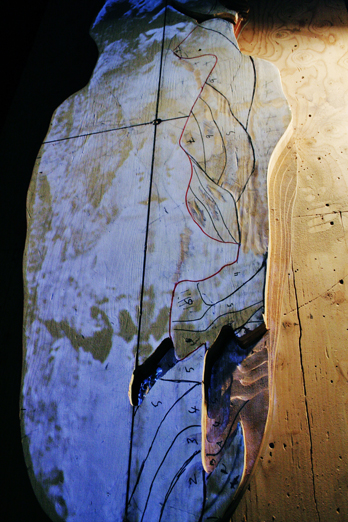
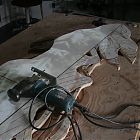 Another angle of profile and shapely template.
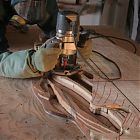 And there he goes...
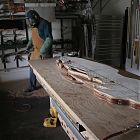 Stu getting ready to cut more.
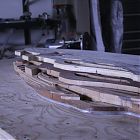 Updated profile of the piece.
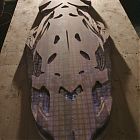 Opposite end.
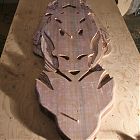 The shaping is starting to form slowly.
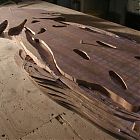 Slowly but surely more and more of the mahogany is being hogged away.
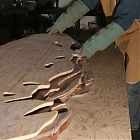 Setting down the template to hog out on other side. The template ensures that the cuts are identical on both sides as this is a 'reflective' piece.
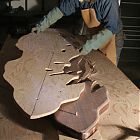 Flipping the template to place on other side.
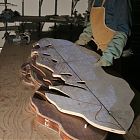 Lifting the template to move to other side.
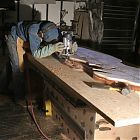 Stu continuing to hog out. It's a big job on this thicker panel of mahogany.
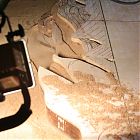 Template and mahogany panel.
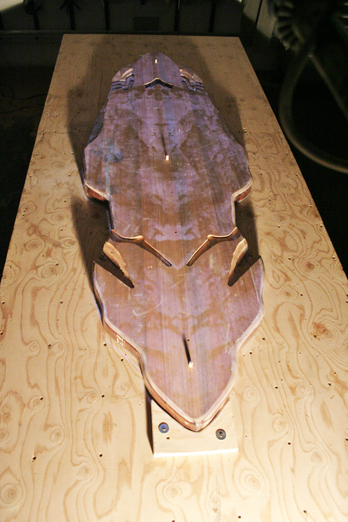
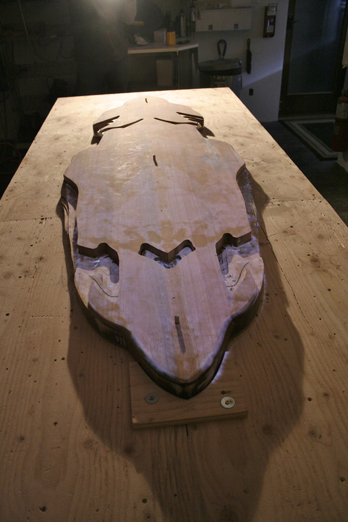
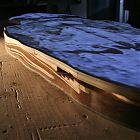 I thought this was pretty amazing - the early stages of the profile of the piece.
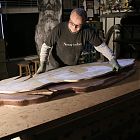 Snap snap!
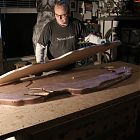 Getting ready for more cuts, Stu places the template back onto the wood.
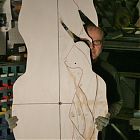 Stu being creative - the template shapes an eyebrow! But from afar, I see a dinosaur trying to chomp on his head! haha. Just the beginning of all the amazing shapes that will ghost themselves in this piece.
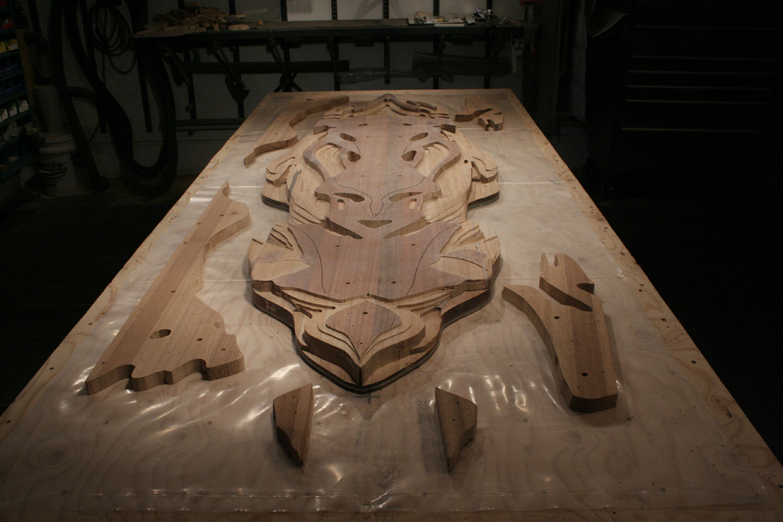
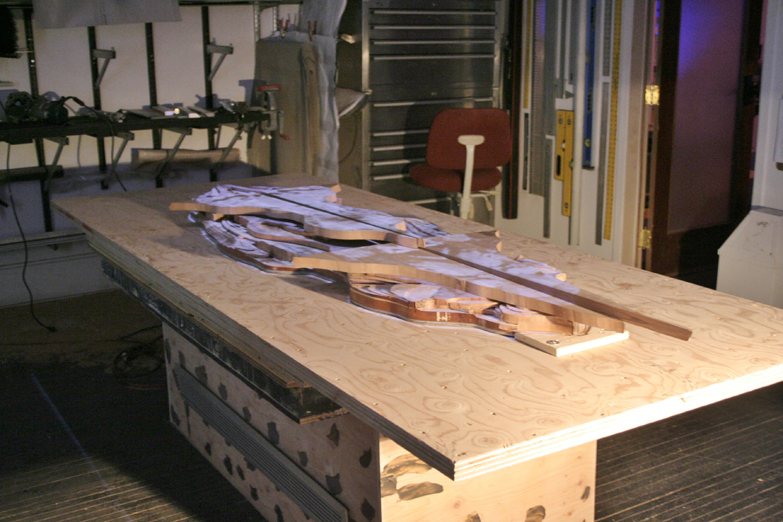
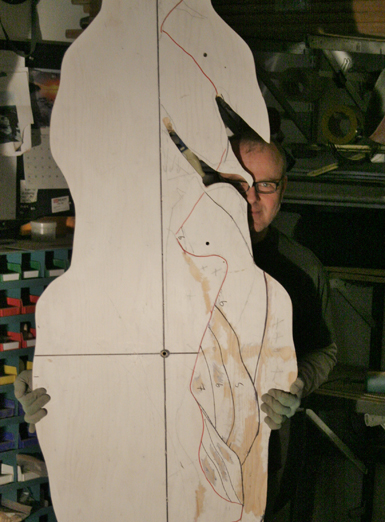
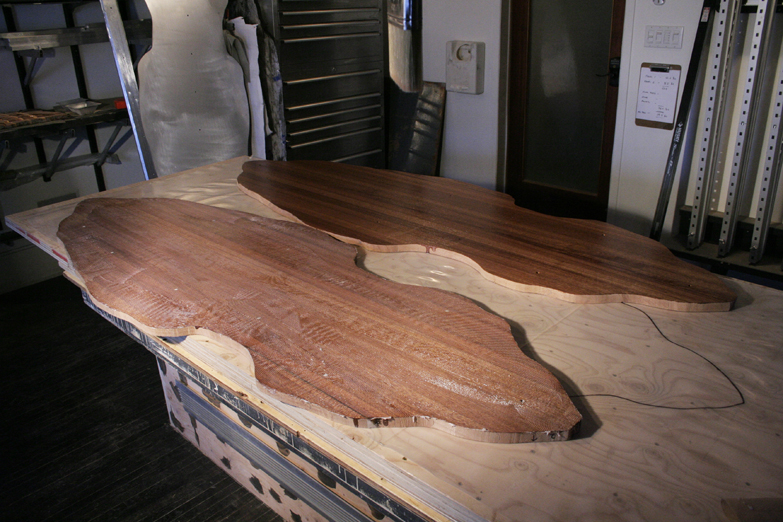
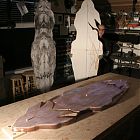 This shows progression ... from sketch, to template, to mahogany.
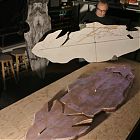 Stu holding up the template beside the mahogany.
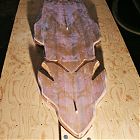 Mahogany from other end.
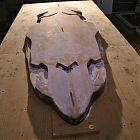 Mahogany from one end.
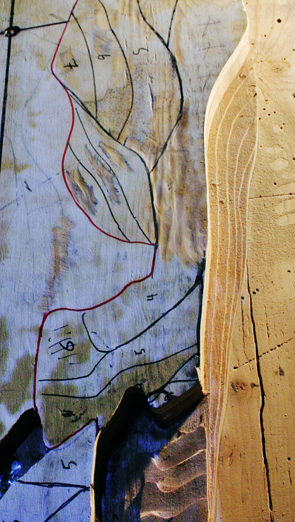
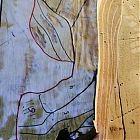 This is a closeup of the same, showing the gradations and layout for future cuts (as marked on the template).
 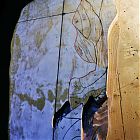 This shows the markings for cuts on the template and then where the mahogany has been cut.
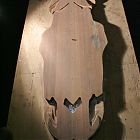 Same perspective without the template, showing the cuts on the mahogany.
 Closeup of Stu hogging out the template.
 Stu Leggett hogging out template.
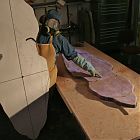 Stu showing how he secured the template (holding up) to the mahogany piece (on table).
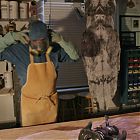 Both sides are a match - very ingenious Stu!
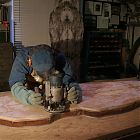 Second side.
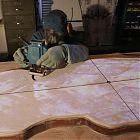 All systems going.
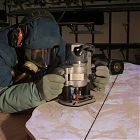 Closeup
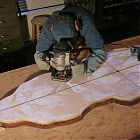 And here he goes! Let the games begin!
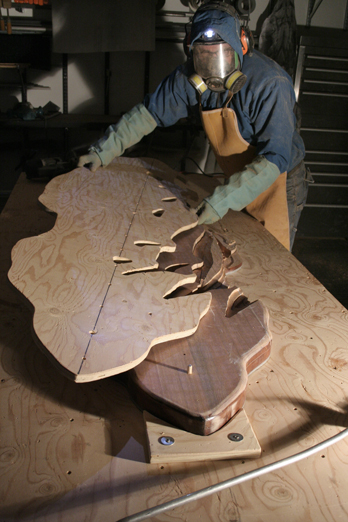
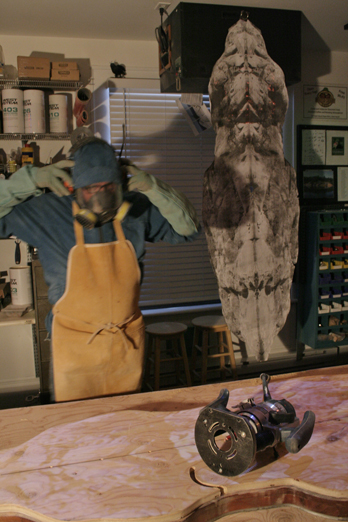
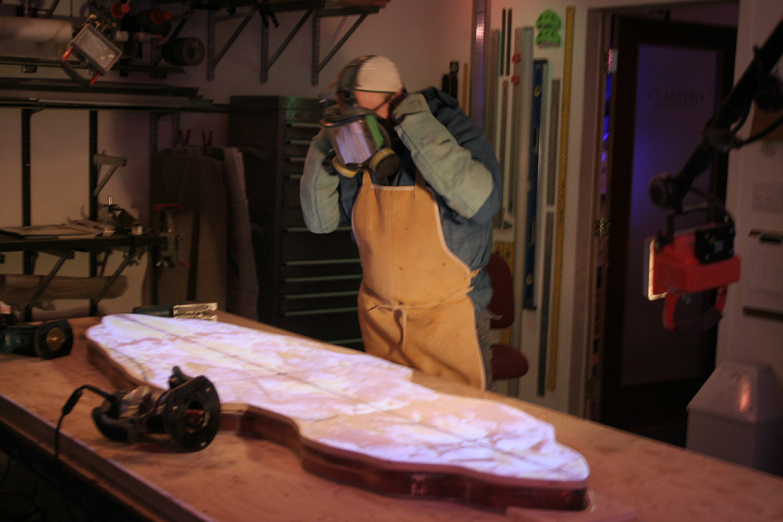
 Even I am geared up just to take photos. Ready for lots of dust!
 Ready for the moon? or carving?
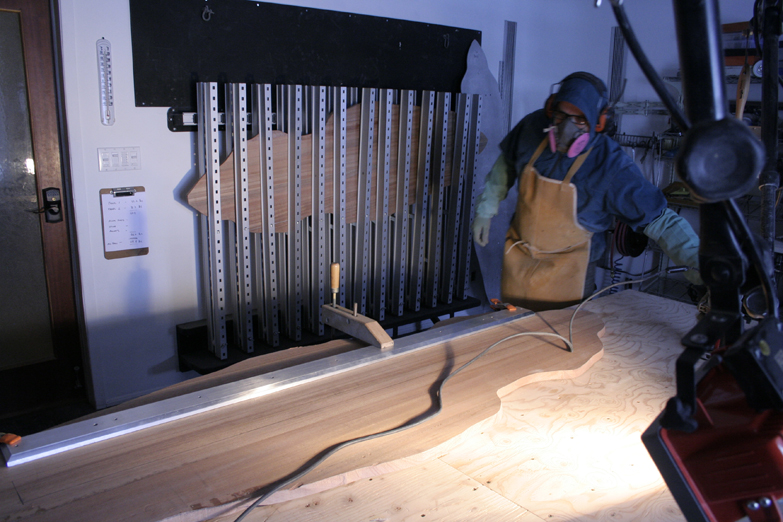
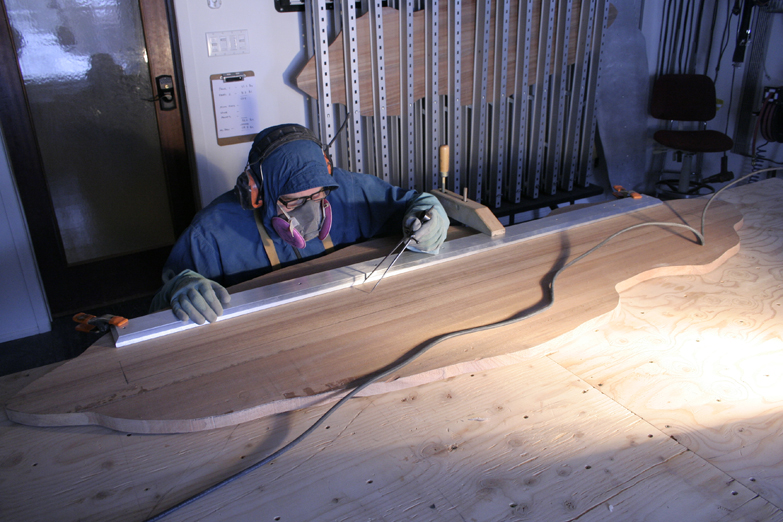
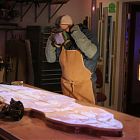 Stu getting his gear on to start hogging out. First layer will be the template, then flip the template over to do the other side and start going into the wood.
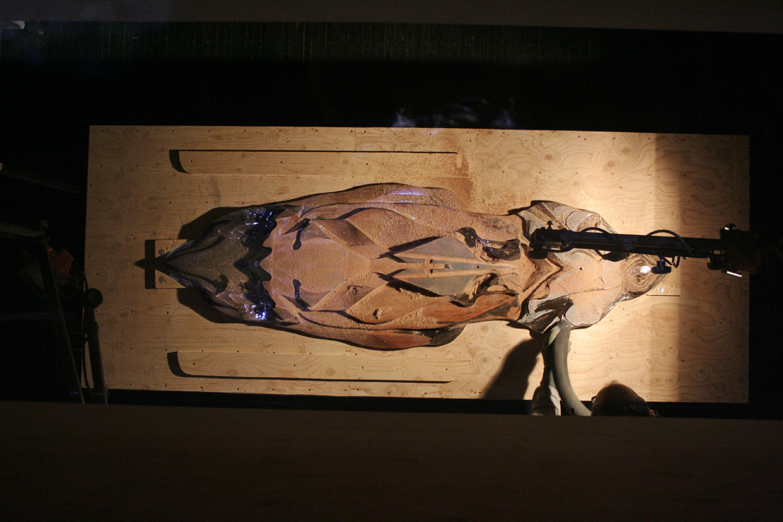
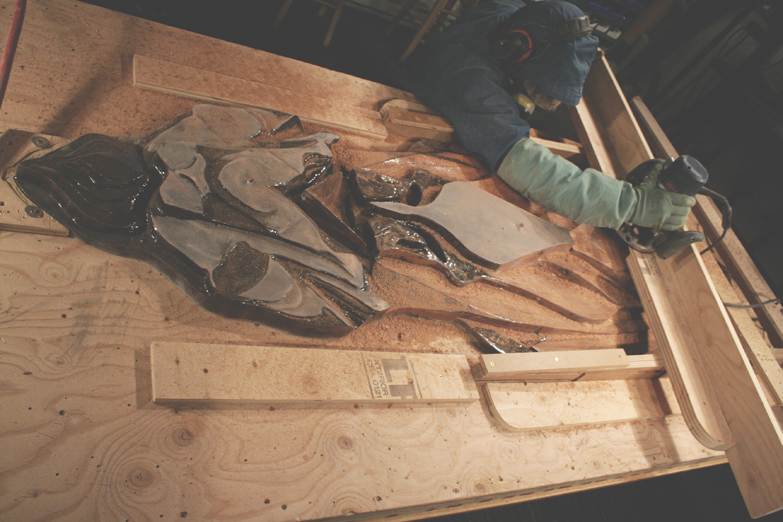
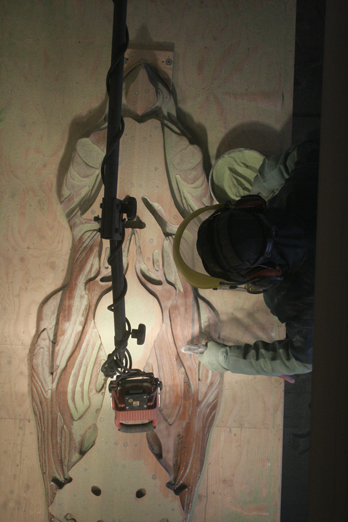
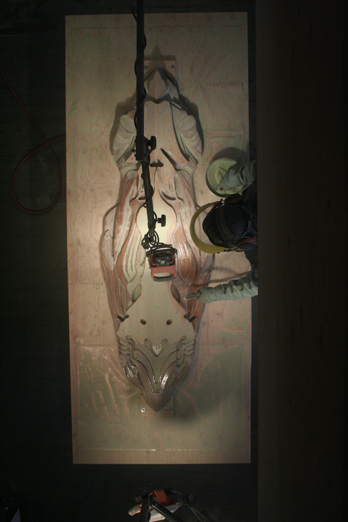
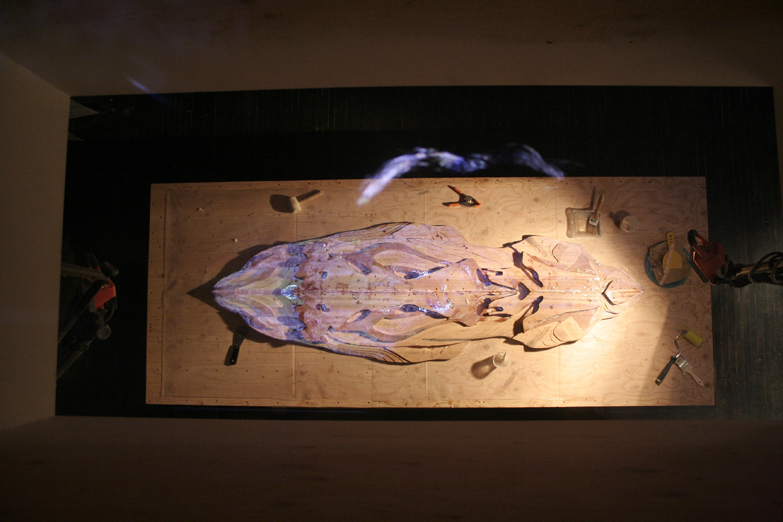
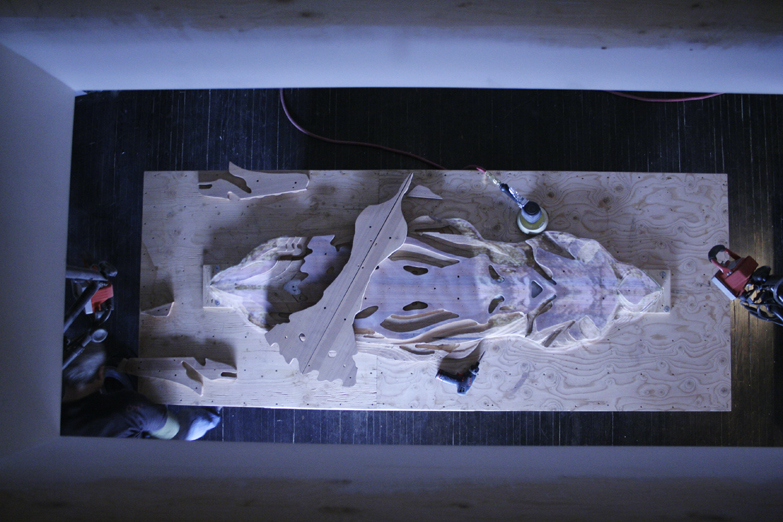
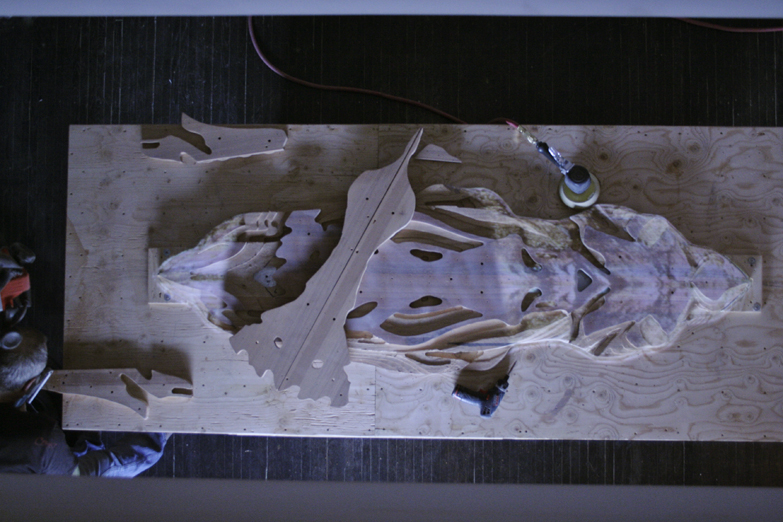
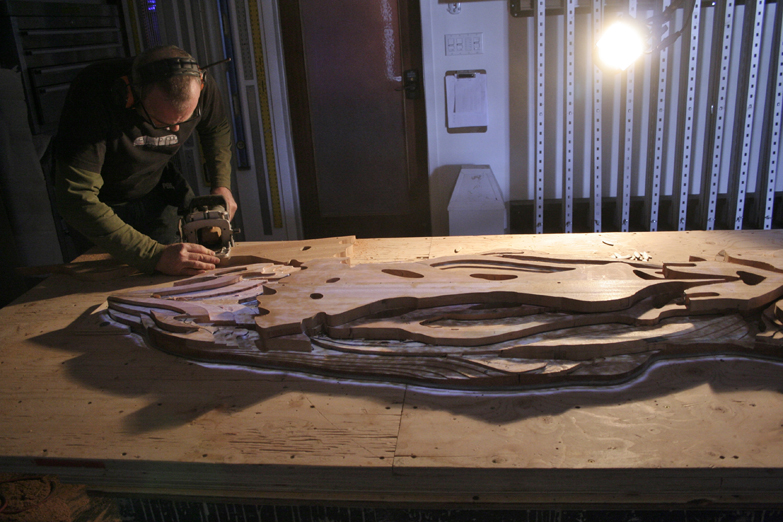
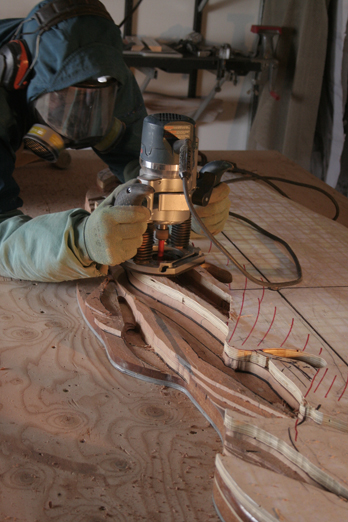
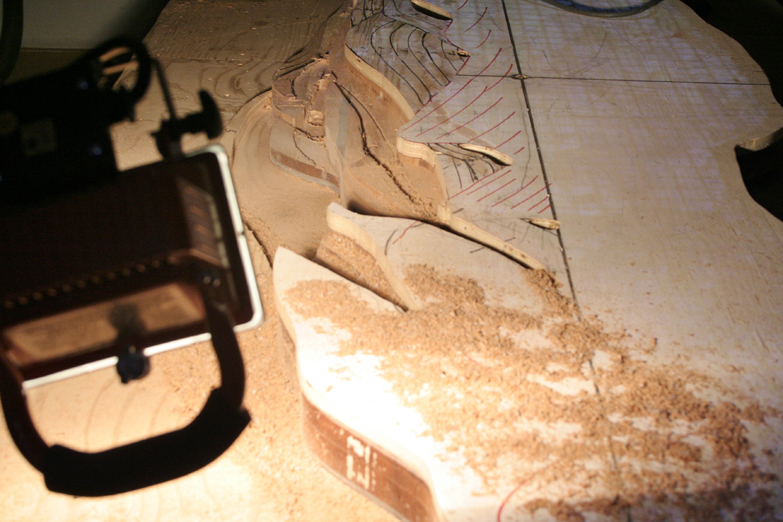
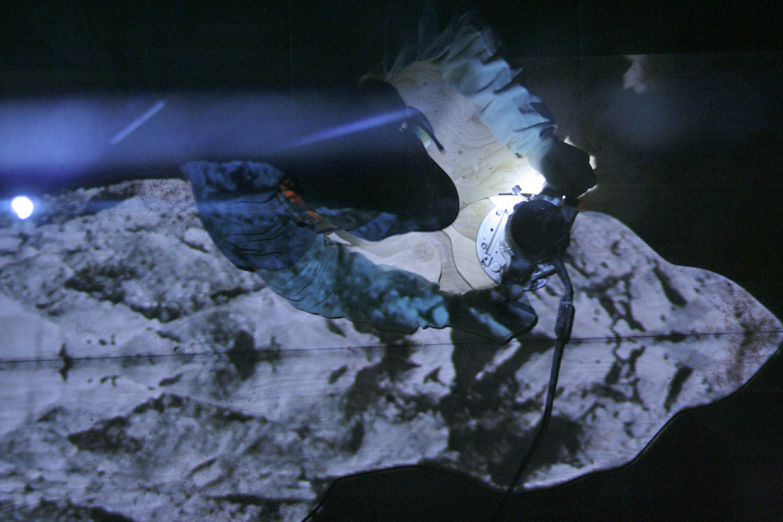
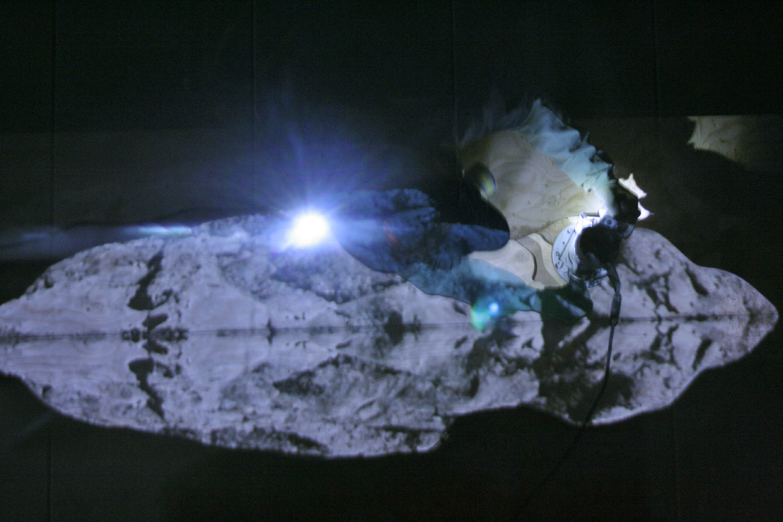
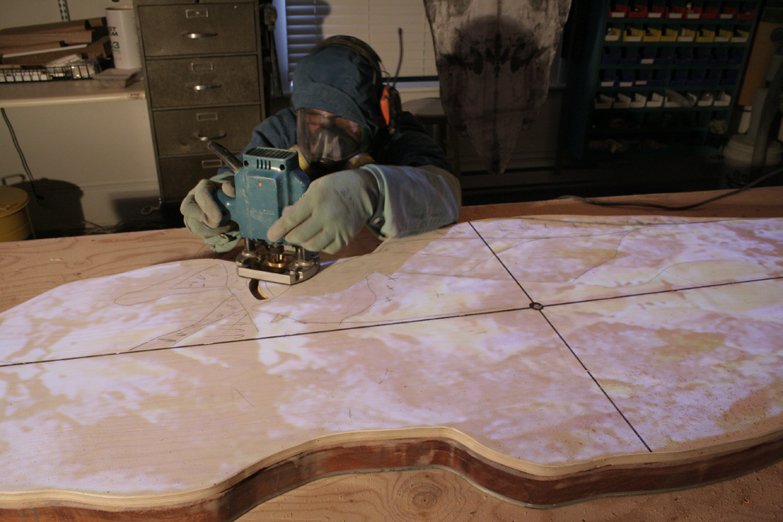
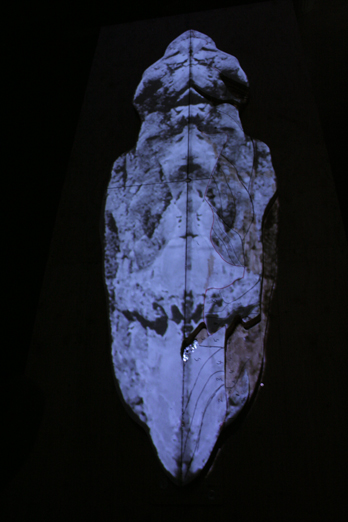
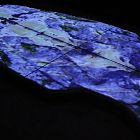 Carving in the dark to see the projected image, if you look closely you can see pencil marks as guides.
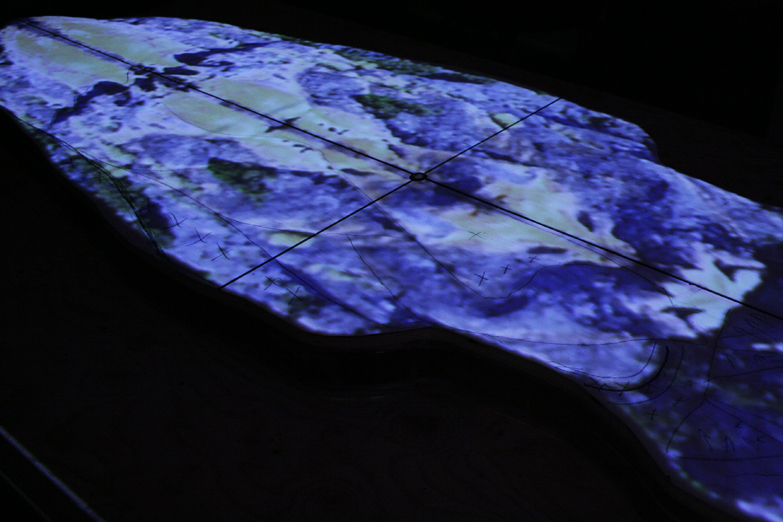
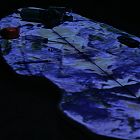 Projected image on the wood. The carving must be a duplicate from centre.
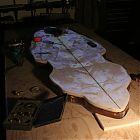 Closeup of drawing with projected image to carve.
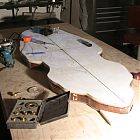 Stu cut out a template in 3/4 inch plywood (sitting on top of the mahogany) and draws on shapes to carve.
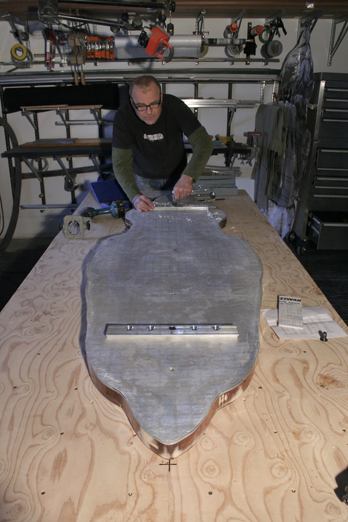
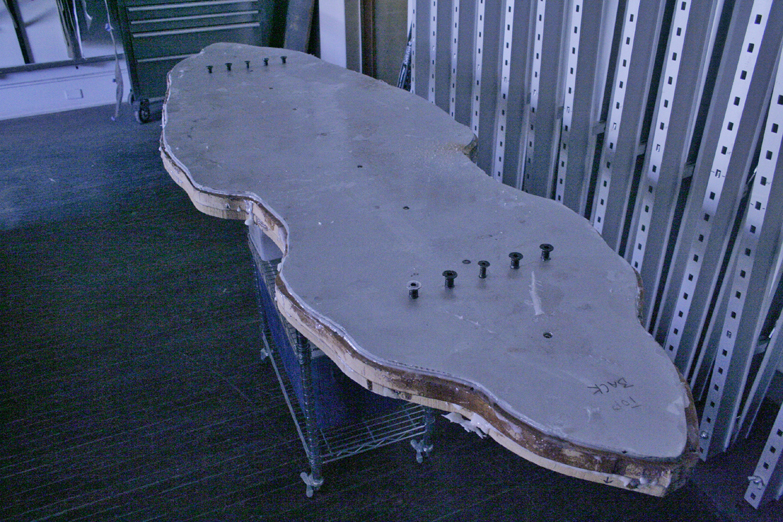
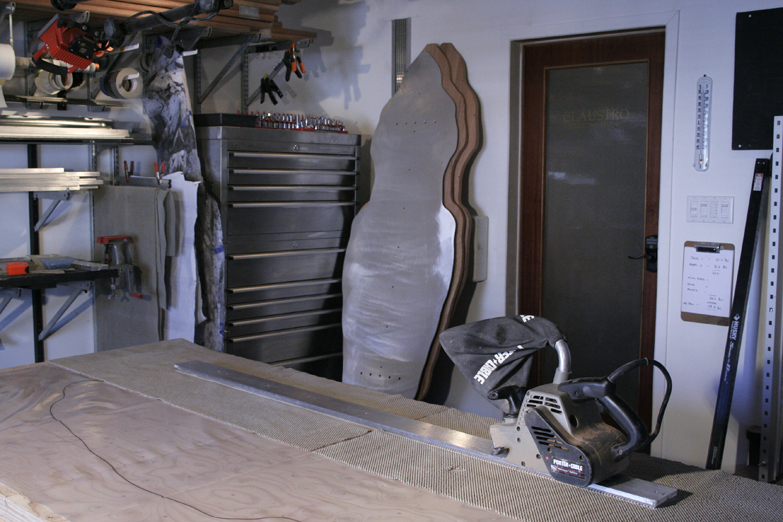
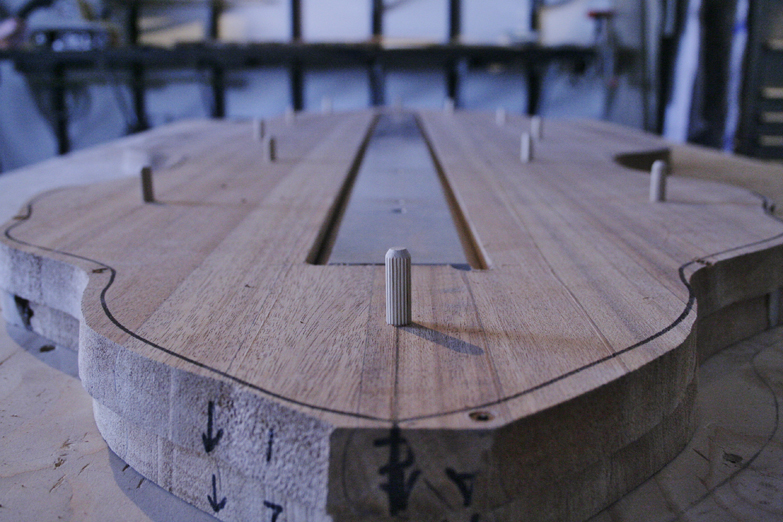
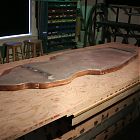 Closeup of back - 2 layers of mahogany, with 3/4" aluminum plate.
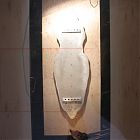 Back aluminum plate and hanging brackets, installed, etched, and epoxied.
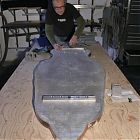 Aluminum back and hanging brackets.
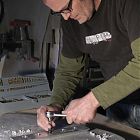 Screwing on the hanging bracket.
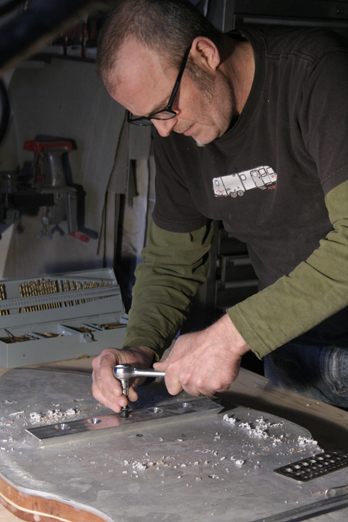
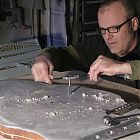 Properly fitting screws.
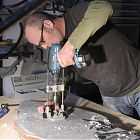 Stu working on the plate screws on the back.
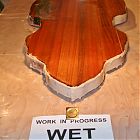 And the entire piece is coated with epoxy.
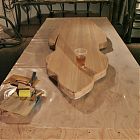 Stu flips the piece over to the front, and gets ready to coat the piece with epoxy.
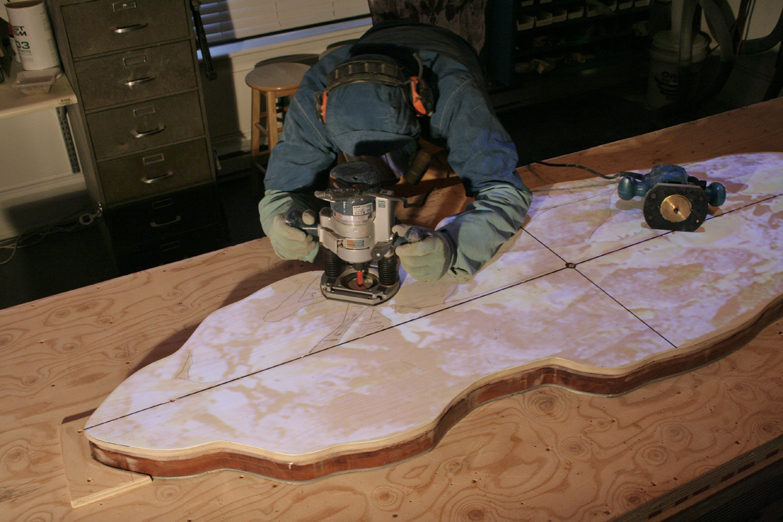
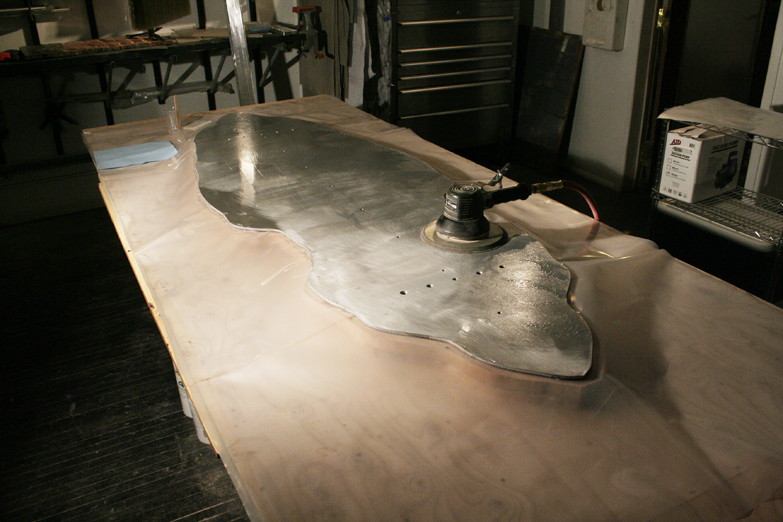
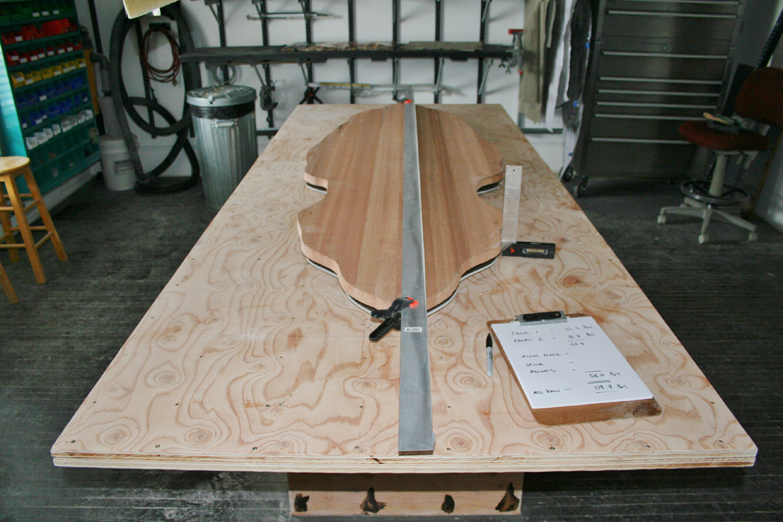
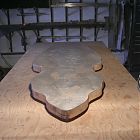 And presto, after the shavings have been cleaned up, the wood is now cut to the size of the plate.
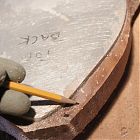 Looking closely, Stu points at the excess mahogany material which will be taken away with the router.
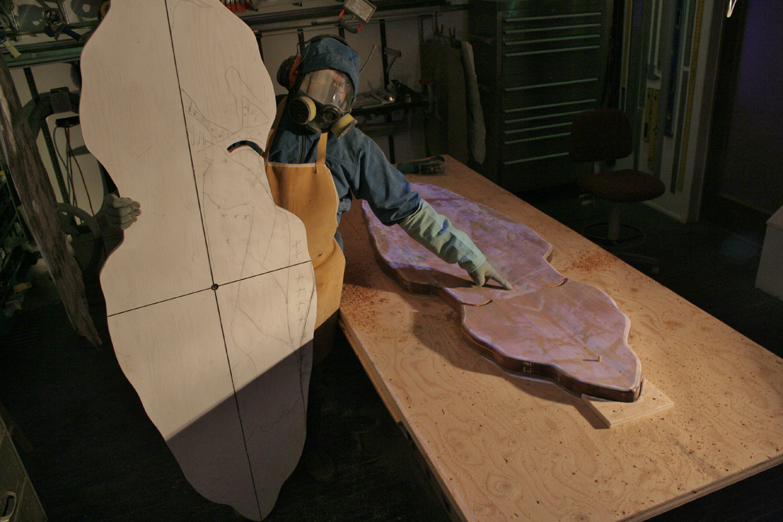
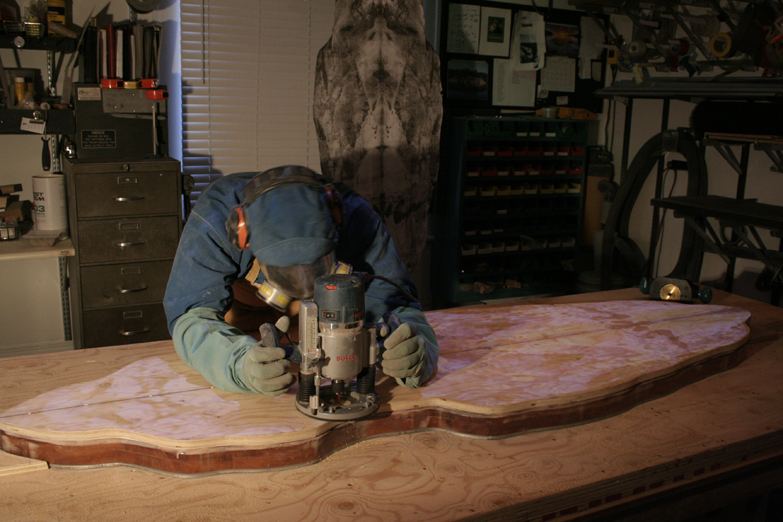
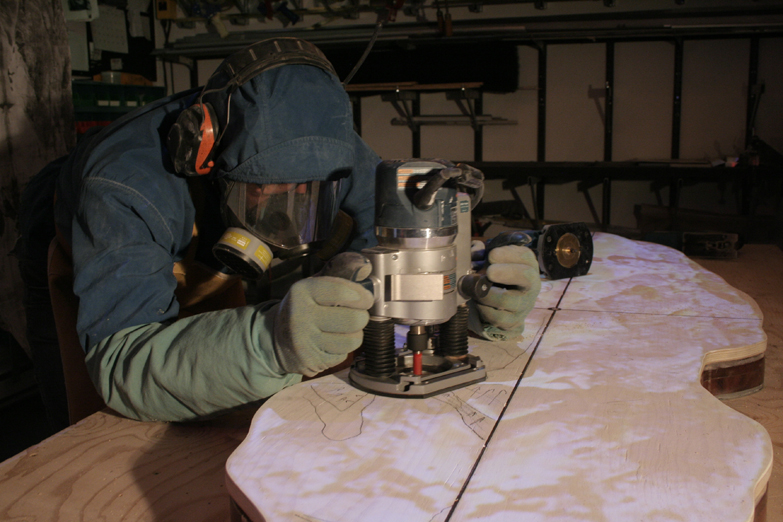
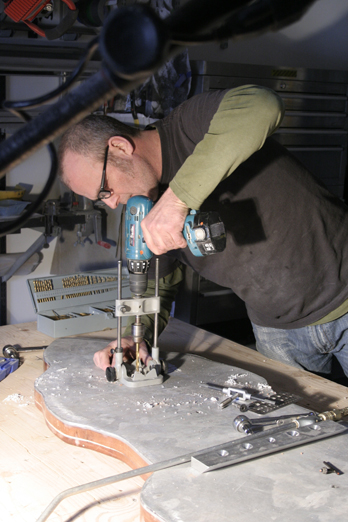
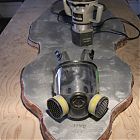 This will be done using a HUGE router bit. Stu will be wearing is protective mask of course!
 The wood is also a few inches larger than the plate, so it will have to be cut to the exact shape of the plate.
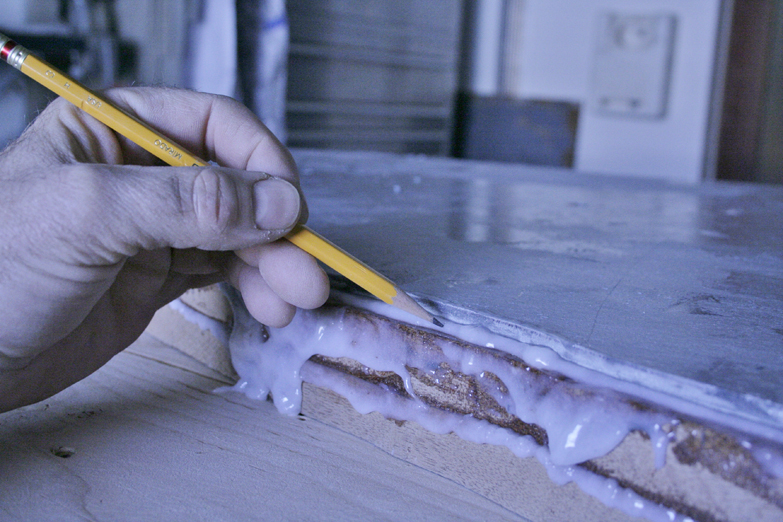
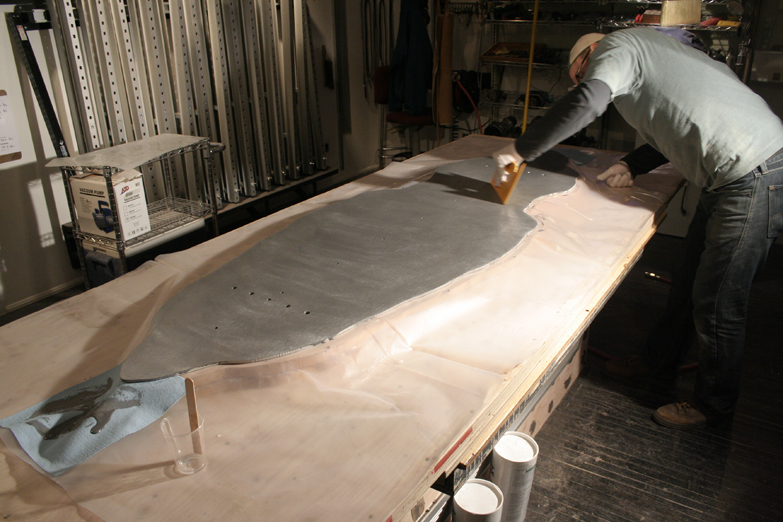
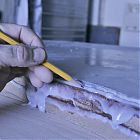 During the lamination process, a large amount of squeeze out epoxy will have to be removed.
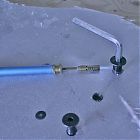 Epoxy must be removed from each bolt to remove them. The plate is now securely laminated to the mahogany.
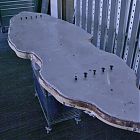 Once the clamping system is removed, the bolts are removed.
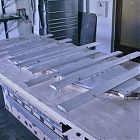 Fastening of aluminum plate to wood while epoxy sets up.
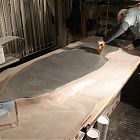 And epoxy is laid on the aluminum plate. Now Stu will make a mahogany and aluminum sandwich, and set each to the other.
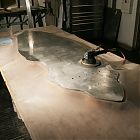 The back plate is sanded.
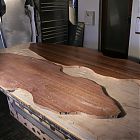 Epoxy has been rolled on each panel.
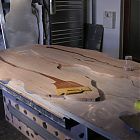 Starting to lay the epoxy in preps for lamination.
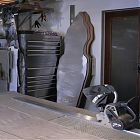 Aluminum bars and plates are sanded before lamination begins. (see panels in background against wall).
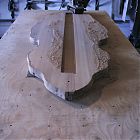 After sanding each panel, the panels are placed together to check the sizes.
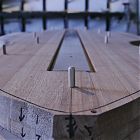 Securing the plate.
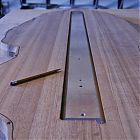 And yes, the plate is a perfect fit!
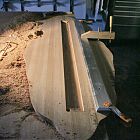 Once done the channel, Stu cleans out the channel to test the fitting of the plate.
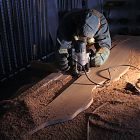 A few hours later, getting closer.
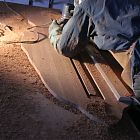 Multiple cuts later, and still going.
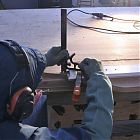 Stu Leggett ensuring everything is remaining level.
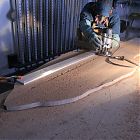 Making some headway.
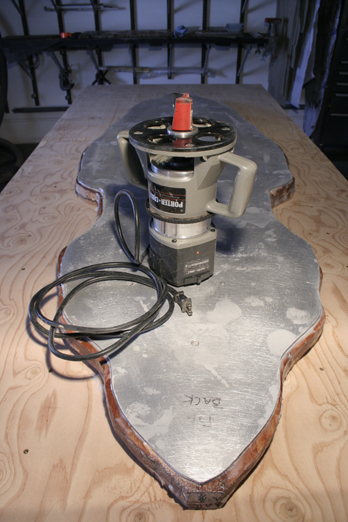
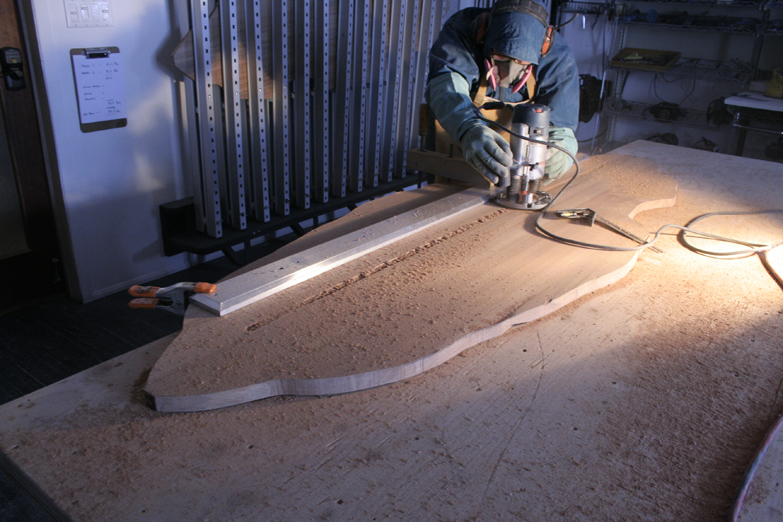
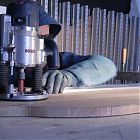 The first cut of the router.
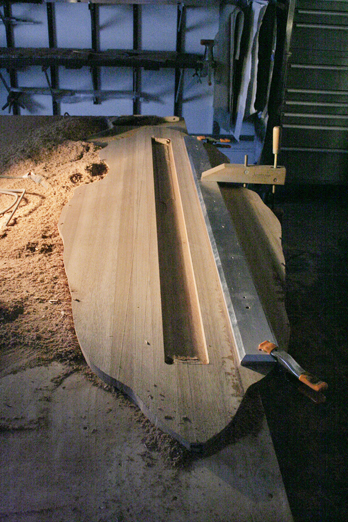
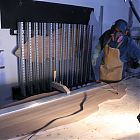 And ready to rout the channel. Notice second layer of mahogany rests in the clamps behind Stu.
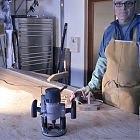 Stu Leggett ready to go!
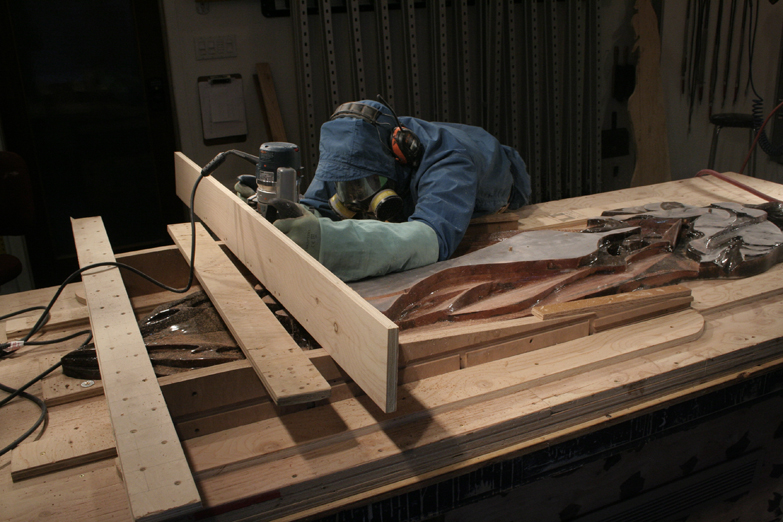
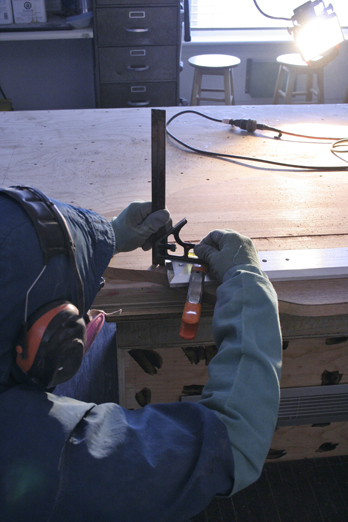
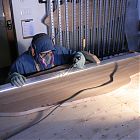 Stu ensuring that the router is setup to exact measurements.
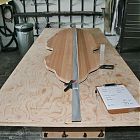 Calculations and setup to rout channel for back plate.
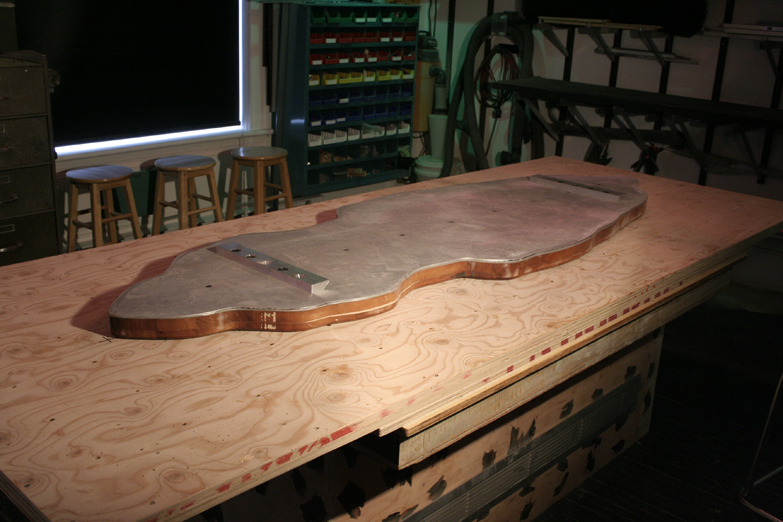
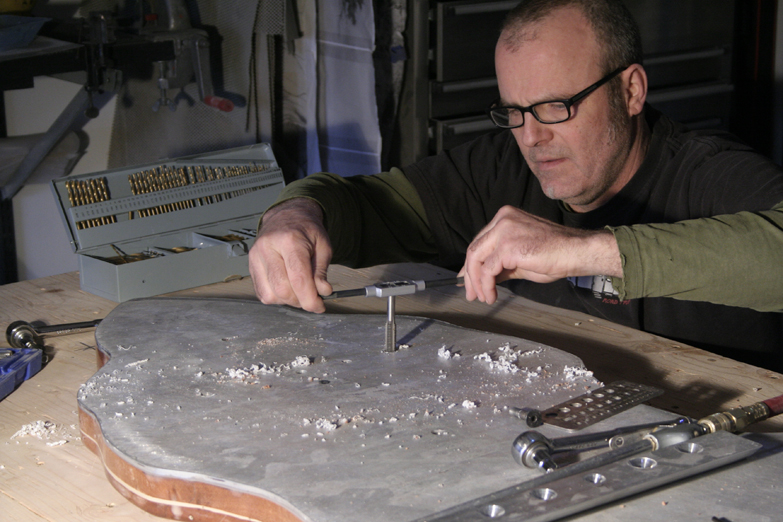
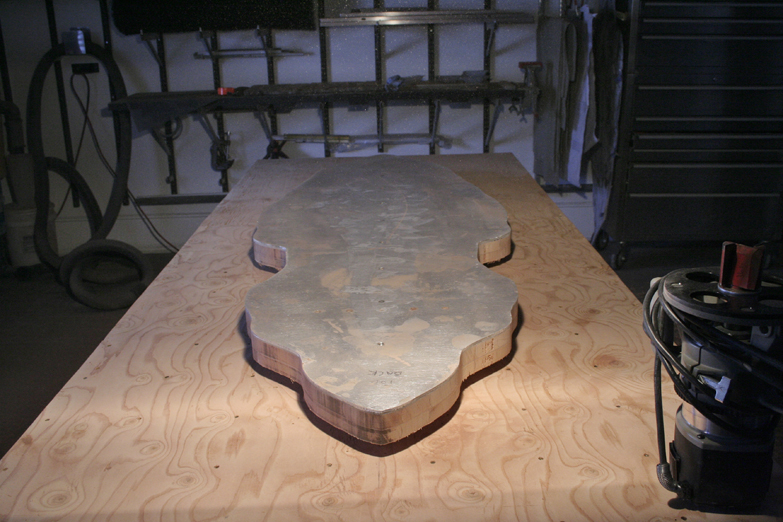
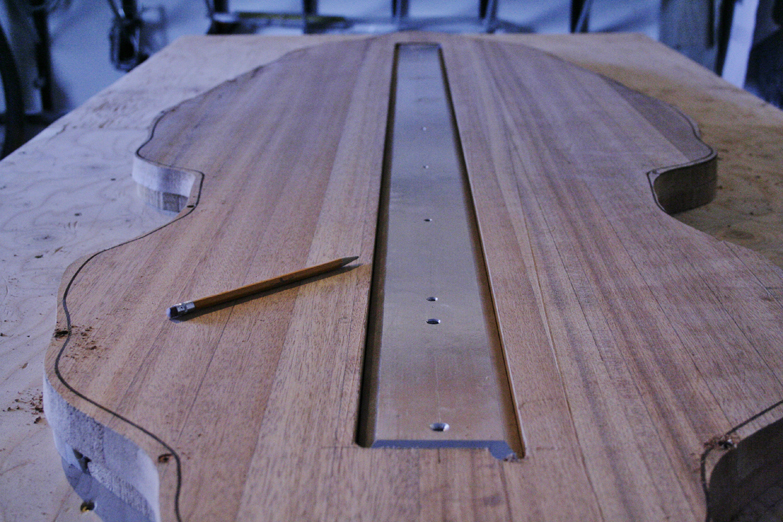
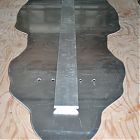 Back Aluminum mounting plate. The mahogany surface has to be routed to fit the raised plate.
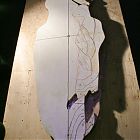 Same perspective but with the plywood template laying on top of the mahogony.
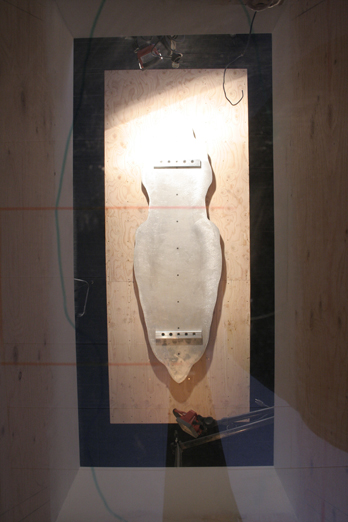
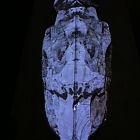 The image projected on the mohogany.
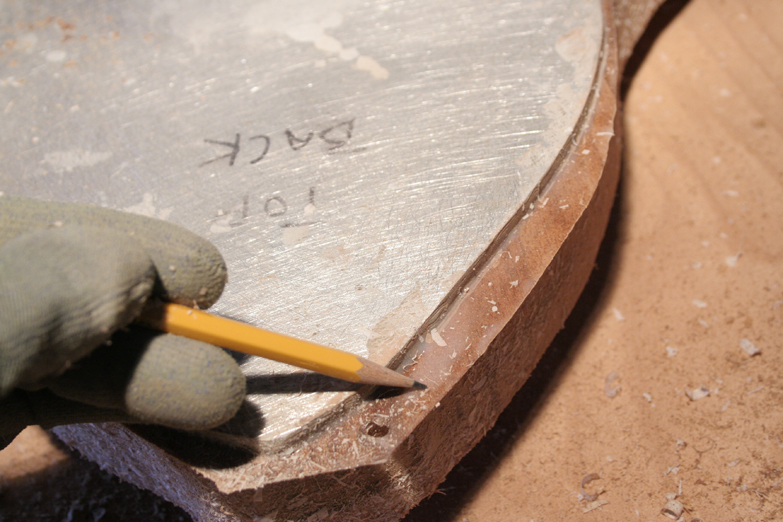
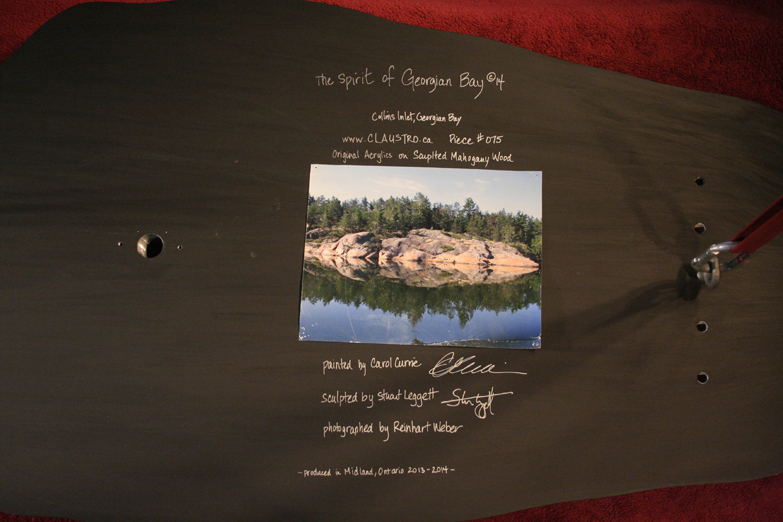
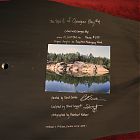 Signatures for back of The Spirit of Georgian Bay.
 View of the back of the Spirit for signatures.


Click thumbnail to enlarge each image